Broken LED lights
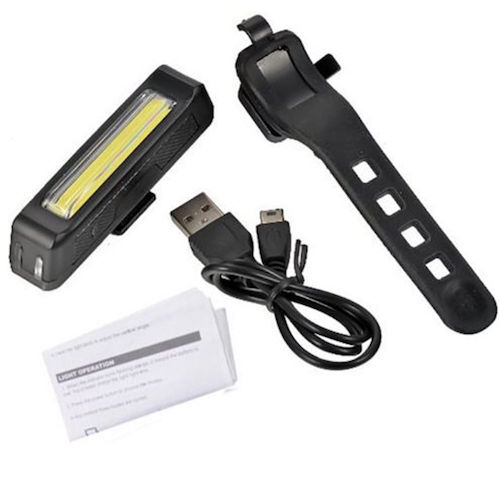
2 years ago I bought two inexpensive LED bike lights which both ended up broken after some use. Since they were cheap but contained some salvageable parts I disassembled them to see what was wrong: power leads to the Li-ion cells had disconnected owing to a shoddy soldering job at the factory. However, after resoldering the leads, further testing showed that the cells had nearly completely died. They were refusing to hold any significant capacity.
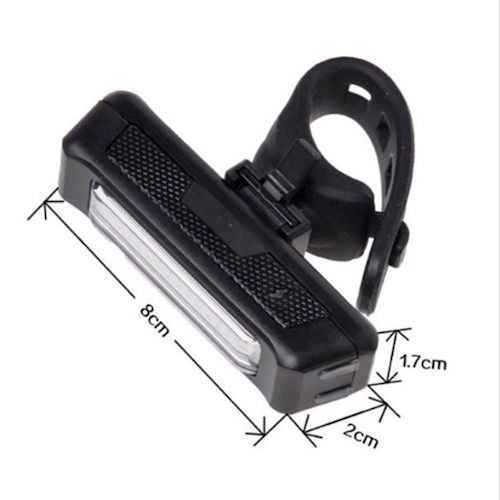
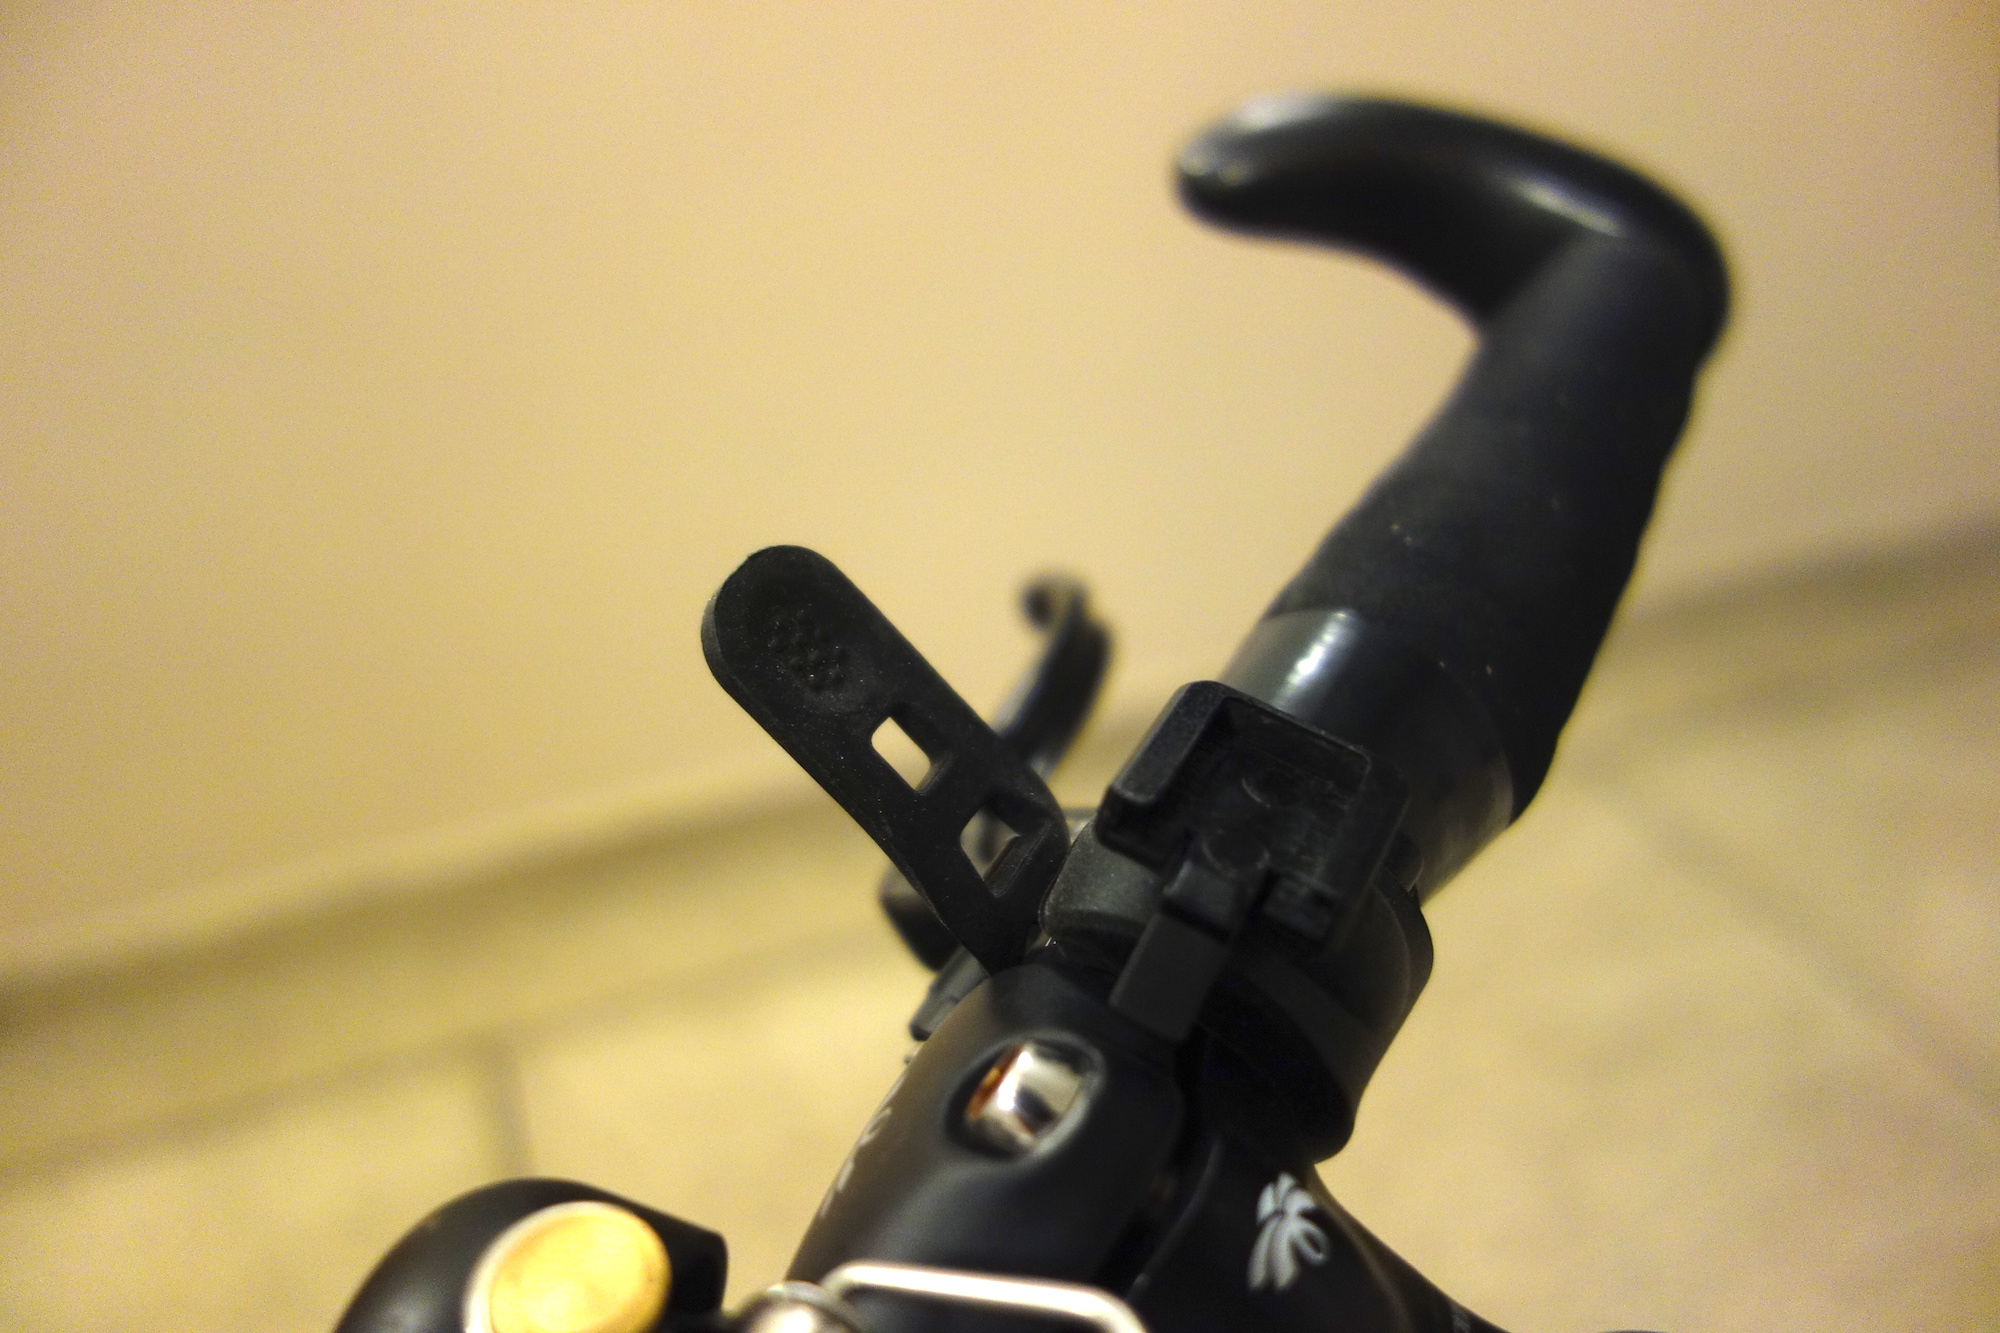
The lights weren’t worth fixing, as they sported mini-USB charging sockets instead of micro-USB sockets. I did note that the ABS housing and mounting point, along with the handlebar strap mount could be re-purposed for attaching something to a bike. The LED module itself still worked fine, so the lights lingered in a box awaiting a future hack.
Phone mounts
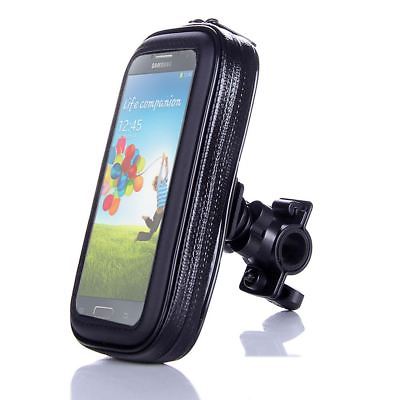
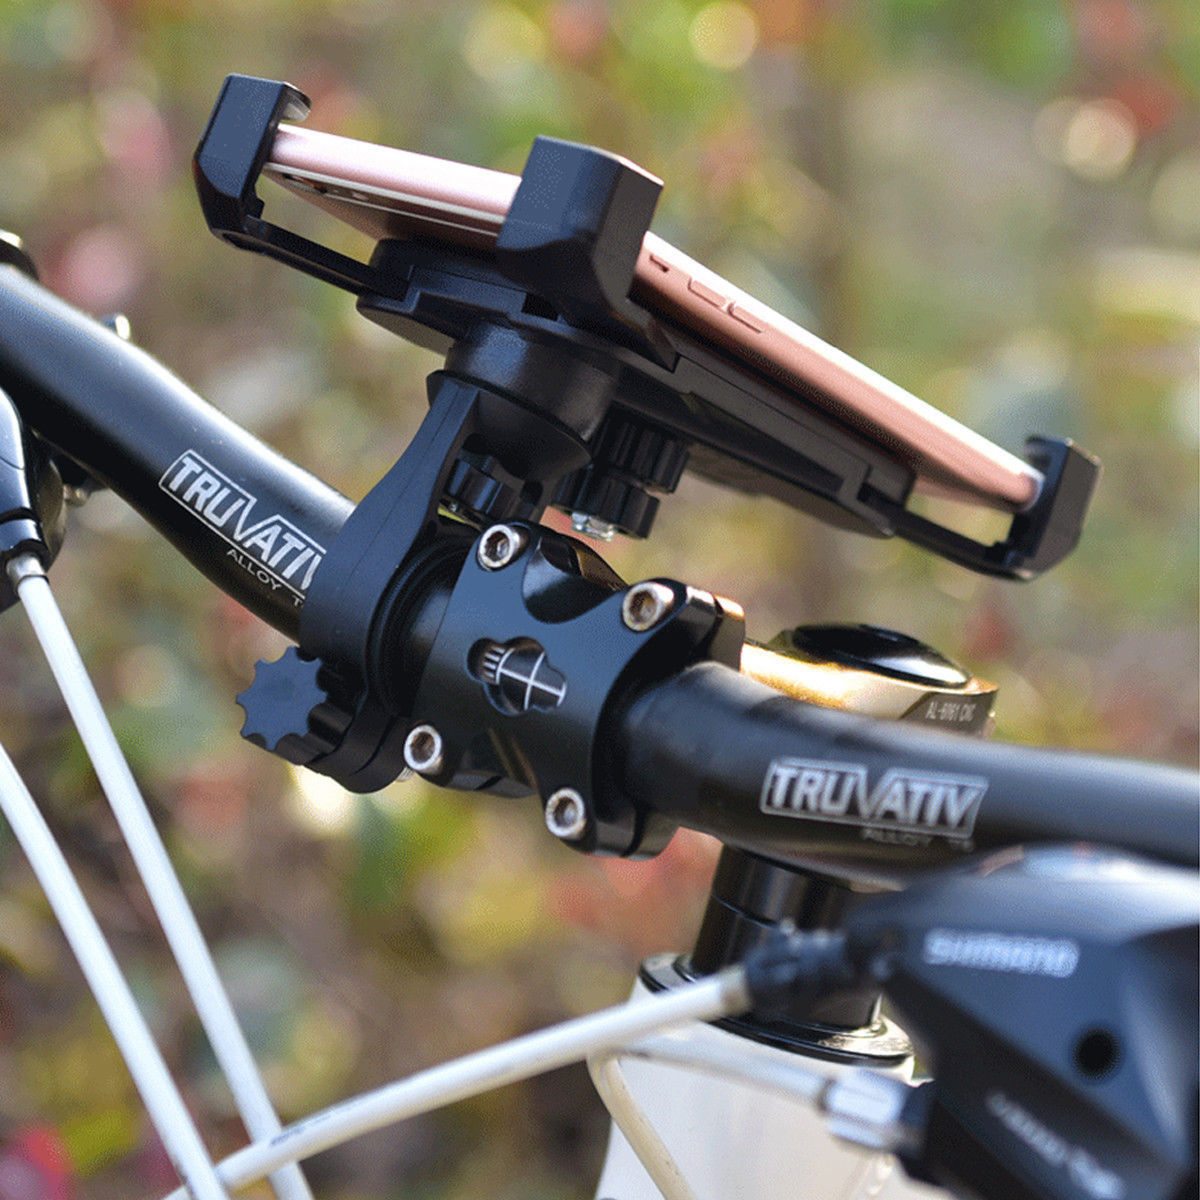
The opportunity presented itself when I couldn’t find a handlebar phone mount that met my requirements. All the phone mounts I had tried so far were either too bulky, too expensive, or didn’t fit the minimalistic look I had in mind.
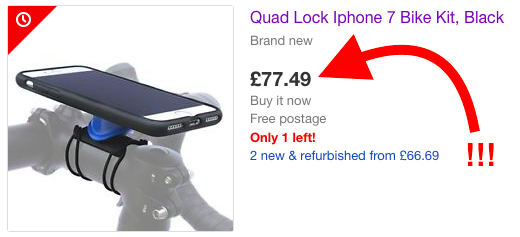
My ideal mount would be something like the Quad Lock, but even simpler. It needed to be:
- as low profile as possible
- as simple as possible in terms of the mounting point and the bracket
- as cheap to build / re-adapt as possible
Phone mount V1 (modded Xperia M)
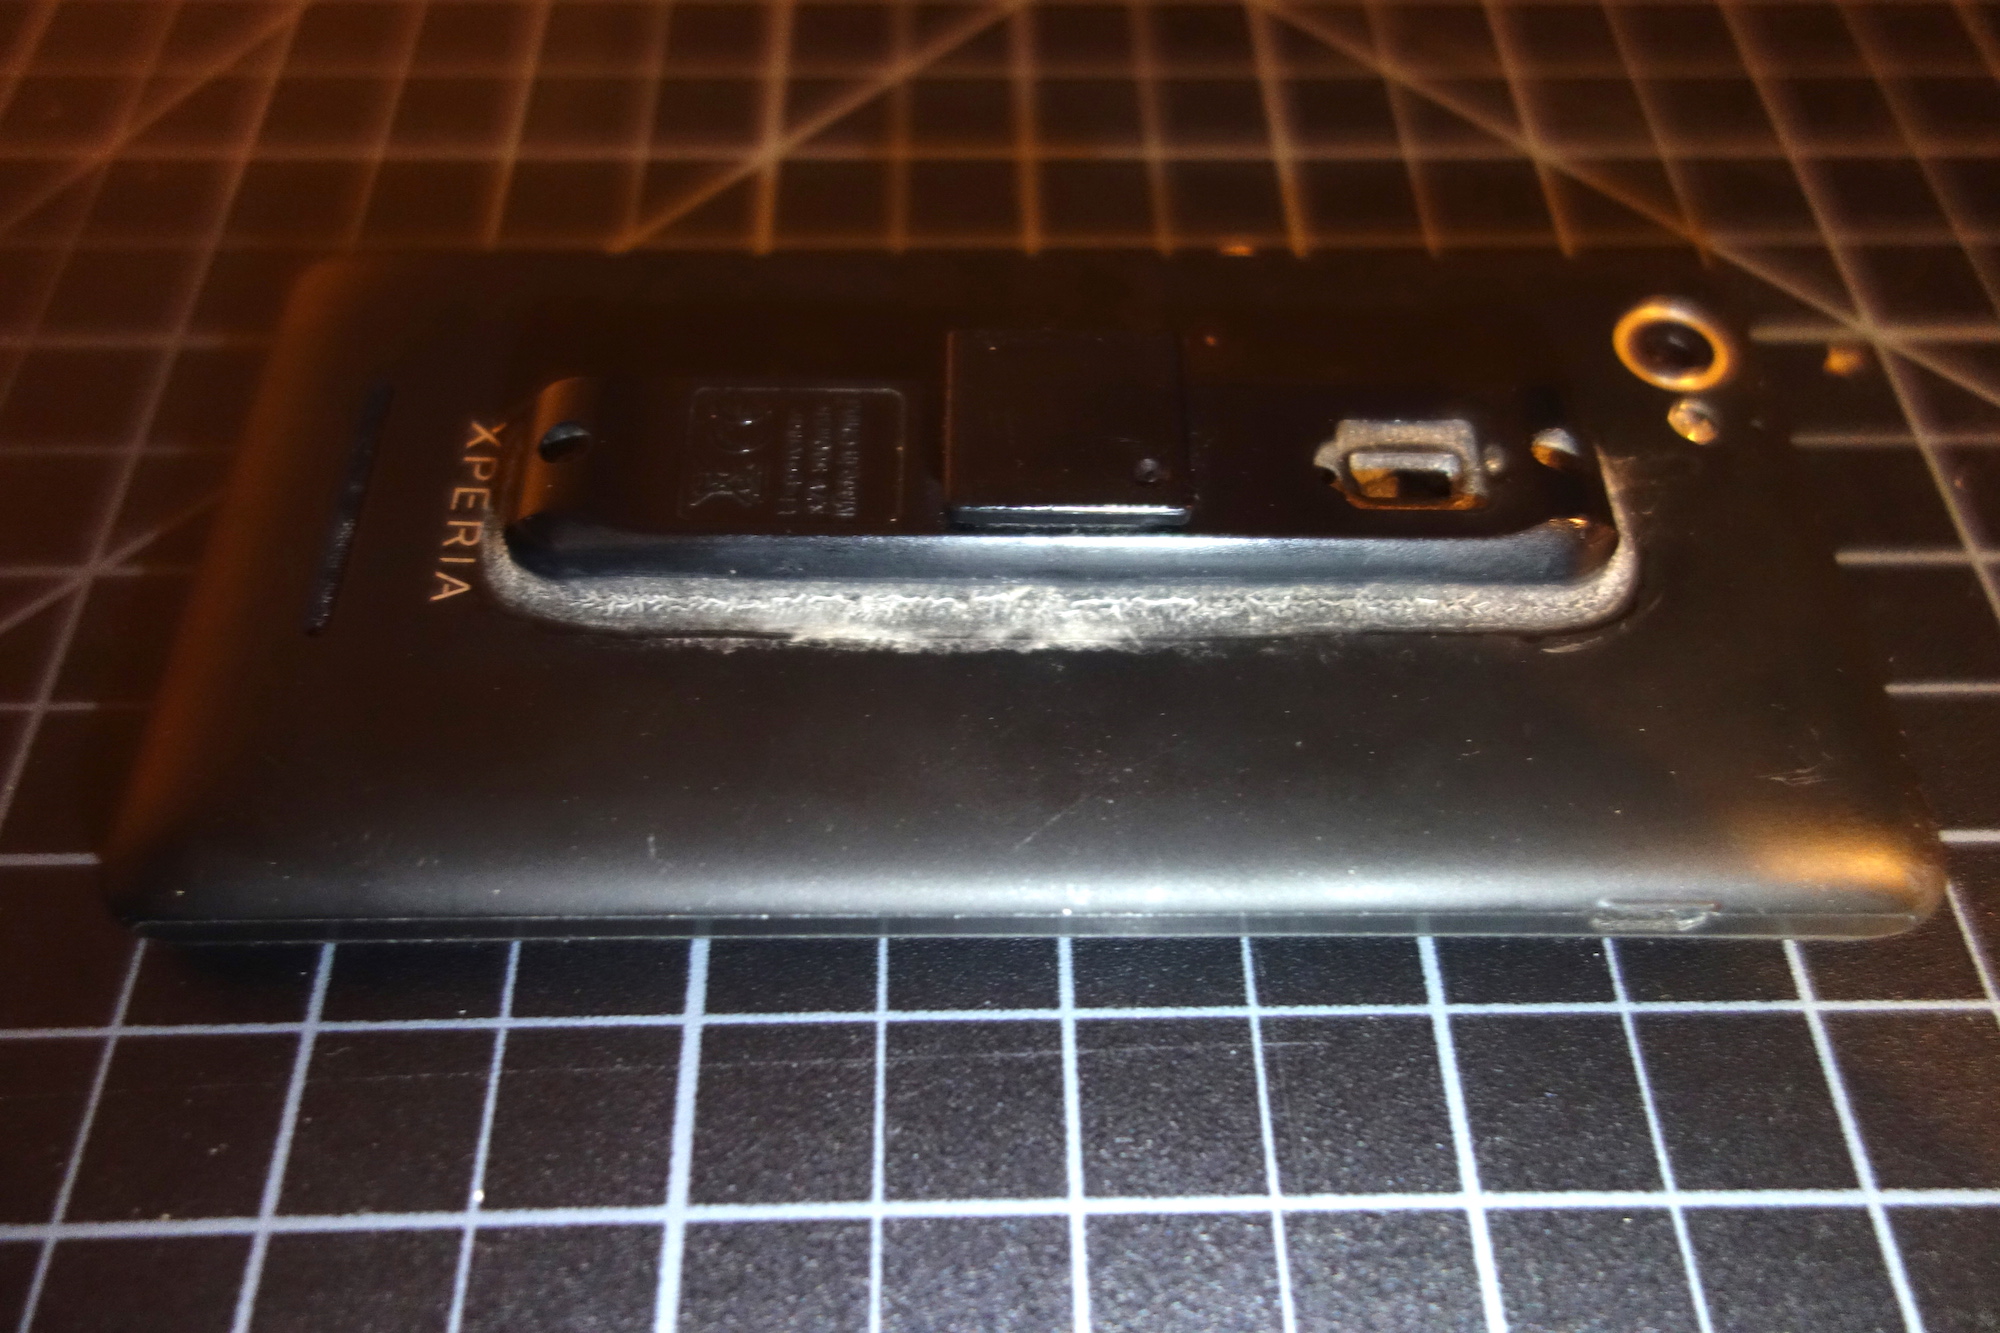
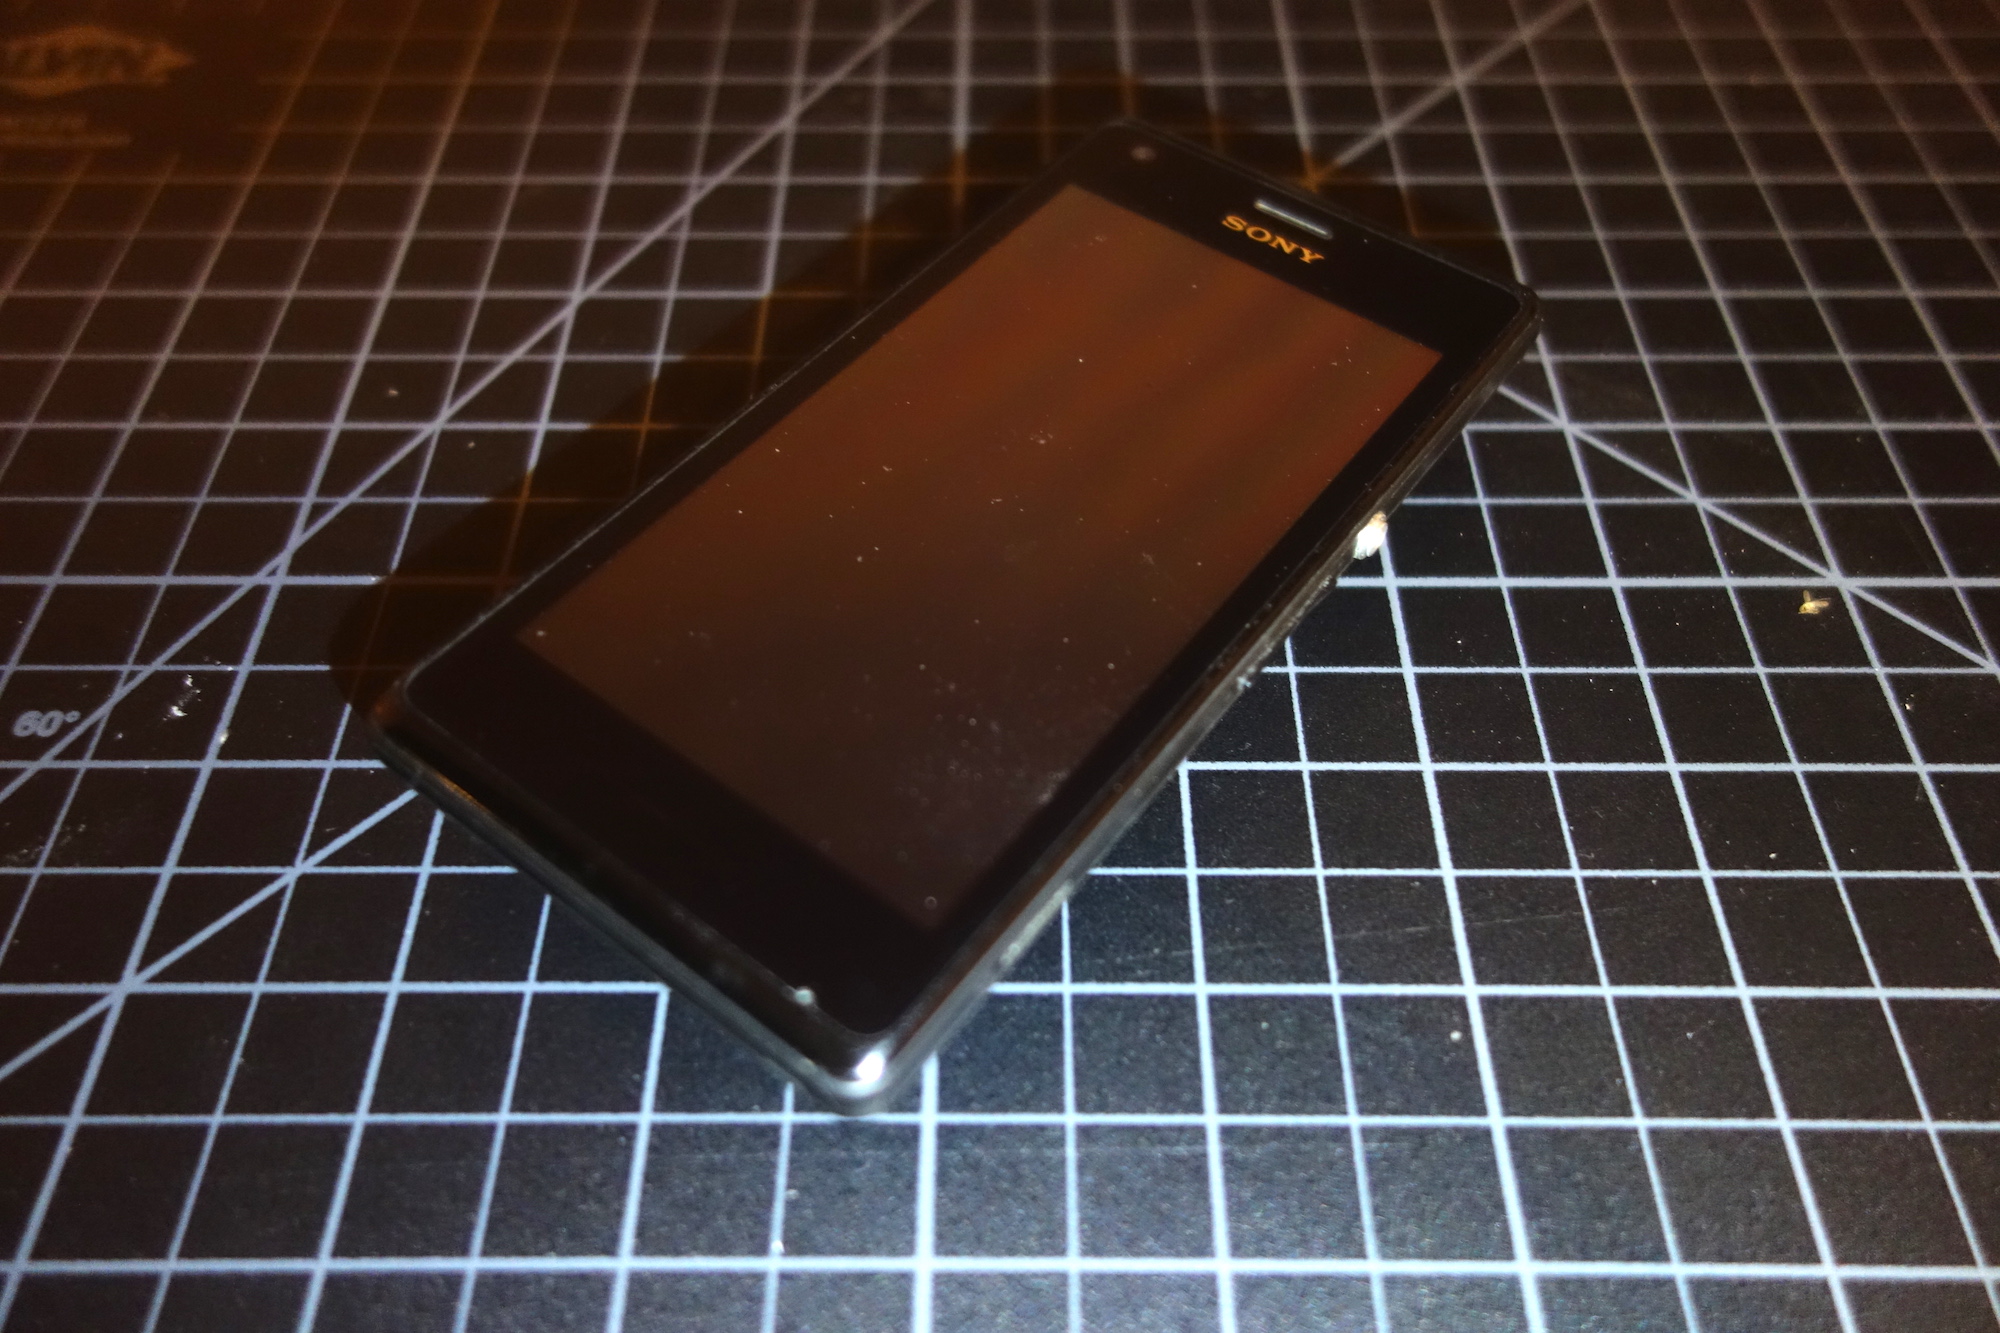
My daily mobile phone was an old Sony Xperia M C1905. This model had a plastic back cover that I could hack on and not feel bad about, as replacement back covers are commonly sold for cheap. The stock cover held the phone body within it, wrapping around all sides of the phone with a friction fit.
The V1 phone mount was a quick job: I simply took the entire lower part of the LED housing and super-glued it to the C1905 back cover. The mount also made use of the two screws from the light housing to tap into the phone case for added physical interfacing. It proved very steady and remained in use for over 2 years.
Phone mount V2 (modded Xperia Z3C)
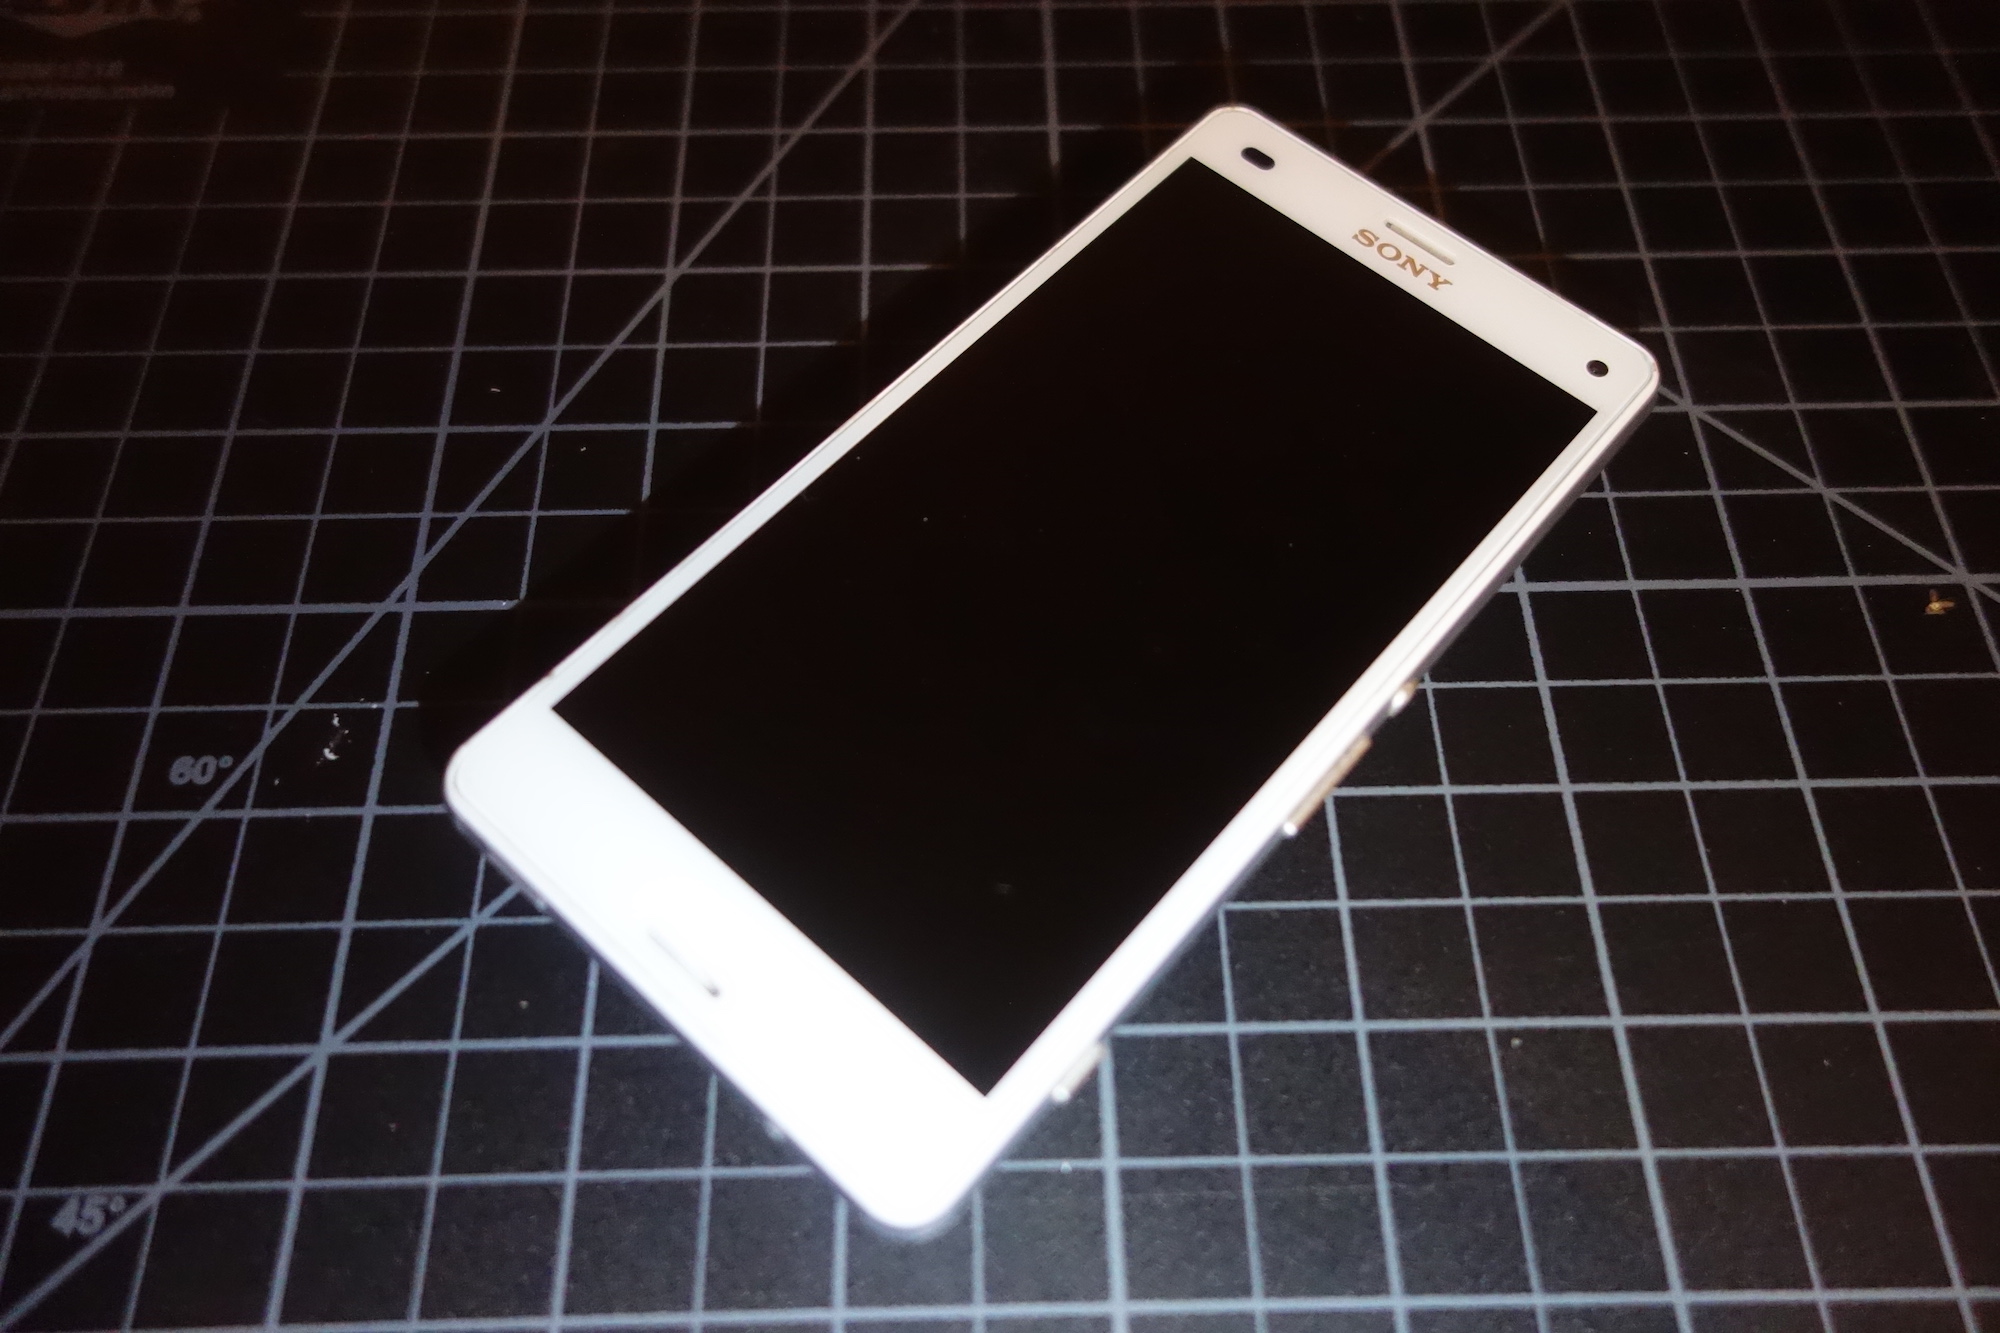
Eventually I had to upgrade away from the C1905 to a newer phone. Again I chose a Sony Xperia series phone: this time the Xperia Z3 Compact (z3c) first released in 2014. This one did not have a plastic rear backing however, since it was a more premium model vs the budget C1905. Fortuitously, it had a very smashable glass backing. Having bought it used from an eBay reseller, I discovered the glass back had previously fallen off (likely smashed) and the new adhesive the reseller applied wasn’t keeping the replacement glass back stuck on properly: a tad annoying but not so much to warrant a return.
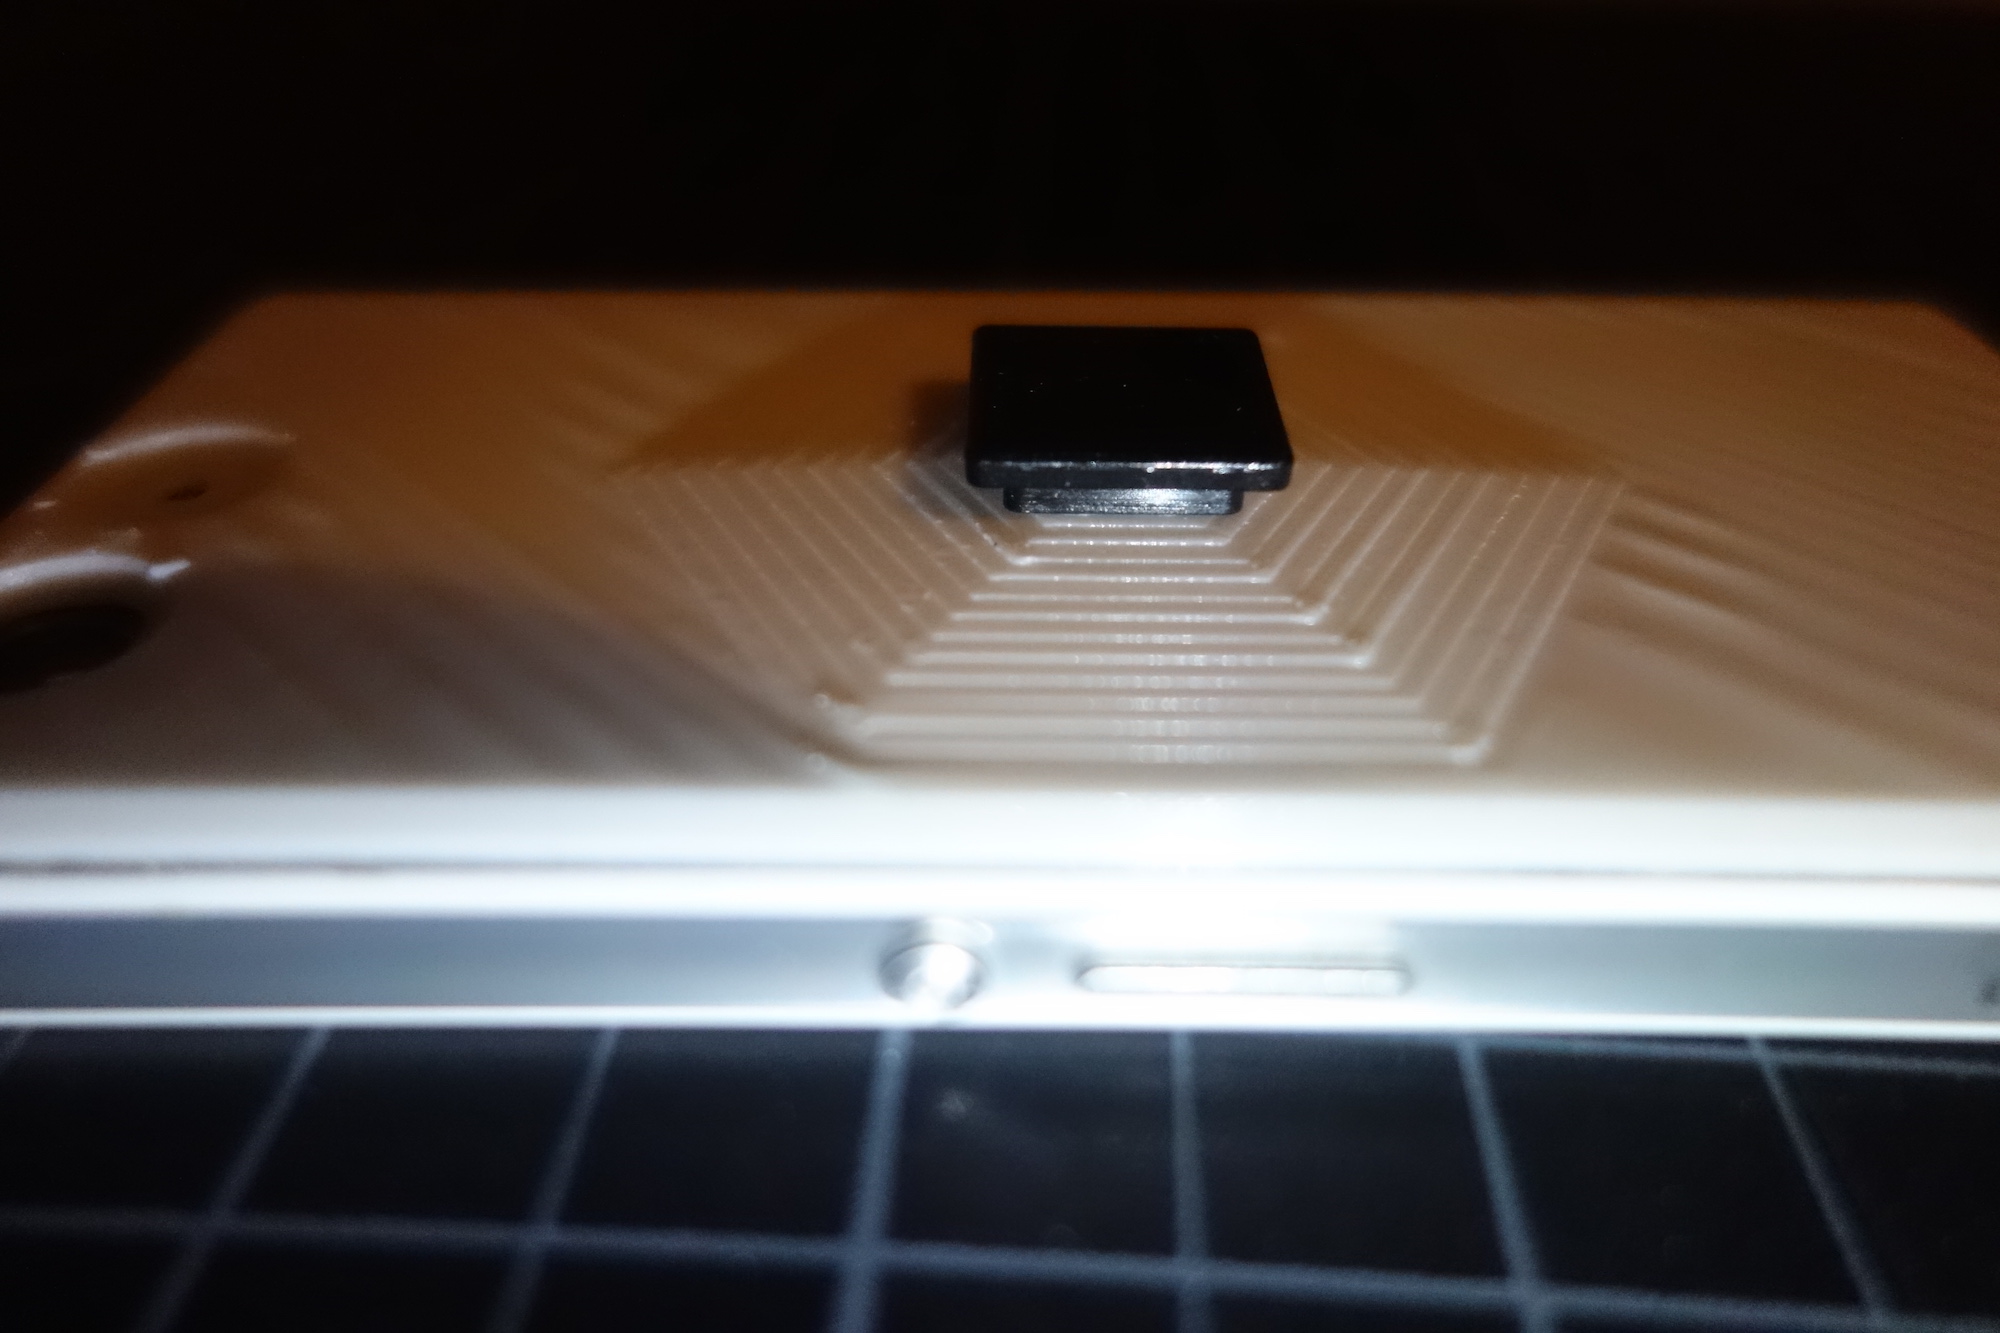
Inevitably this phone was dropped in a way that smashed the glass backing yet again, and I resolved to find a replacement that was more resilient to accidents of gravity. This would be also be my chance to add a 3D printed back cover to attain a similar mount as on the C1905, which weren’t as feasible with the glass backing.
Iterative design process = 10 fails, 1 good result
The new cover was ideal for 3D printing. The end product was primarily functional and the design / build process was fast. The latter advantage offsetting the fact that there were lots of unknowns about:
- how to mate the new cover onto the phone body
- how the mounting point would sit
- what the final design would look like
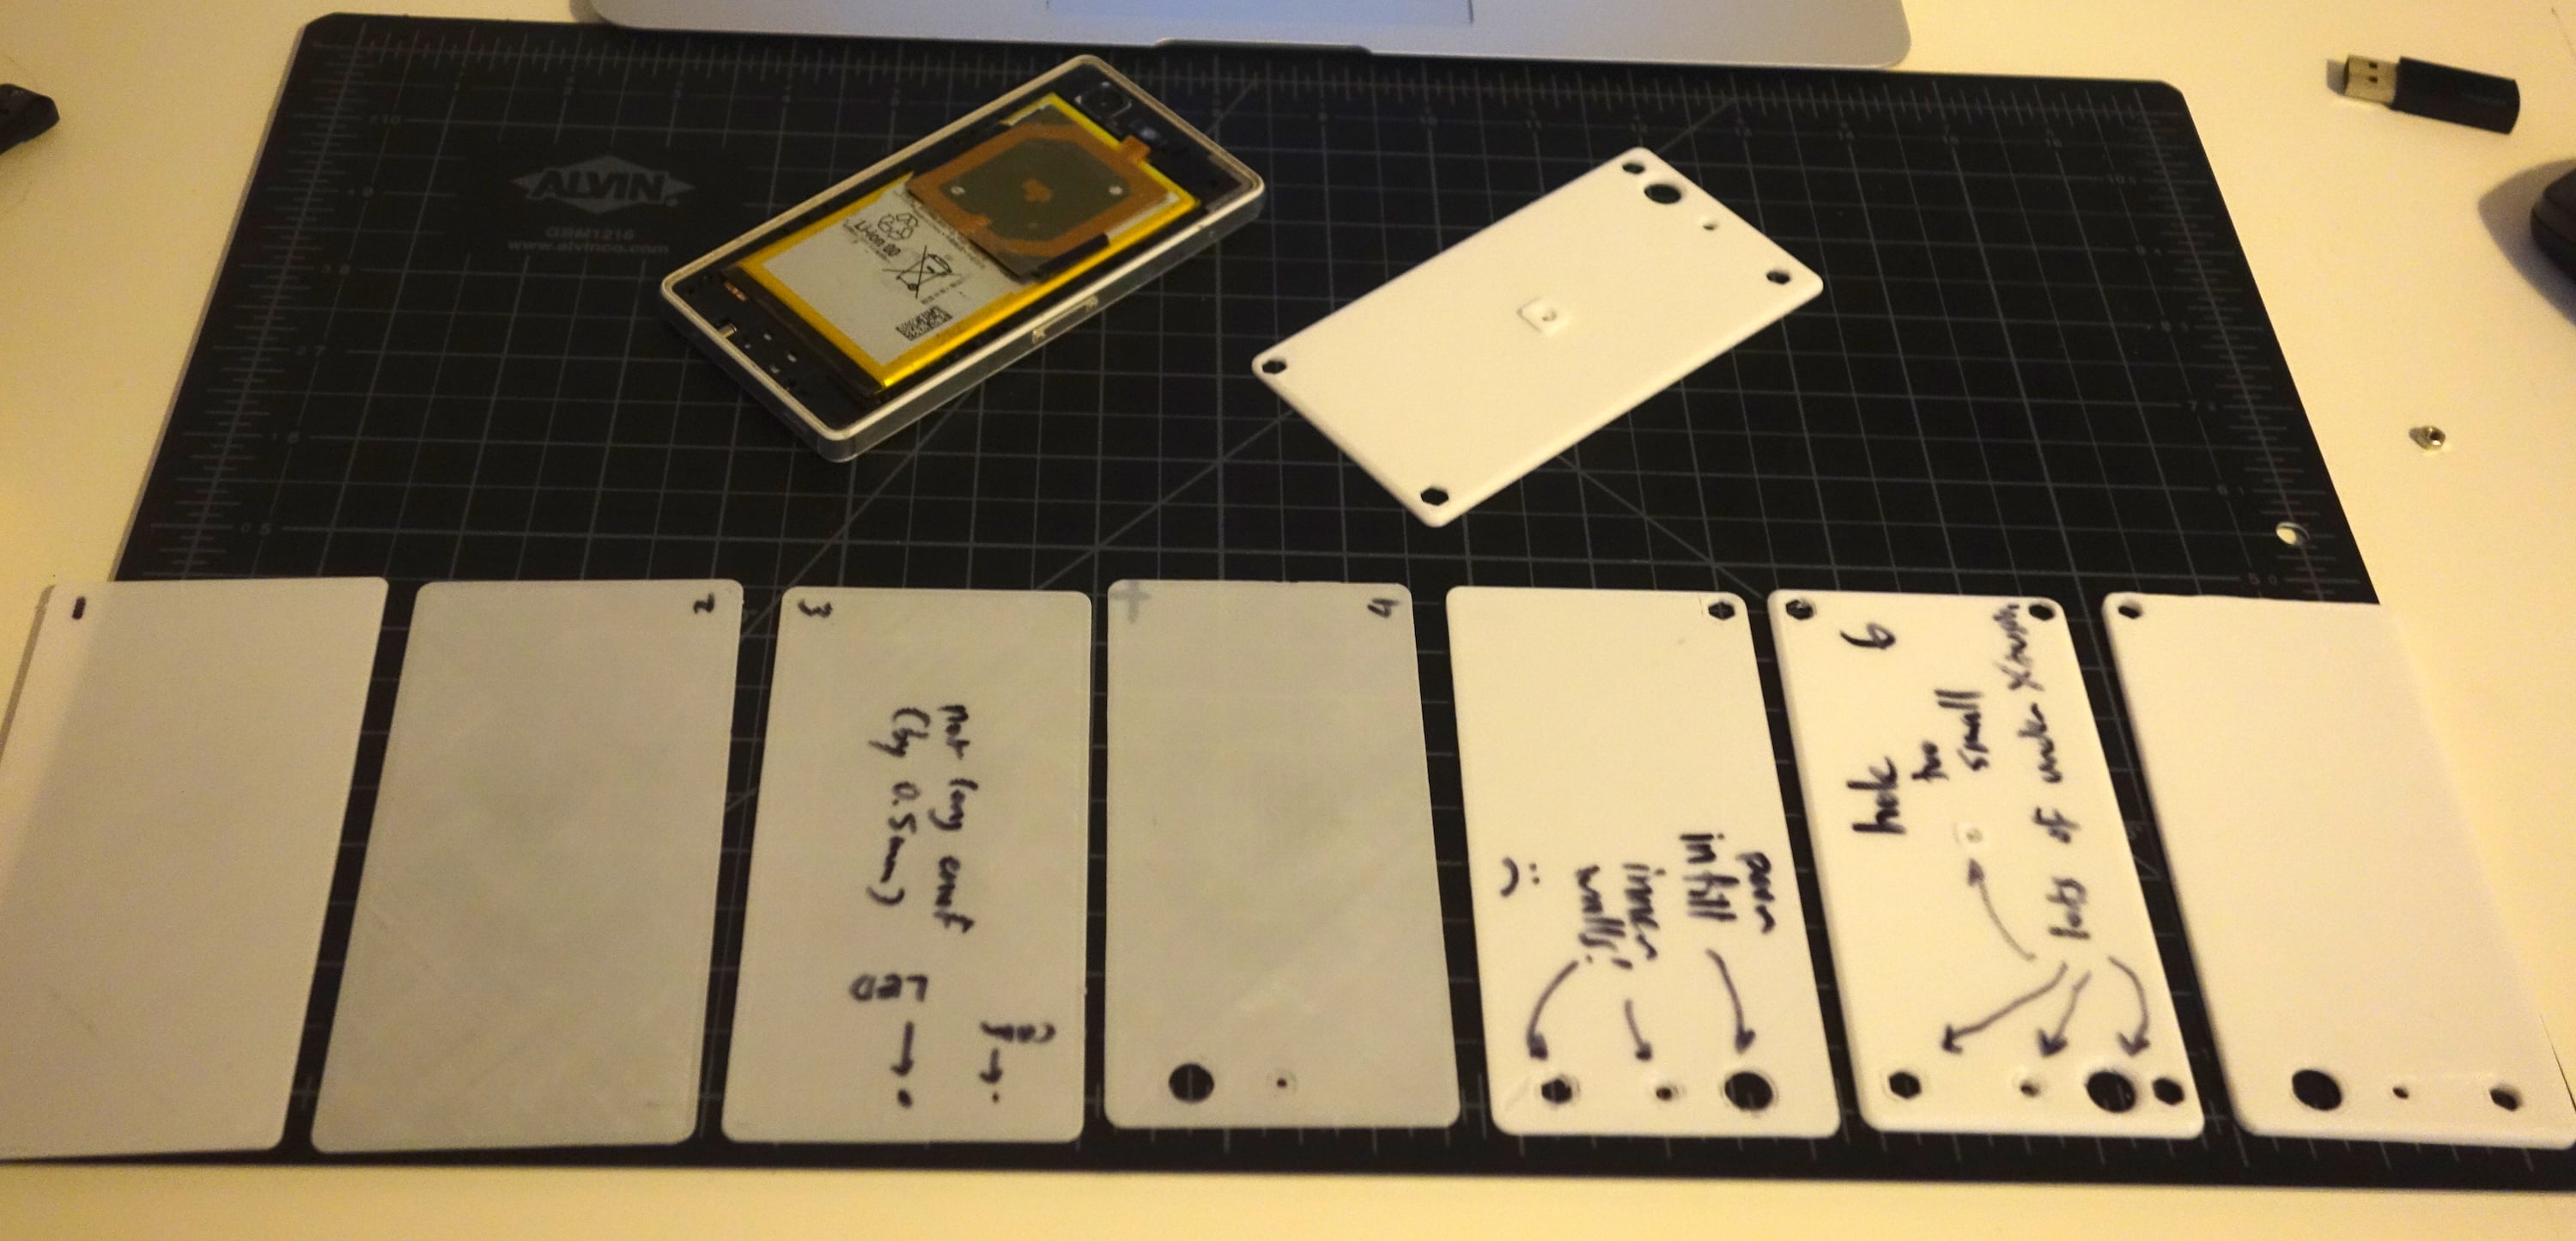
Roughly 10 prints were required to go from first draft to final copy, totaling around 2 days of working time. Each print took anywhere from 30 min (rough quality, low layer count) to 1.5 hours (at the final print’s super-fine quality with 100% material infill), with a few more failures in between when the 3D printer deviated away from acceptable bed levelling.
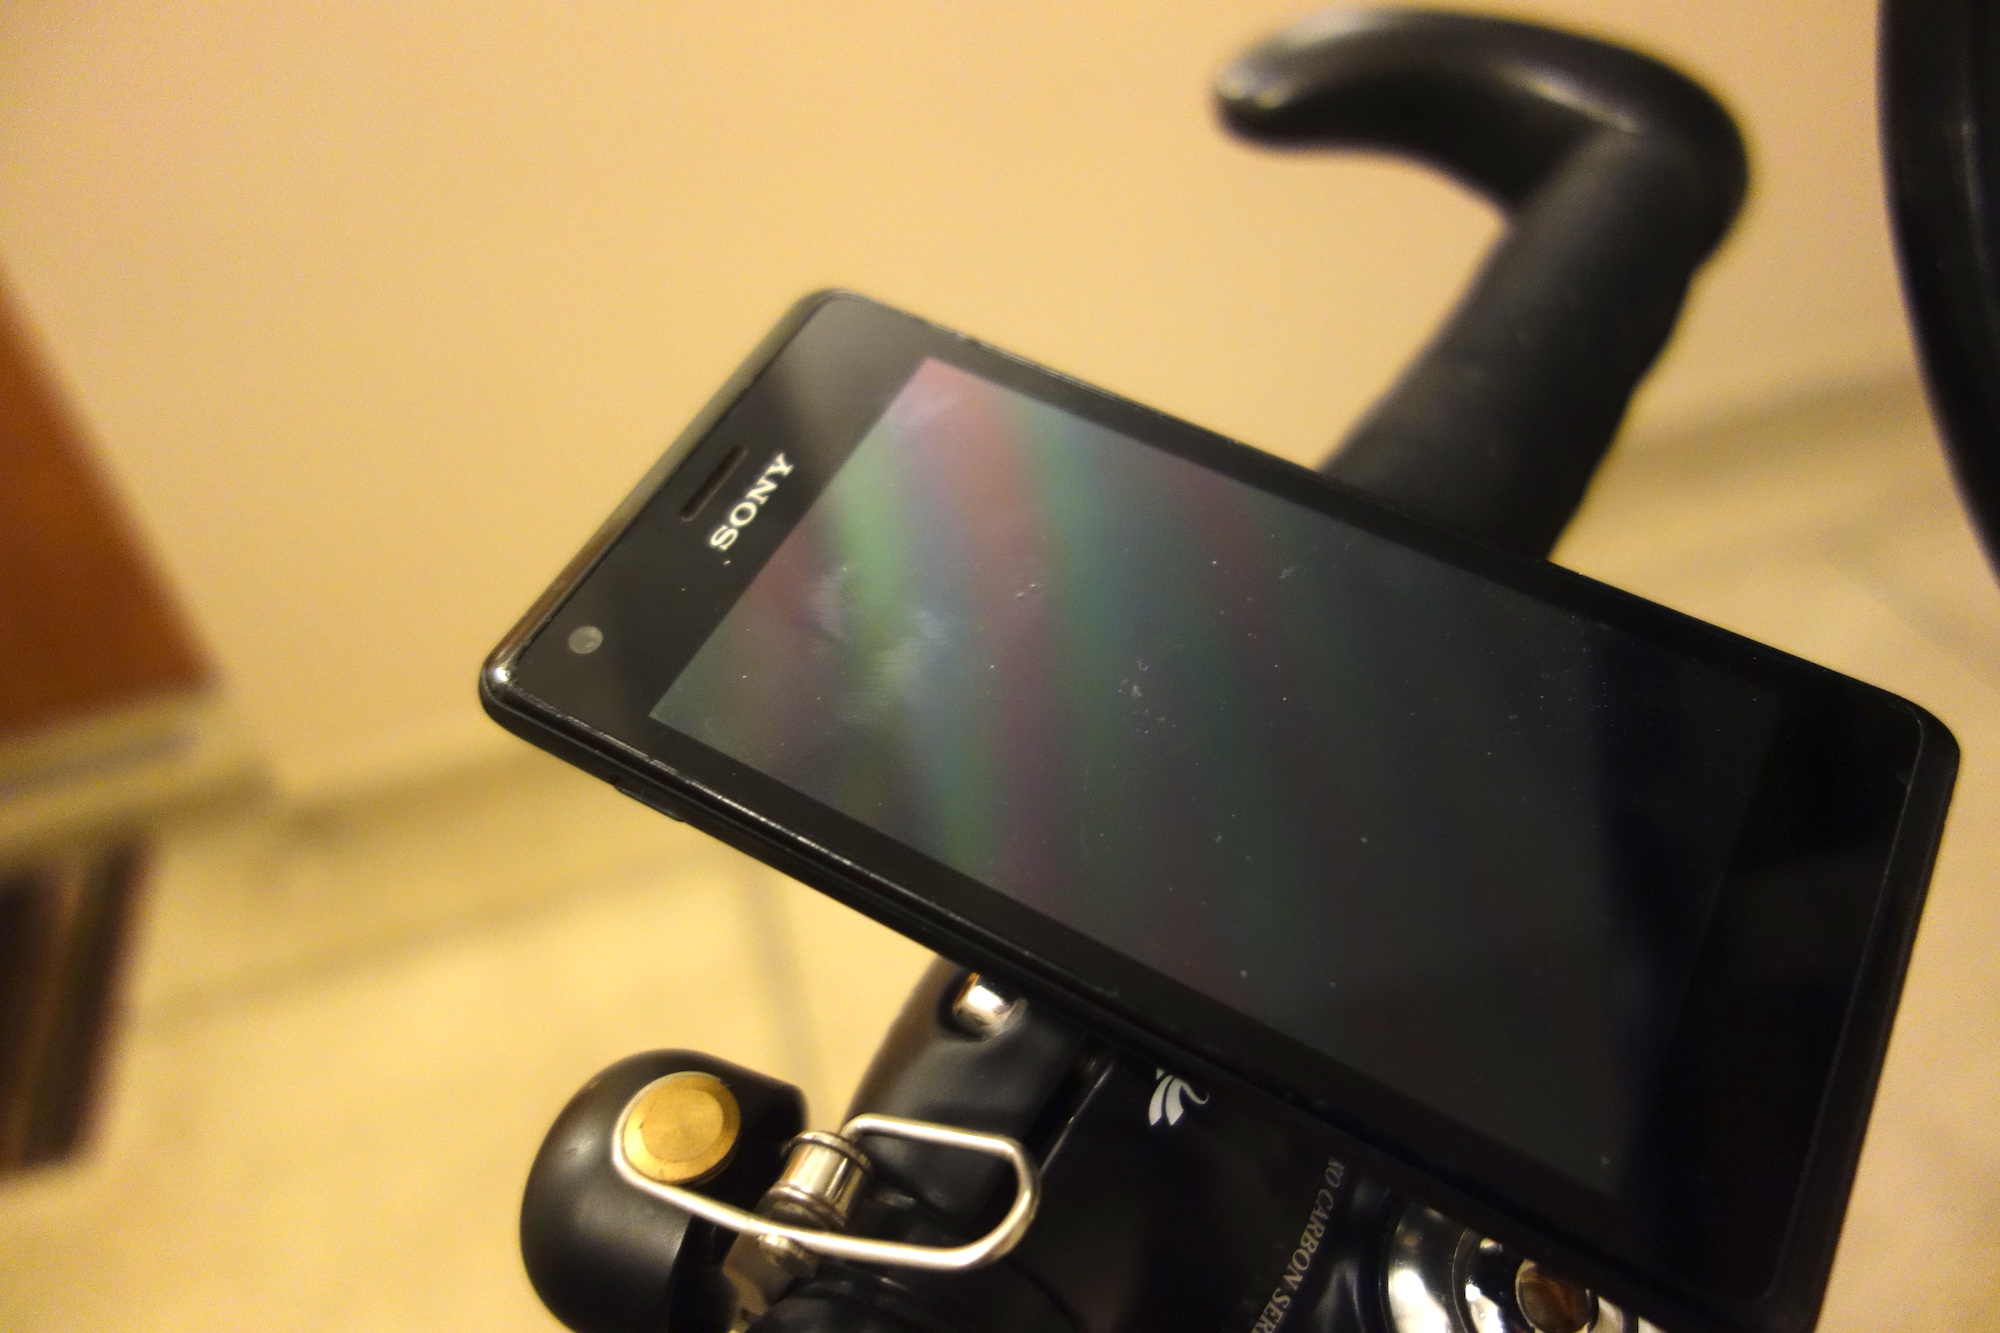
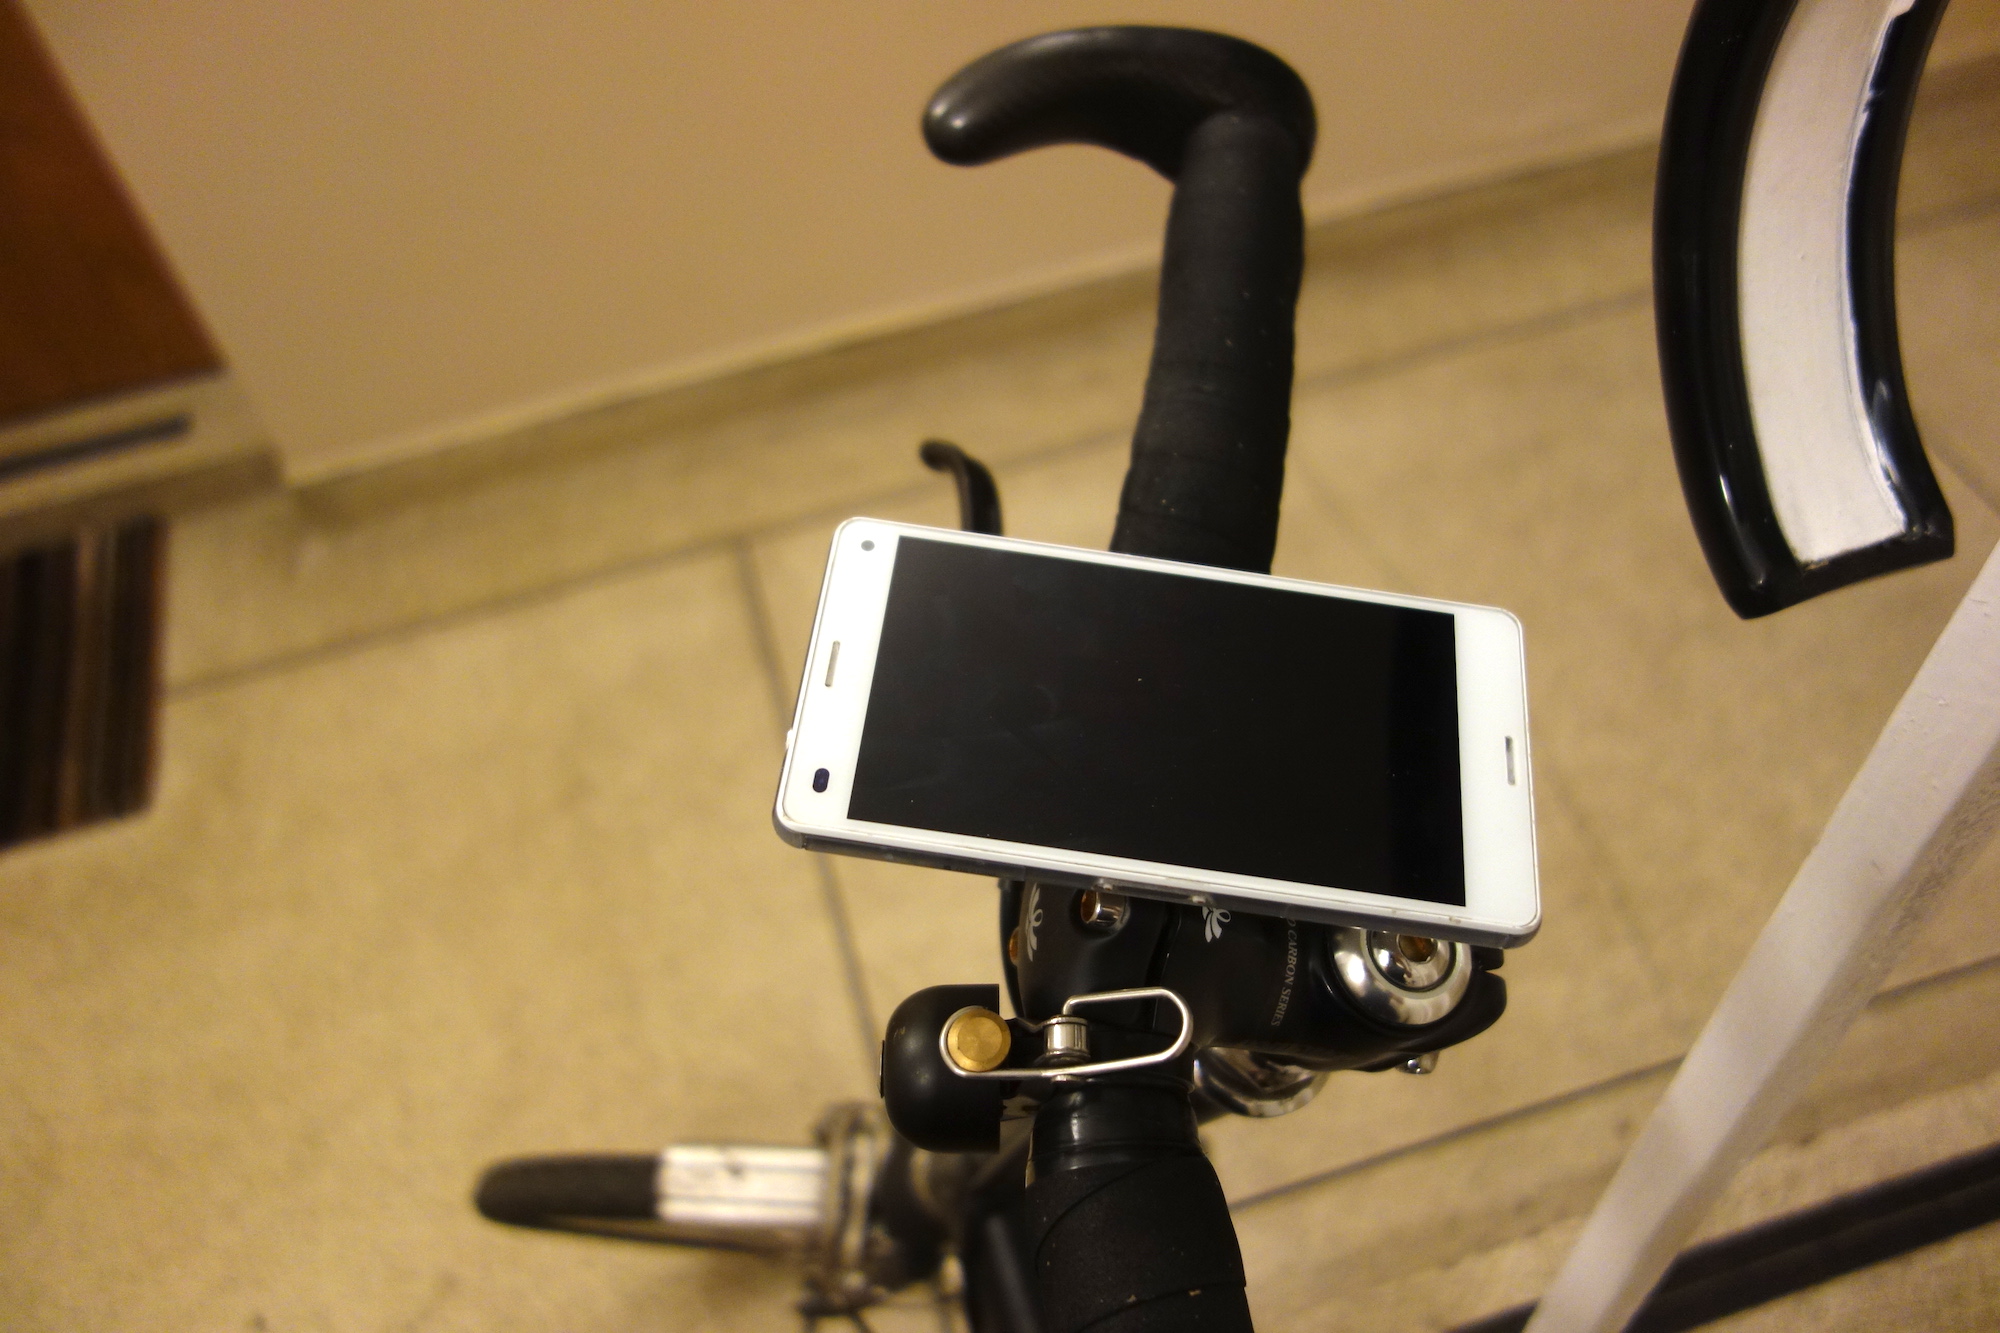
I ended up sticking the Z3C back mount on with 3M load bearing double-sided adhesive which was thicker than the standard Z3C back adhesive but has held together much better. Here’s a video of it being mounted and unmounted:
In all this was a practical hack that proves useful everyday. The phone’s lock button is placed in a way that I can lock and unlock the screen with a nudge from my thumb during rides without the need for swiping.
