10 Easy Steps to being the coolest sysadmin in 2005
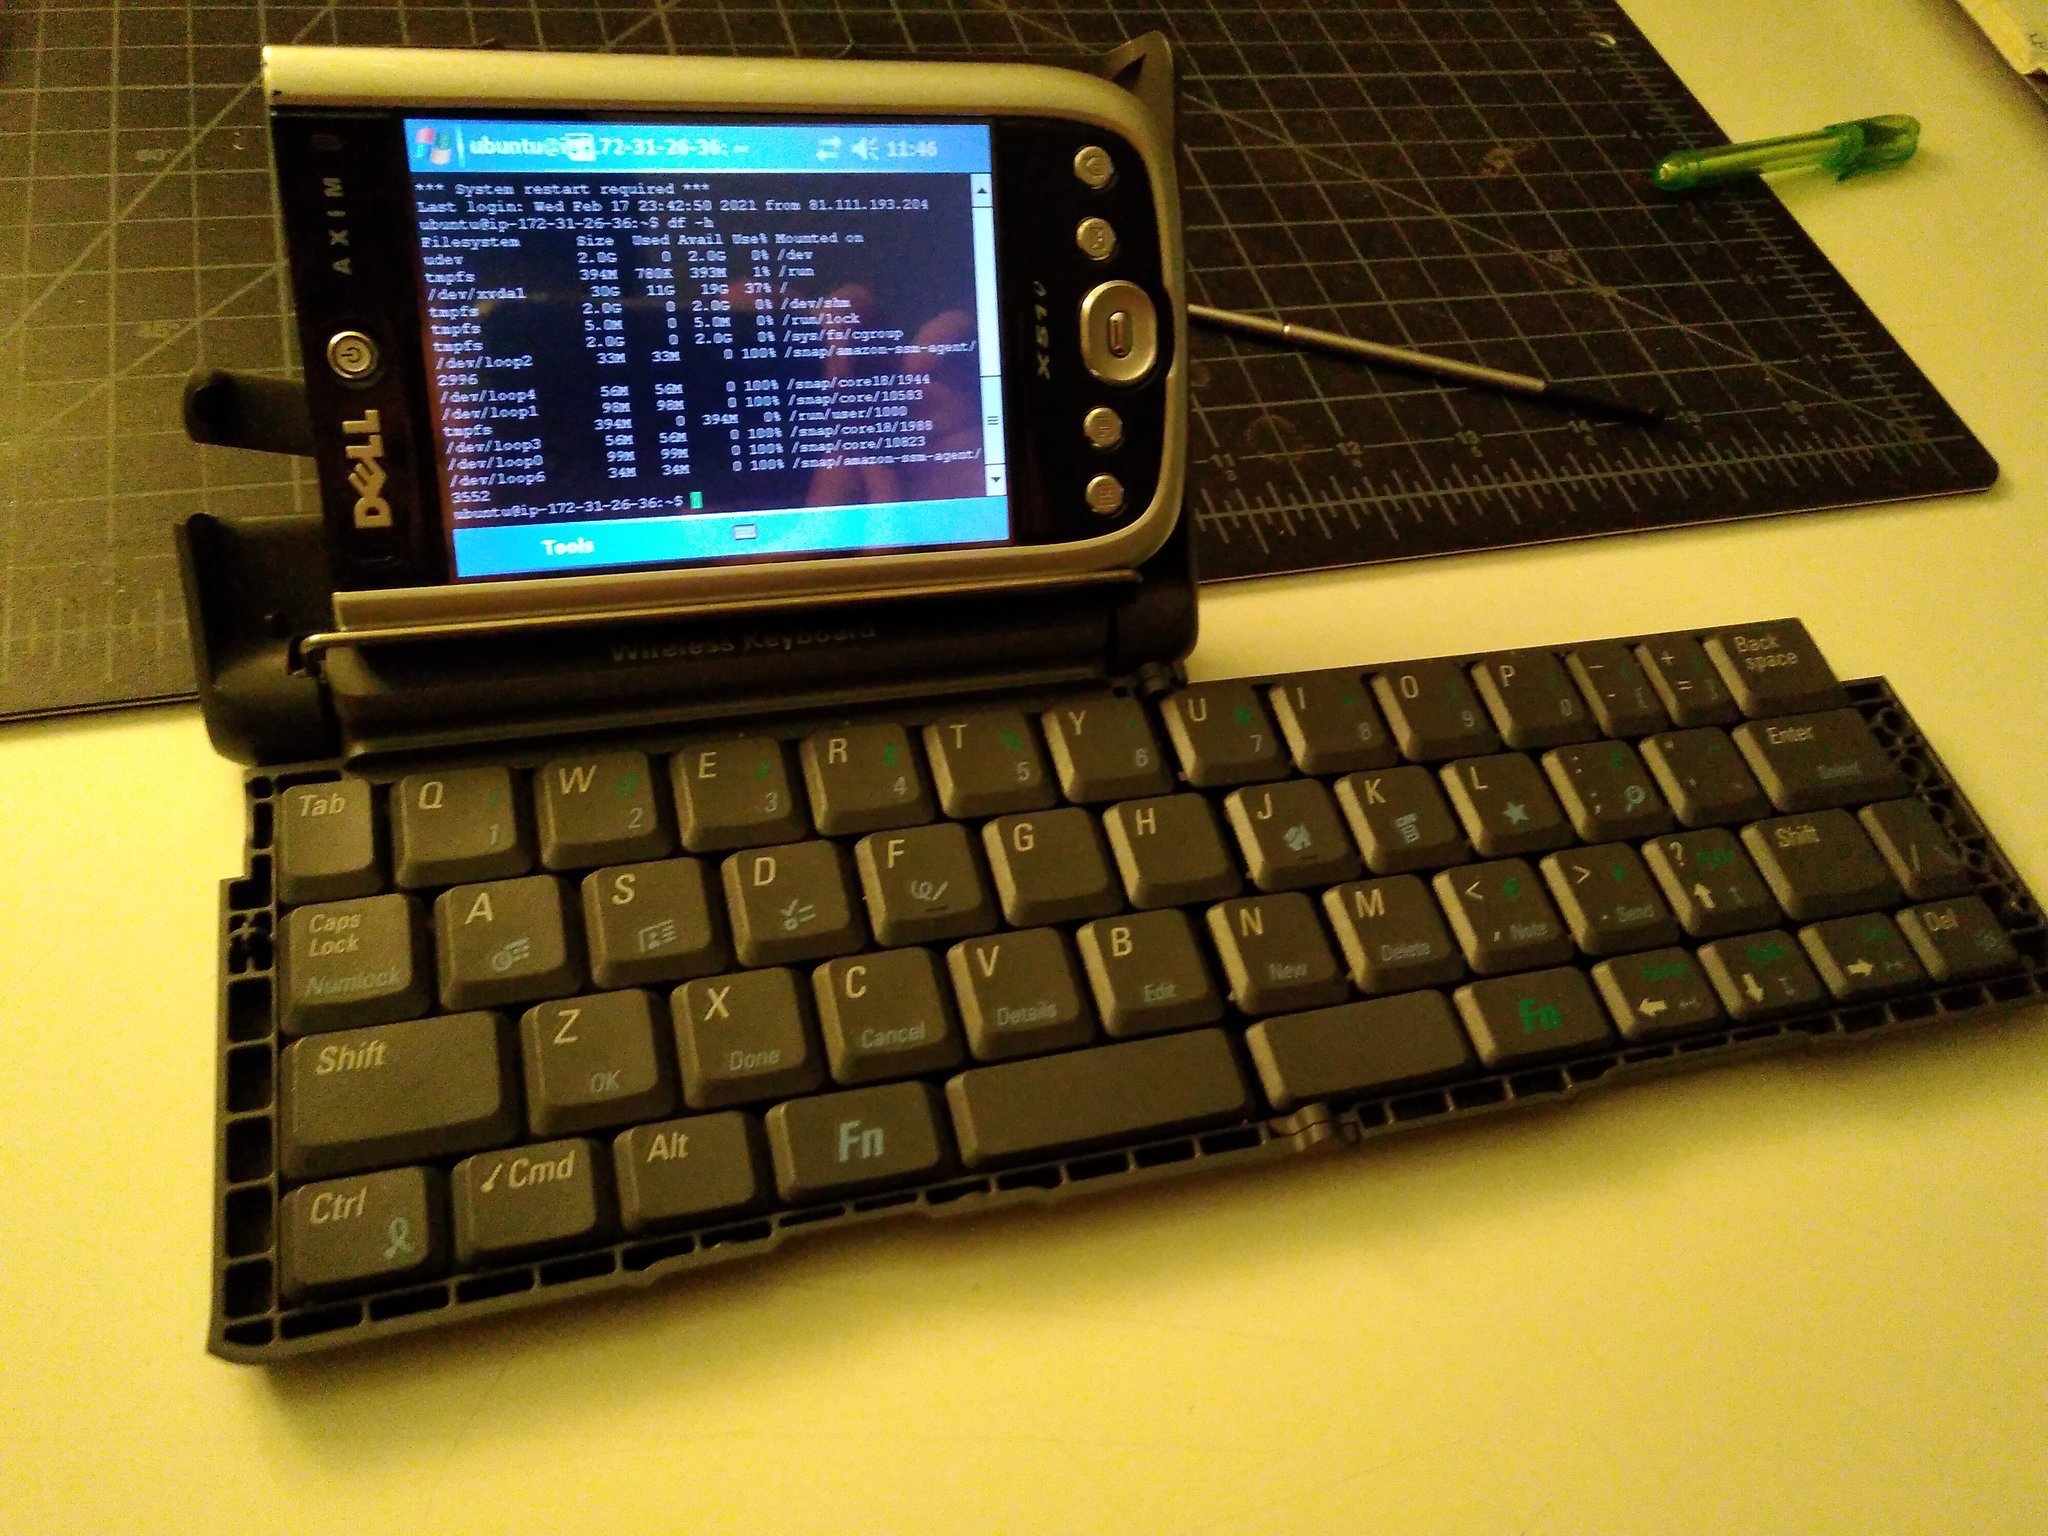
Ever wonder how complicated it would be to do some casual Linux administration from a mid-2000s PocketPC device? Wonder no more! I’ll show you how a Dell Axim X51v along with an infrared wireless keyboard can successfully connect via SSH into an Amazon EC2 Linux instance.
-
Download your PEM file, this is your private key. Required for normal SSH connections to access your instance. (You should already have this)
-
Ensure your local network gateway has access to the instance; your public IP should be whitelisted for SSH.
-
You’ll need to install PuTTY to get a utility to convert the SSH PEM key format into a PuTTY PPK key.
//// Contents of a PEM key look like this: ////

-----BEGIN RSA PRIVATE KEY-----
MIIEowIBAAKCAQEAxZls7NgRS5rtDH+mCgEeqSO12BiPAY2dhZZbTkPEoDUVqG46
PHGIBBERISHFKS3xE4eMMY+uWPriviY0W12EFqYBUJDq6GmGSQPMSI8Kep7OgVGK
d2t3/Lq+I8ZqlFwAgPwS7n18mlgTV/YyA0HCCIa+kZGKqbsuylfsODUAJGQqOtUM
FKX4+O45RrJwcQGI2M+pbD4+Ow28iEsNP3flQKvamNuezm2VallhGiO/E39UITrB
27FWM1pLQo5etyE378h5q8BKMGKt1ZPxPhjiNjBefGZ1Dscw7CA5
-----END RSA PRIVATE KEY-----

//// Contents of a PPK key look like this: ////

PuTTY-User-Key-File-2: ssh-rsa
Encryption: none
Comment: imported-openssh-key
Public-Lines: 3
AAAAB3NzaC1yc2EAAAADAQABAAABAQDFmWzs2BFLmu0Mf6YKAR6pI7XYGI8BjZ2F
llGIBBERISHobjo8c6DjH6iBW0UpLfETh4wxj65Y+uK+JjRbXYQWpgFQkOroaYZJ
1DxehJUvZpuZqLSUGvZrUzbYmx25oVE5+x6UBSA0NUiTpq6jWFPH
Private-Lines: 3
AAABAFLQsak2CVGhldYWLbWlsH78+3qdGFpzSuCxGoVbu63VccVMpVWutHBcVVgZ
s4GIBBERISHcVhru01cUVf8w22pOmuB0TC+qAmDZmaWTZbXslun2Dc1tGjWu4n/F
S0KOXrchN+/IeavASjBirdWT8T4Y4jYwXnxmdQ7HMOwgOQ==
Private-MAC: 5fGIBBERISHda60d2e8b049e655e4a8a78bb18dc
-
Install PuTTY on your main computer to get that
puttygentool. -
Open a CLI shell in the directory where the PEM file is located and run
puttygen YOURKEYFILE.pem -o YOURKEYFILE.ppkto convert the key into the PPK format -
Install PocketPuTTY for Windows CE on your X51V (download here)
- Easiest way to do this is via SD card
-
When you’ve copied the program EXE over, you’ll need to set up the SSH connection configs:
- Auto-login username (e.g.
ubuntu) - Hostname (e.g.
145.184.9.204orssh.example.com) - Transfer the PPK key file that was generated to your PDA and use the file as the “private key file for authentication”
- Auto-login username (e.g.
-
Once the config is ready, you’ll want to save the details as a stored session.
-
Connect a keyboard to make the experience a bit more practical. I used a ThinkOutside Palm Wireless keyboard to type commands more quickly.
-
Connect to your local network (WiFi, Bluetooth, ActiveSync, or Ethernet) which gives the PDA access to the internet. Finally, click on the “Open” button to initiate an SSH session. You will need to tap on the terminal window once to give focus to the app for auto-login.