During 2012, I had access to TechShop SF, a makerspace in San Francisco which is sadly now defunct, I took several courses that taught FDM 3D printing basics. This got me hooked on the idea of owning my own 3D printers. However, this wasn’t reasonable until around 2017 owing to market forces driving down the prices to less than £300 or $400 for a decent entry-level printer.
As of this writing, I’ve had the opportunity of owning and operating 3 different 3D printers. Each has its own nuances, variables, and learning curves. This page details my 3D printing experience on a printer-by-printer level.
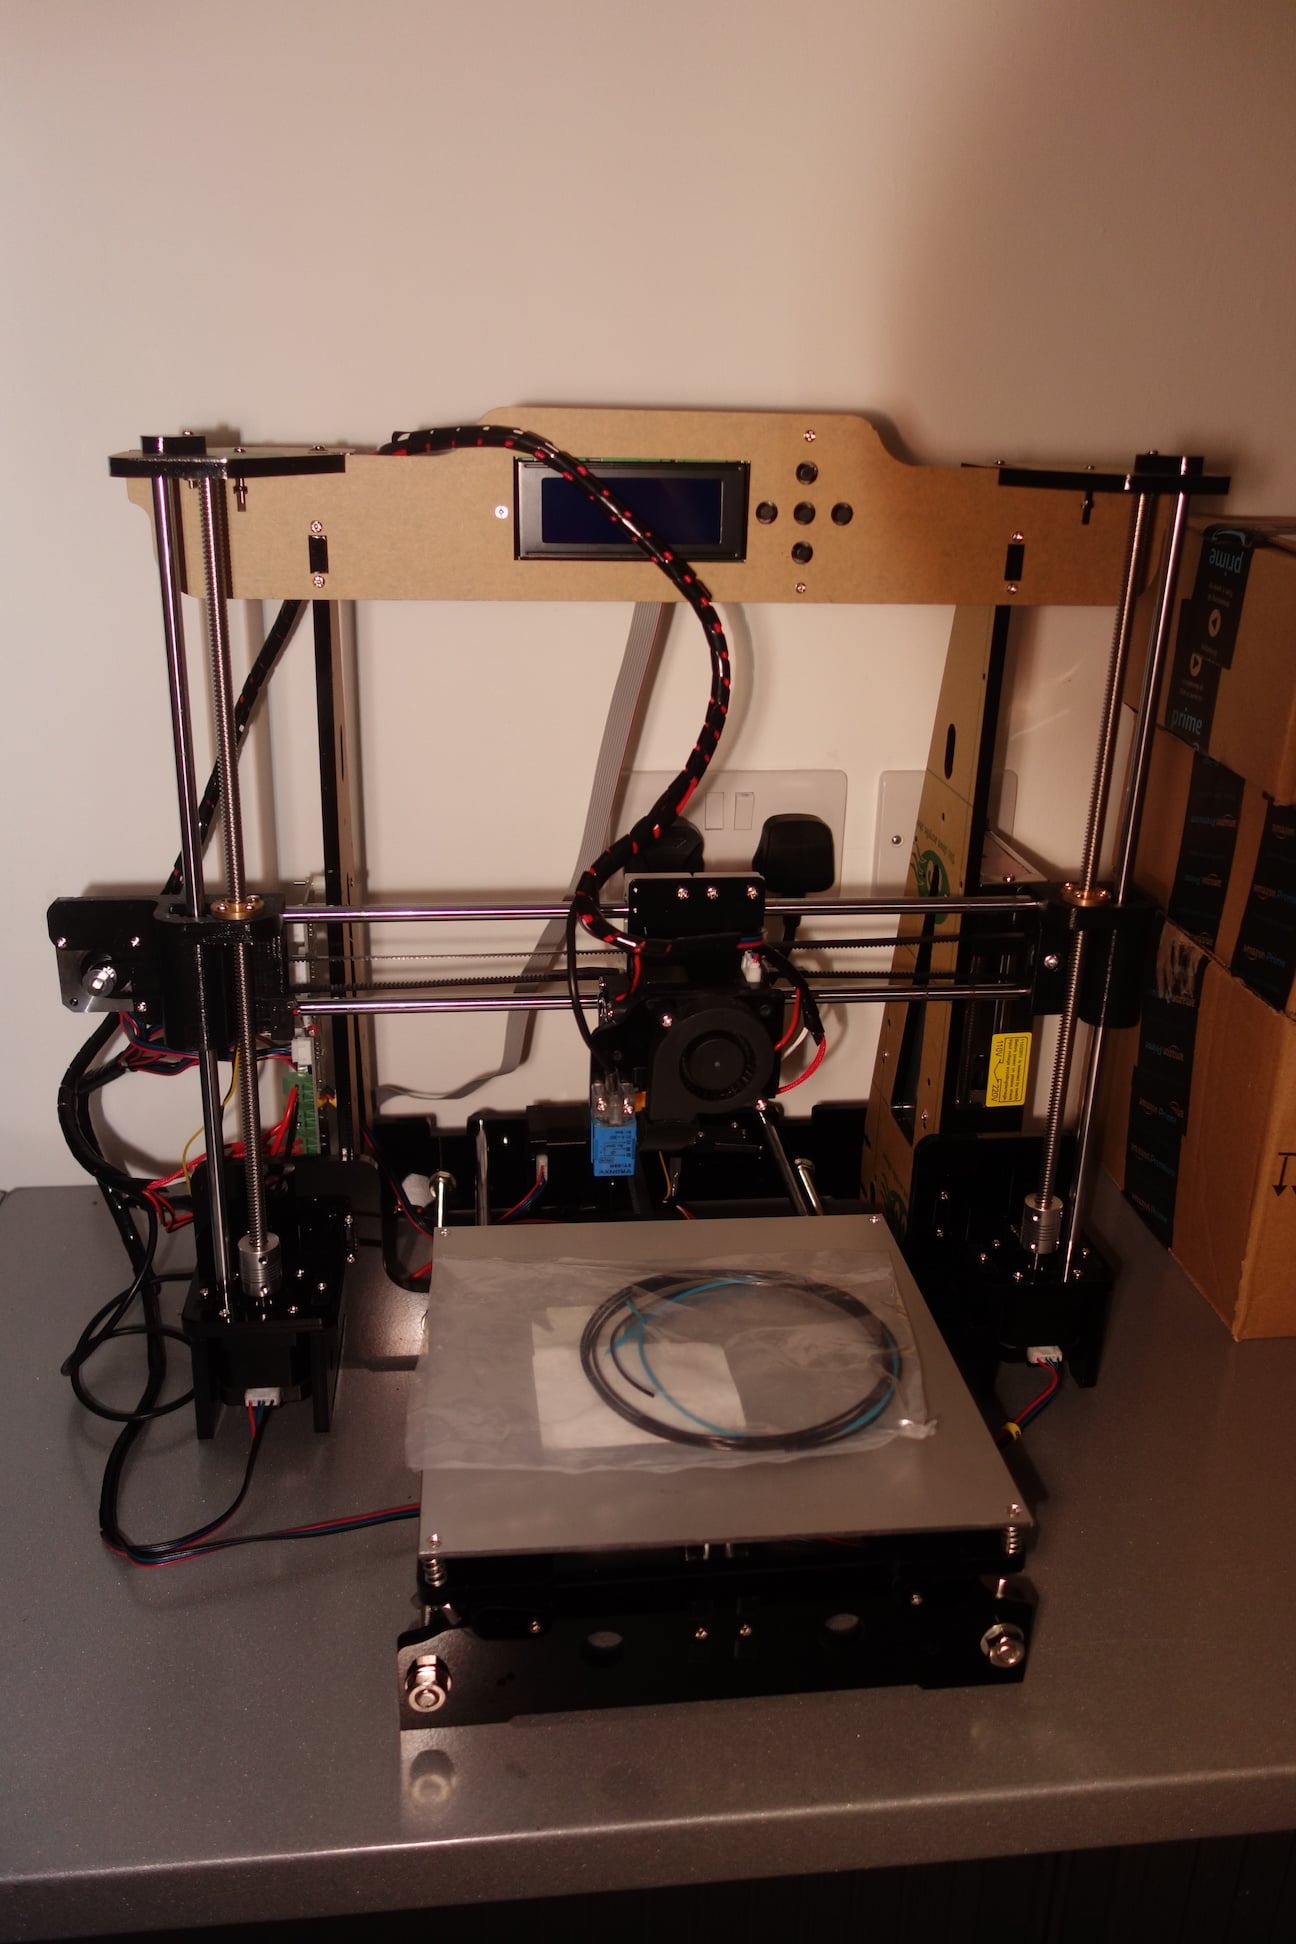
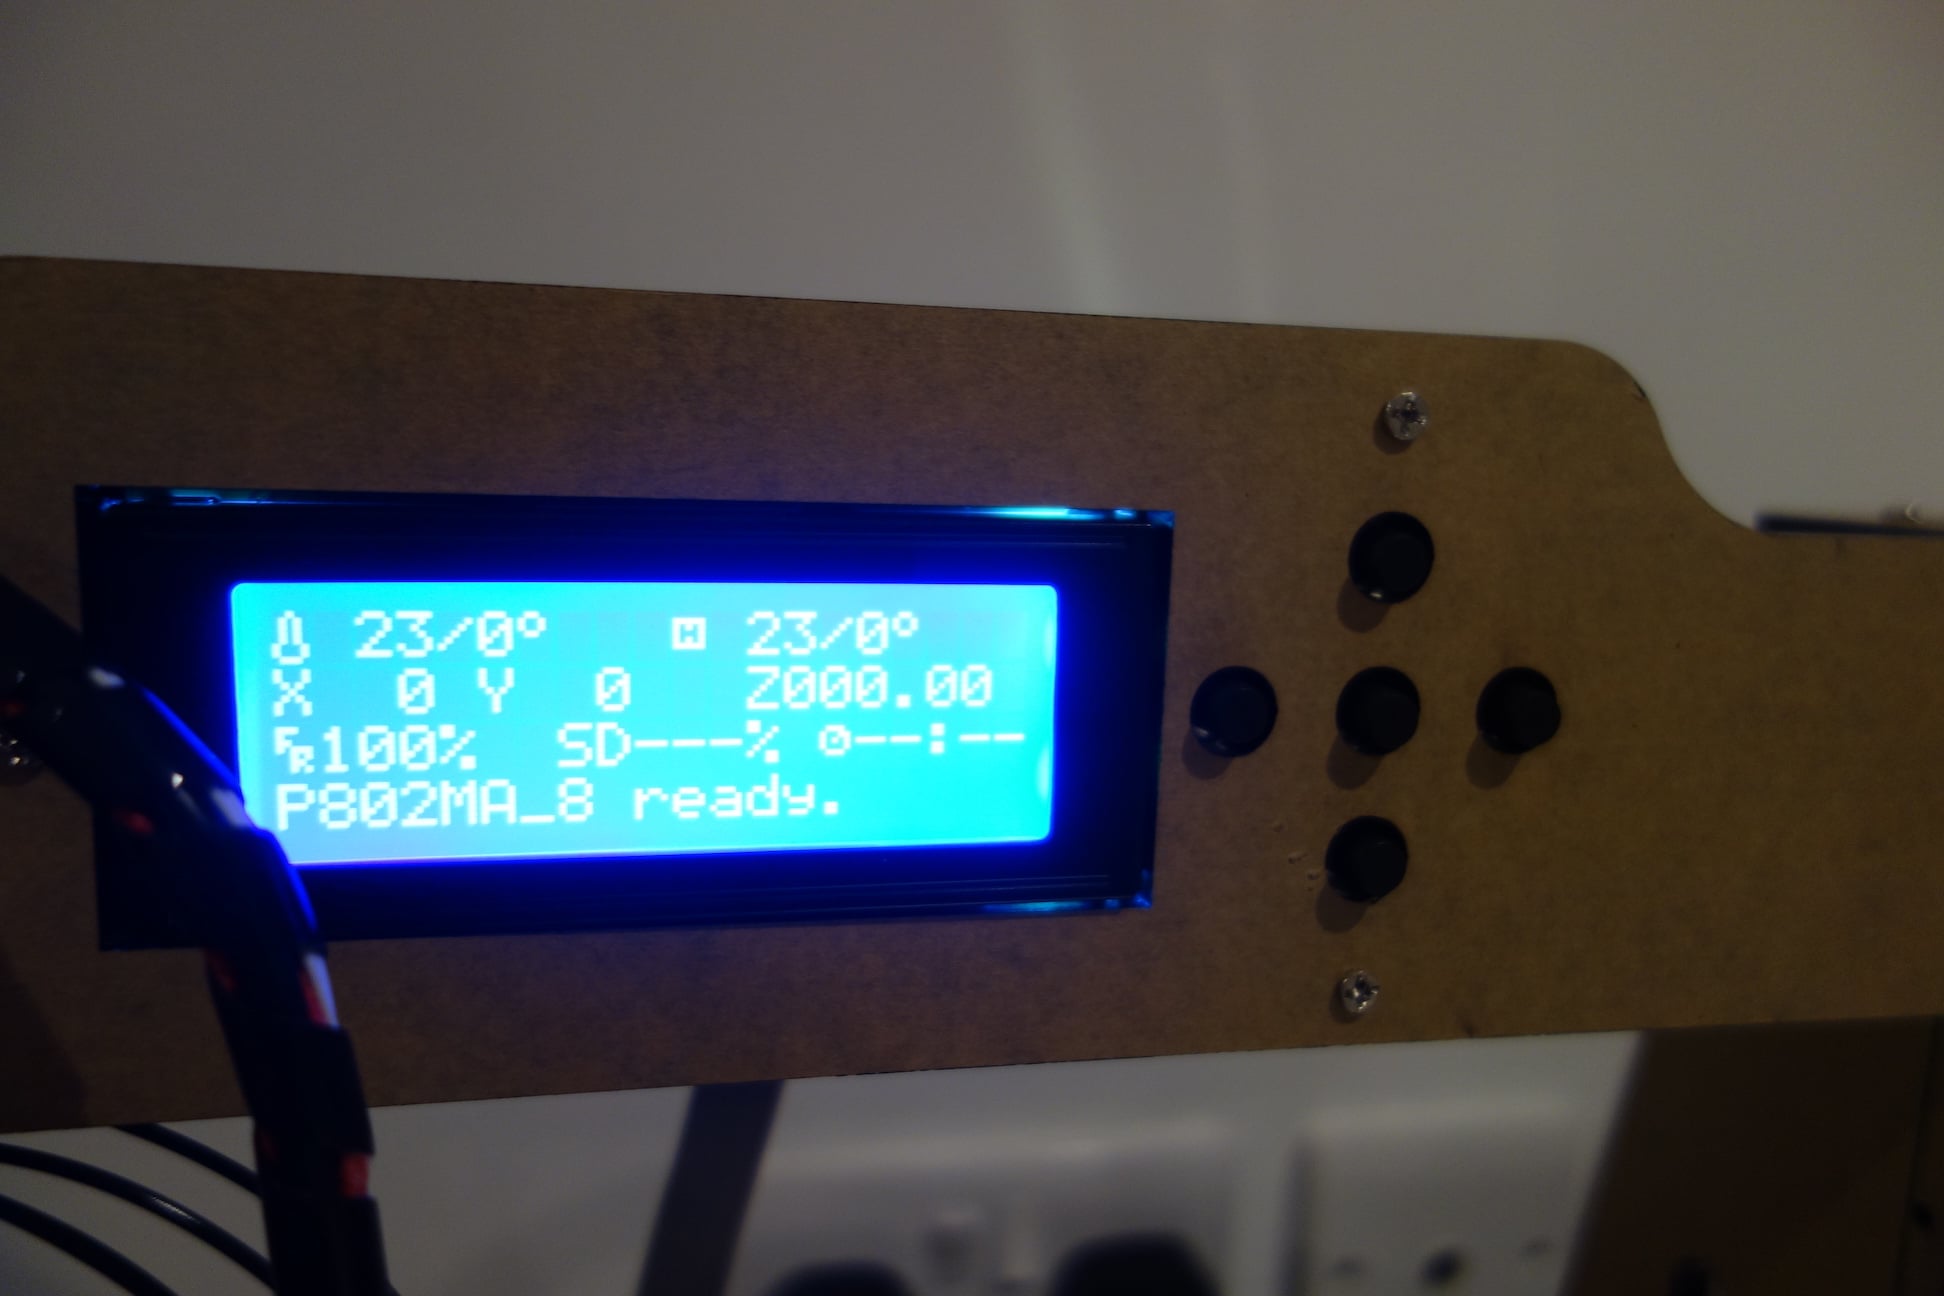
1. TRONXY P802MA (2017-08)
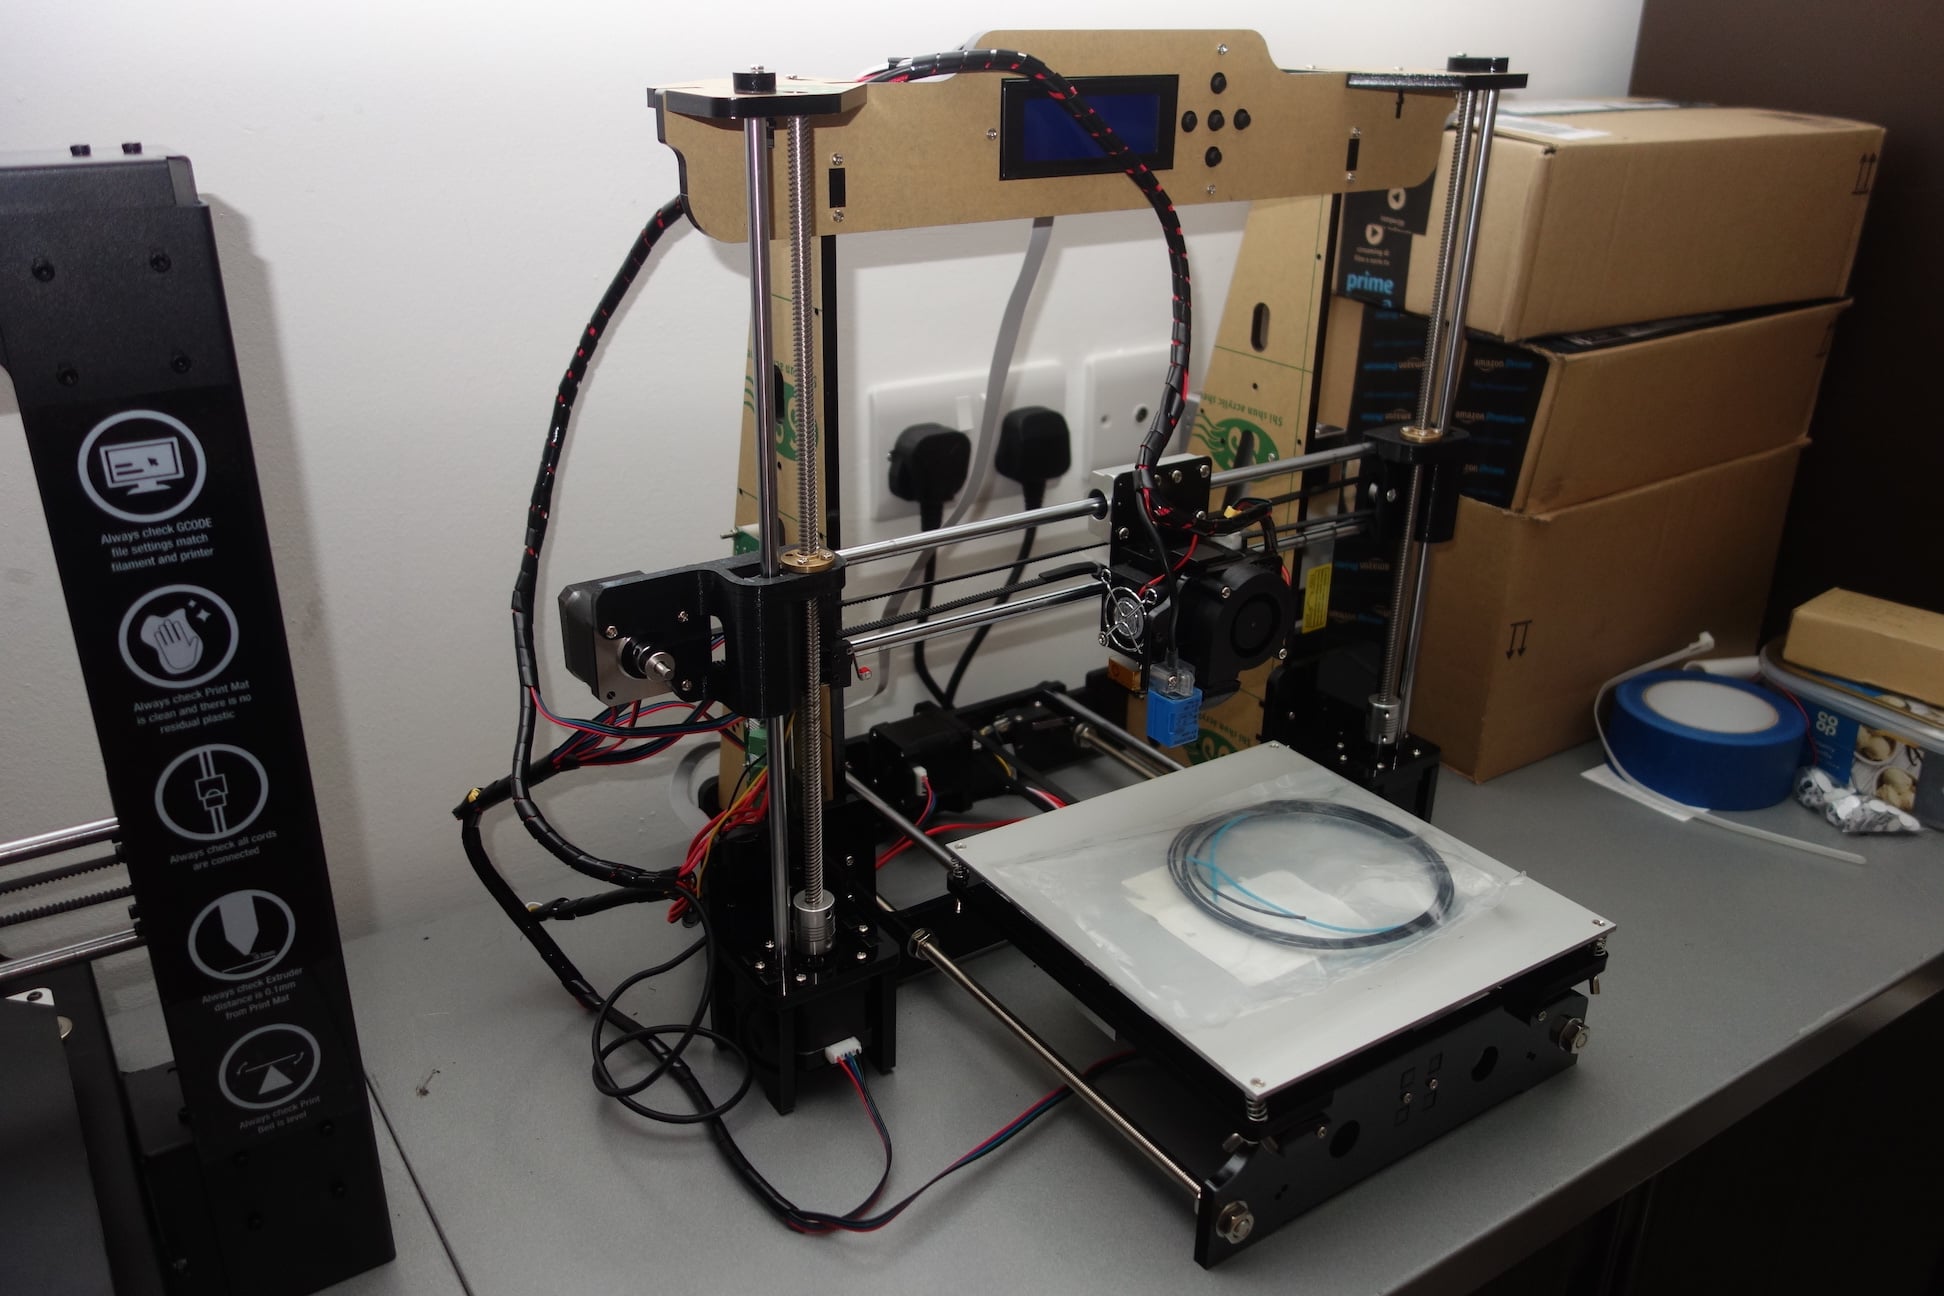
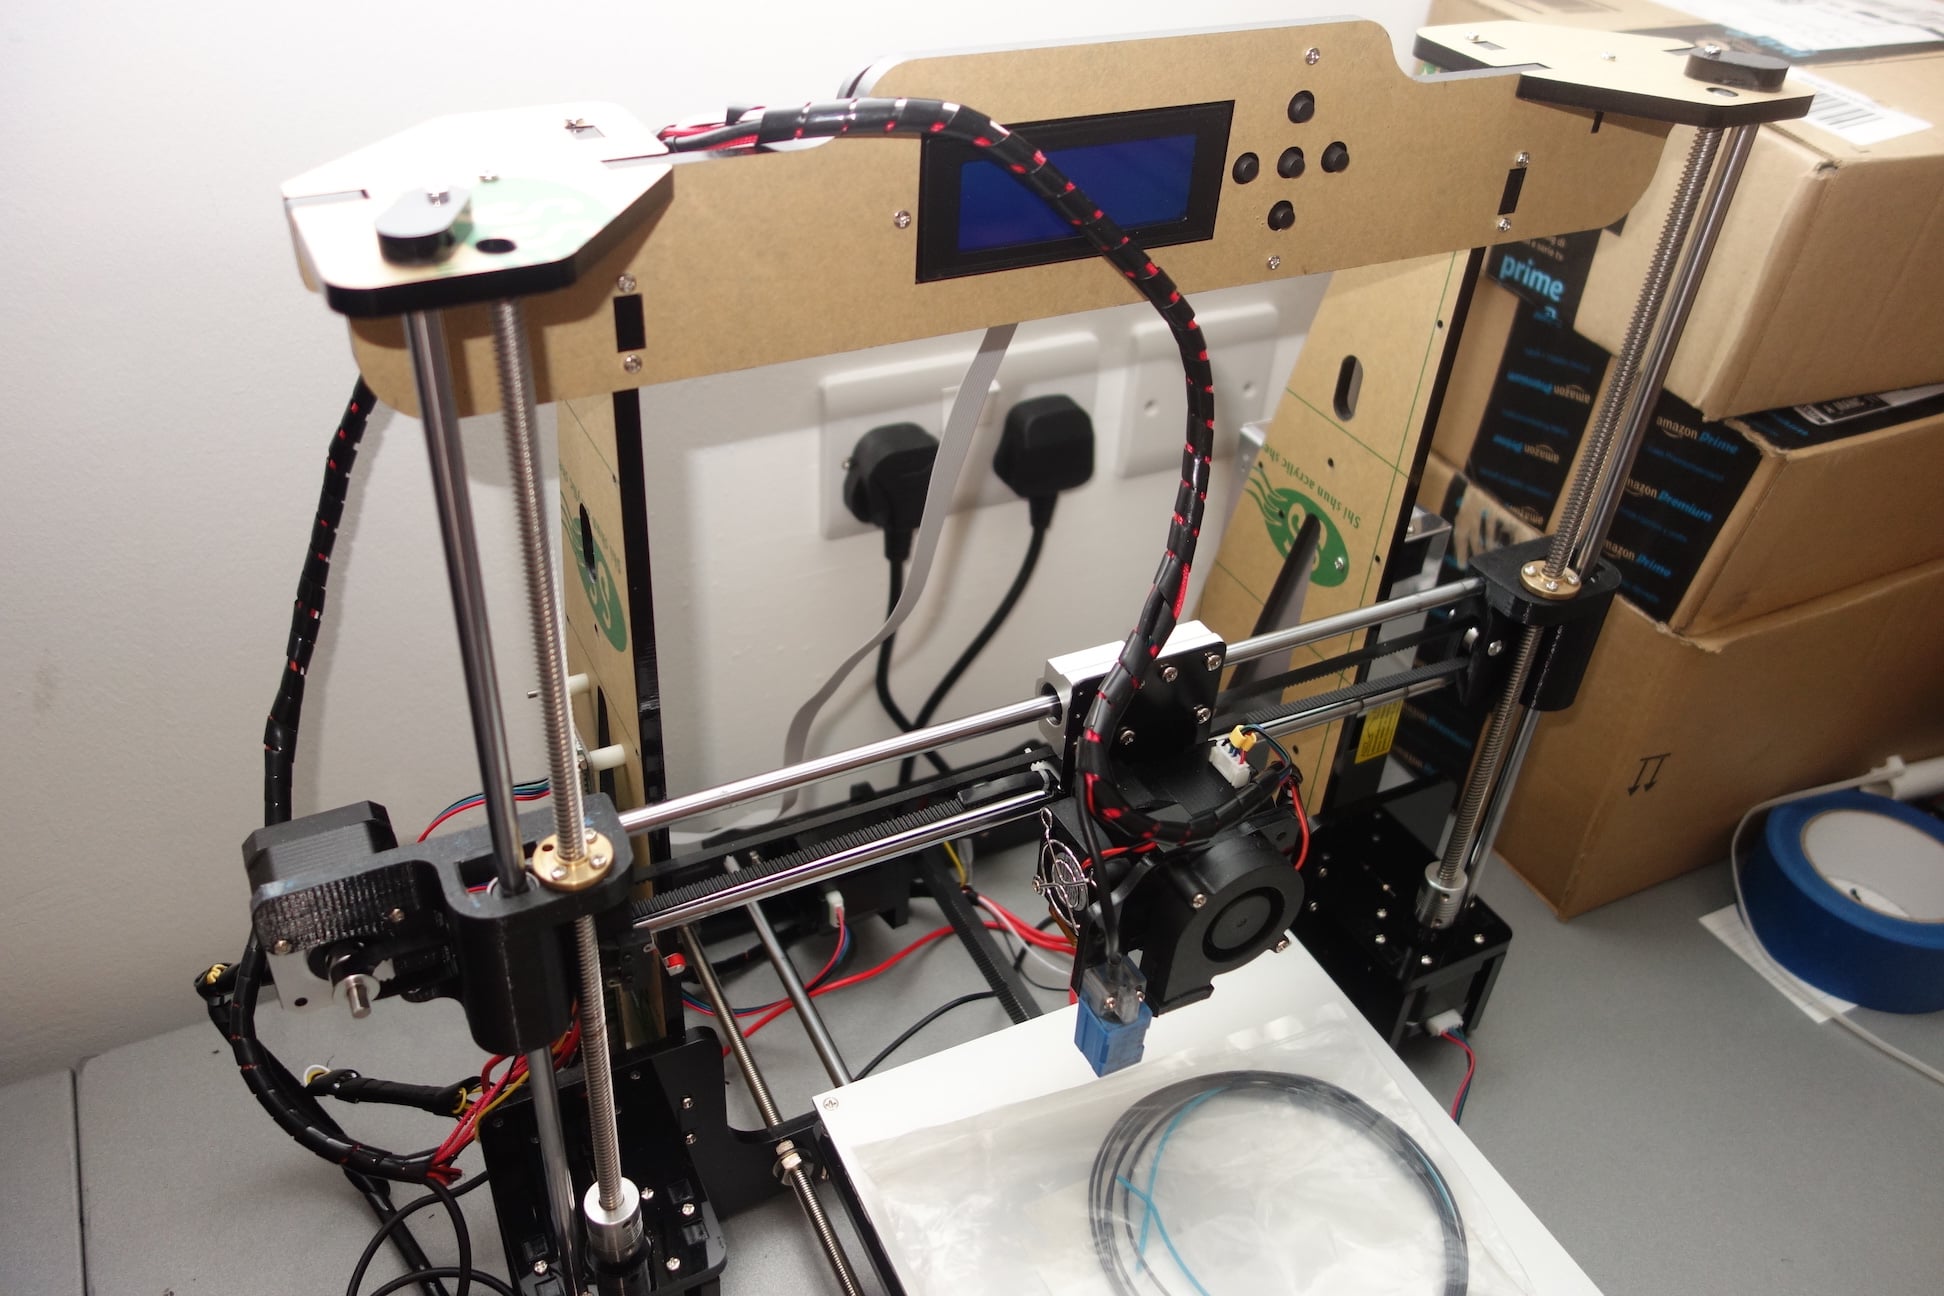
The first 3D printer I ever owned was a generic Chinese i3-style printer that cost £160 in 2017. It arrived as a kit, all the parts of the printer had to be assembled and individually tuned.
Positives
- Very cheap
- Sold in kit form which meant I was forced to learn how to assemble, tune and troubleshoot every printer part (at the very least)
- Came with a spool of 0.5kg black PLA
- Came with an SD card and a USB to SD stick
- Came with an inductive ABL device (auto-bed-leveling)
Negatives
- No included instructions on how to use the ABL device
- Did not end up using it since firmware wasn’t correctly programmed to support it
- Included PLA was foul-smelling; had to discard due to the fumes
- Control box and power supply were totally exposed
- Cable management was non-existent
- Out-of-the-box quality of the printer was very low
- Frame material was acrylic
- Accelerations and decelerations of the print head impacted the rest of the printer significantly, causing artifacts in the resulting output
- No print-bed surface of any kind: blue painter’s tape was included for basic print adhesion but tape would fray and have to be reapplied almost every print
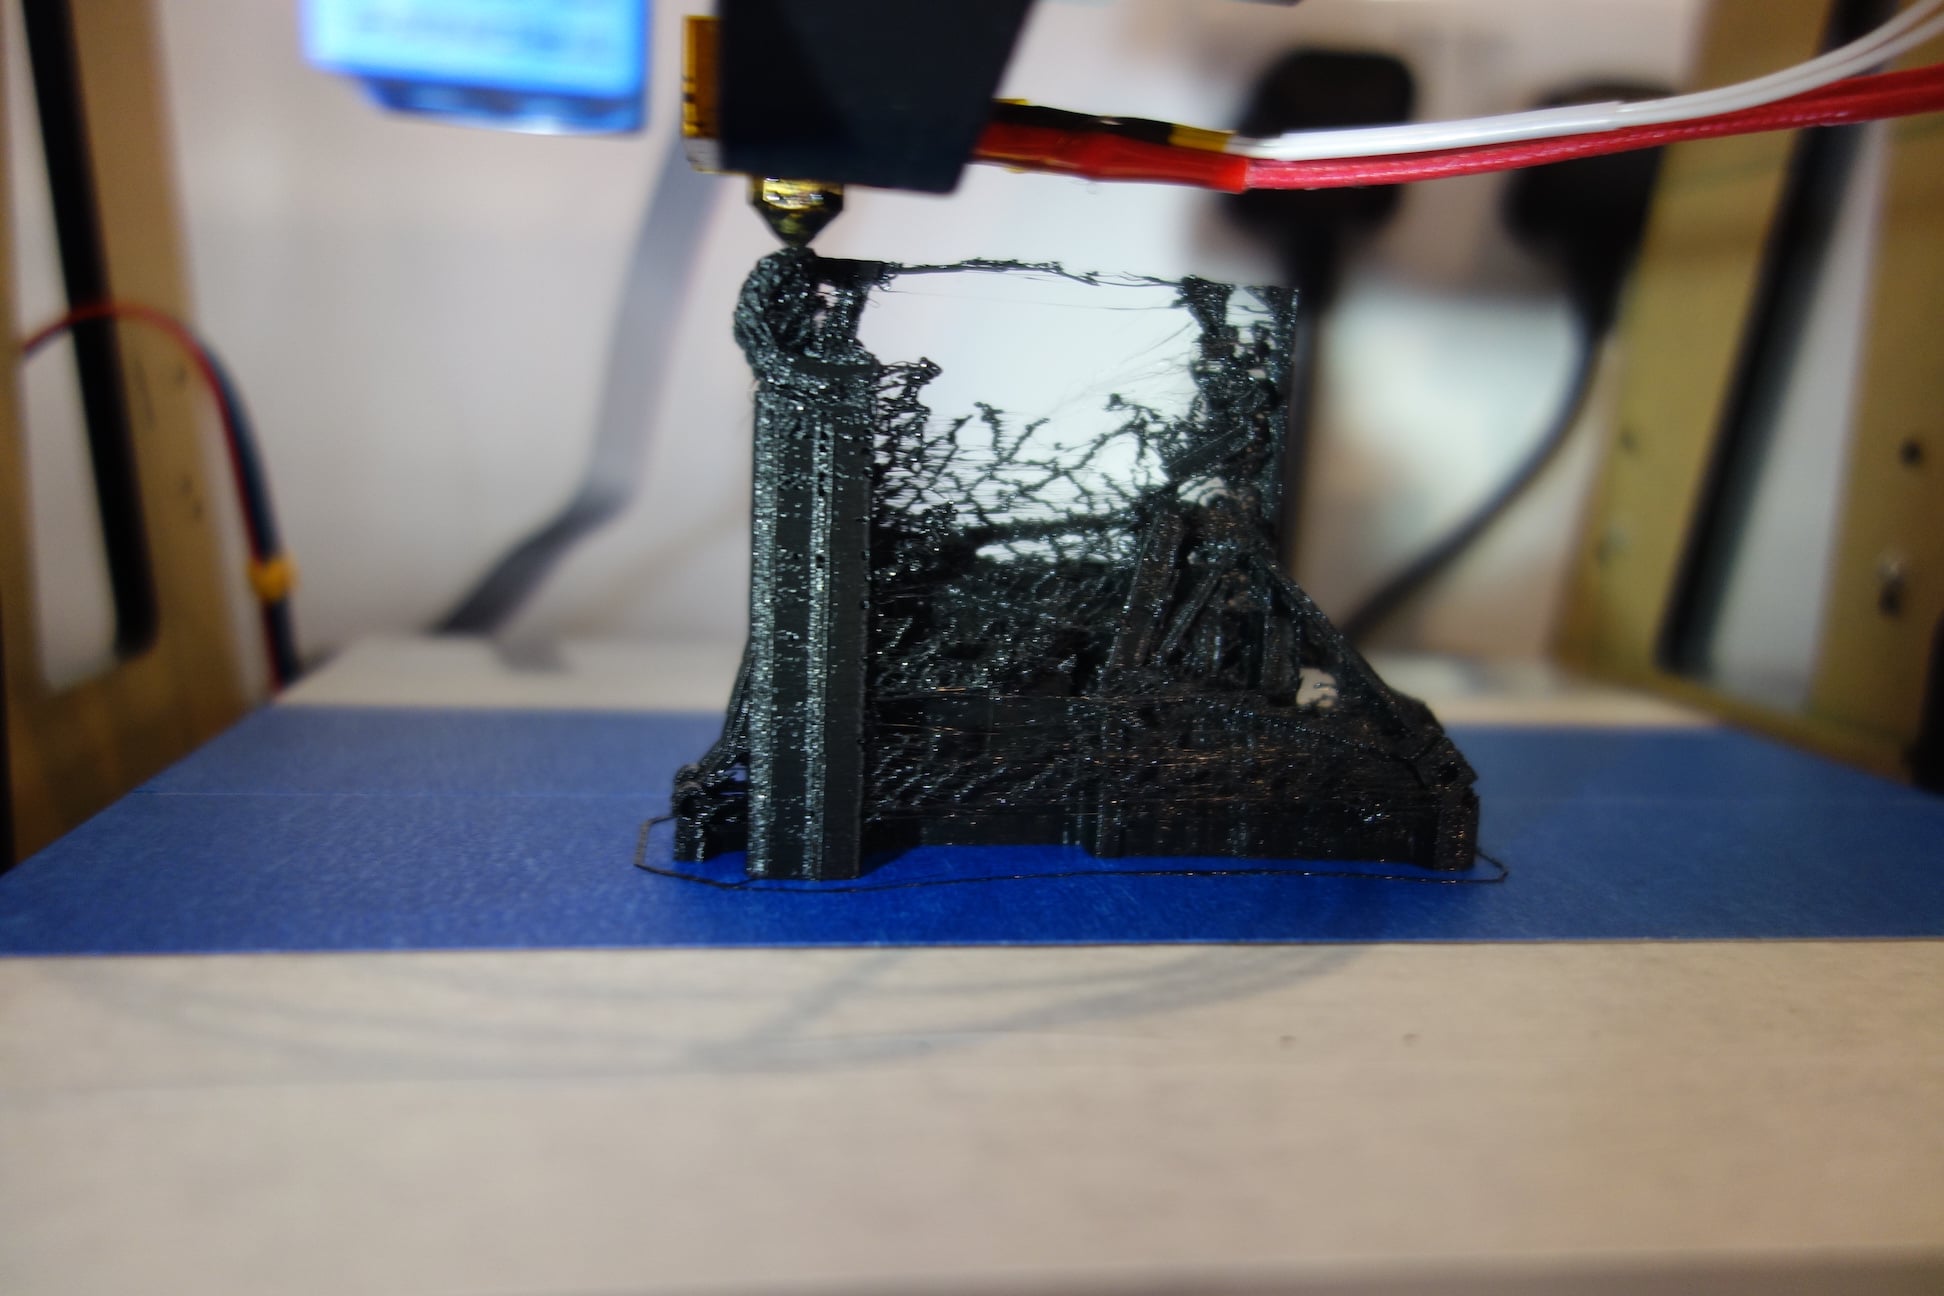
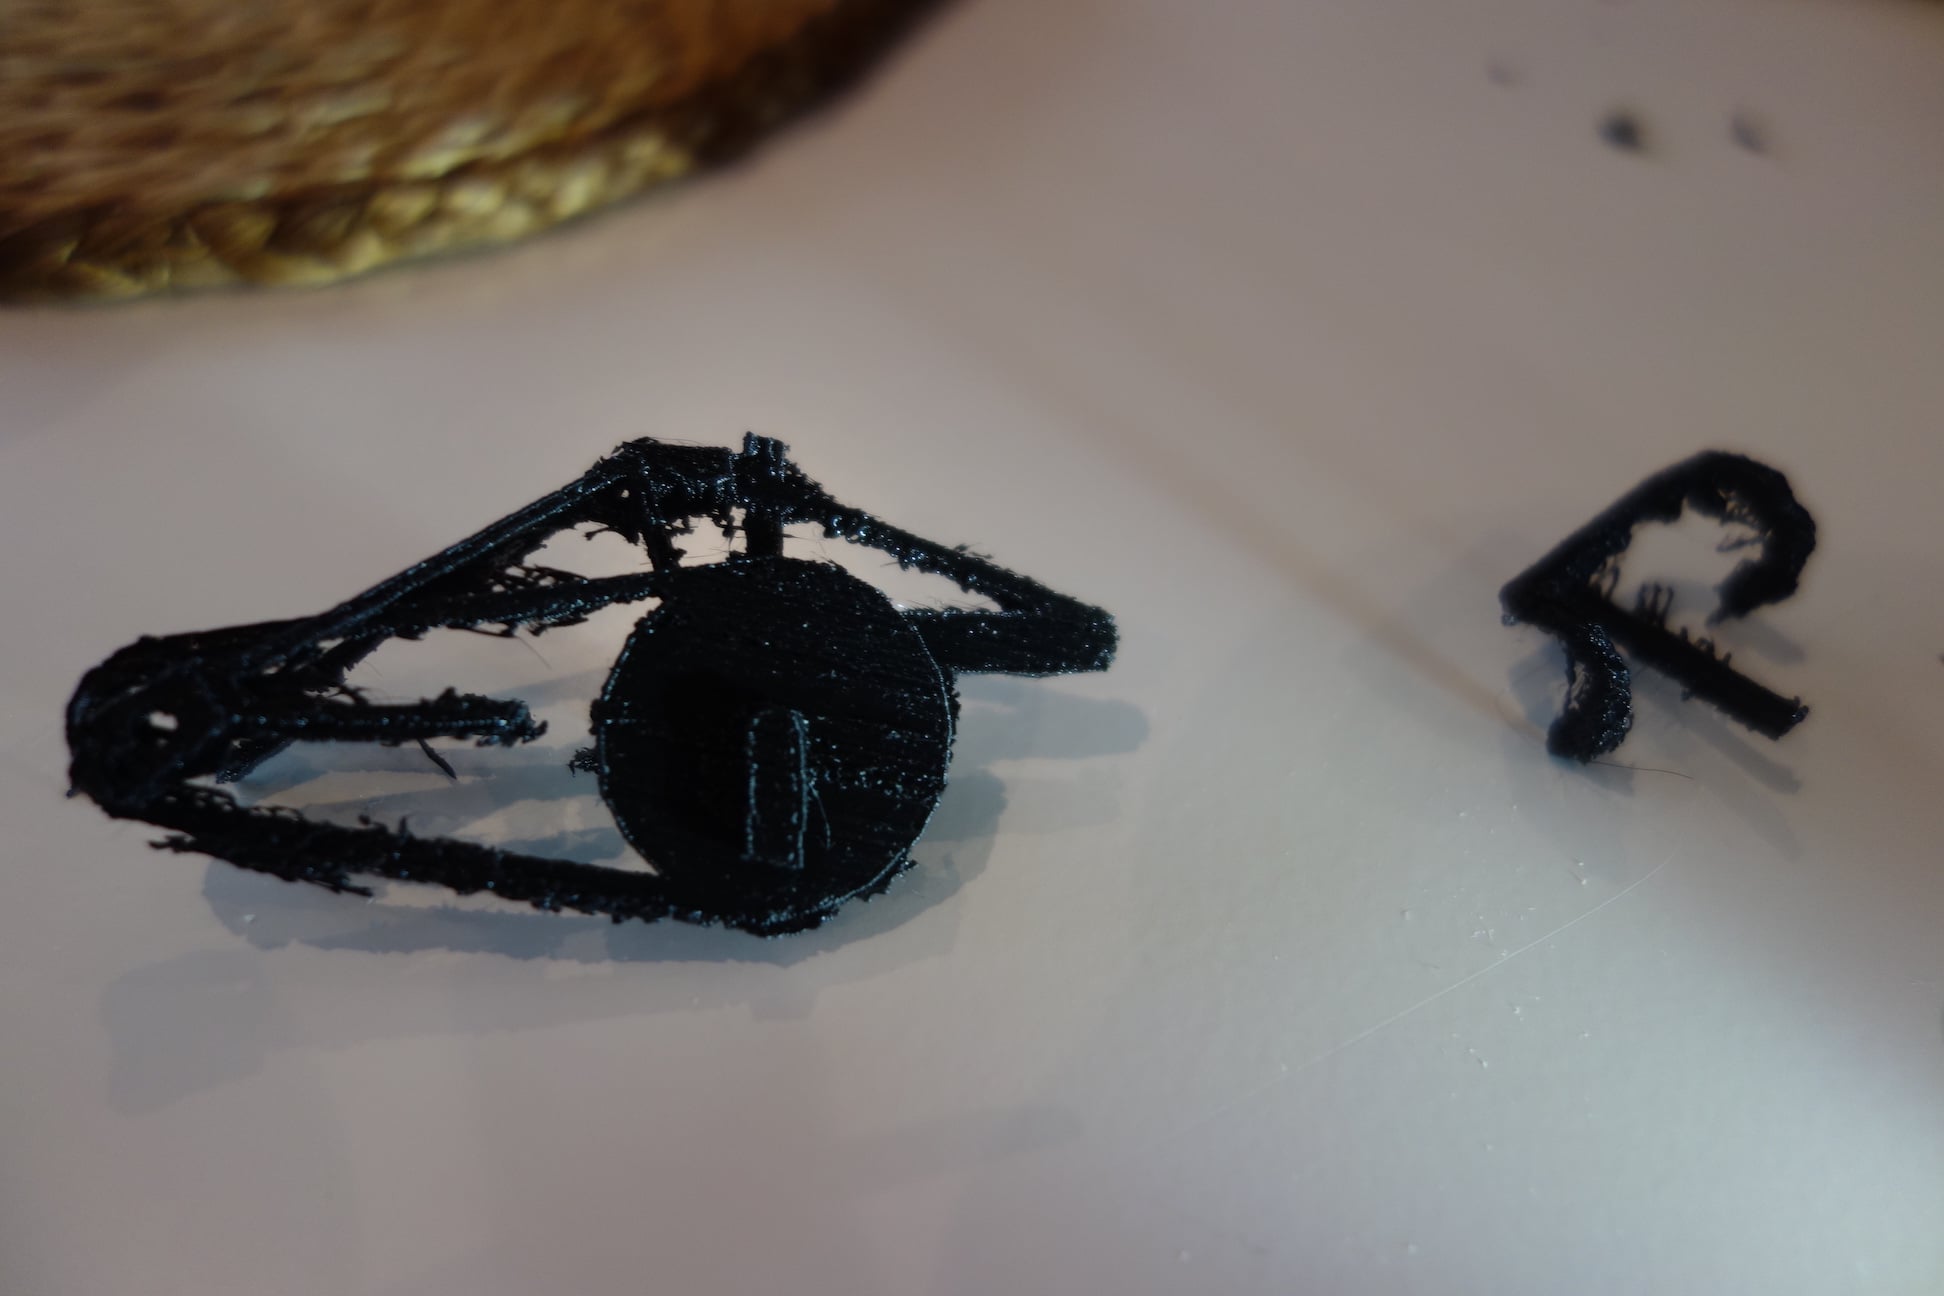
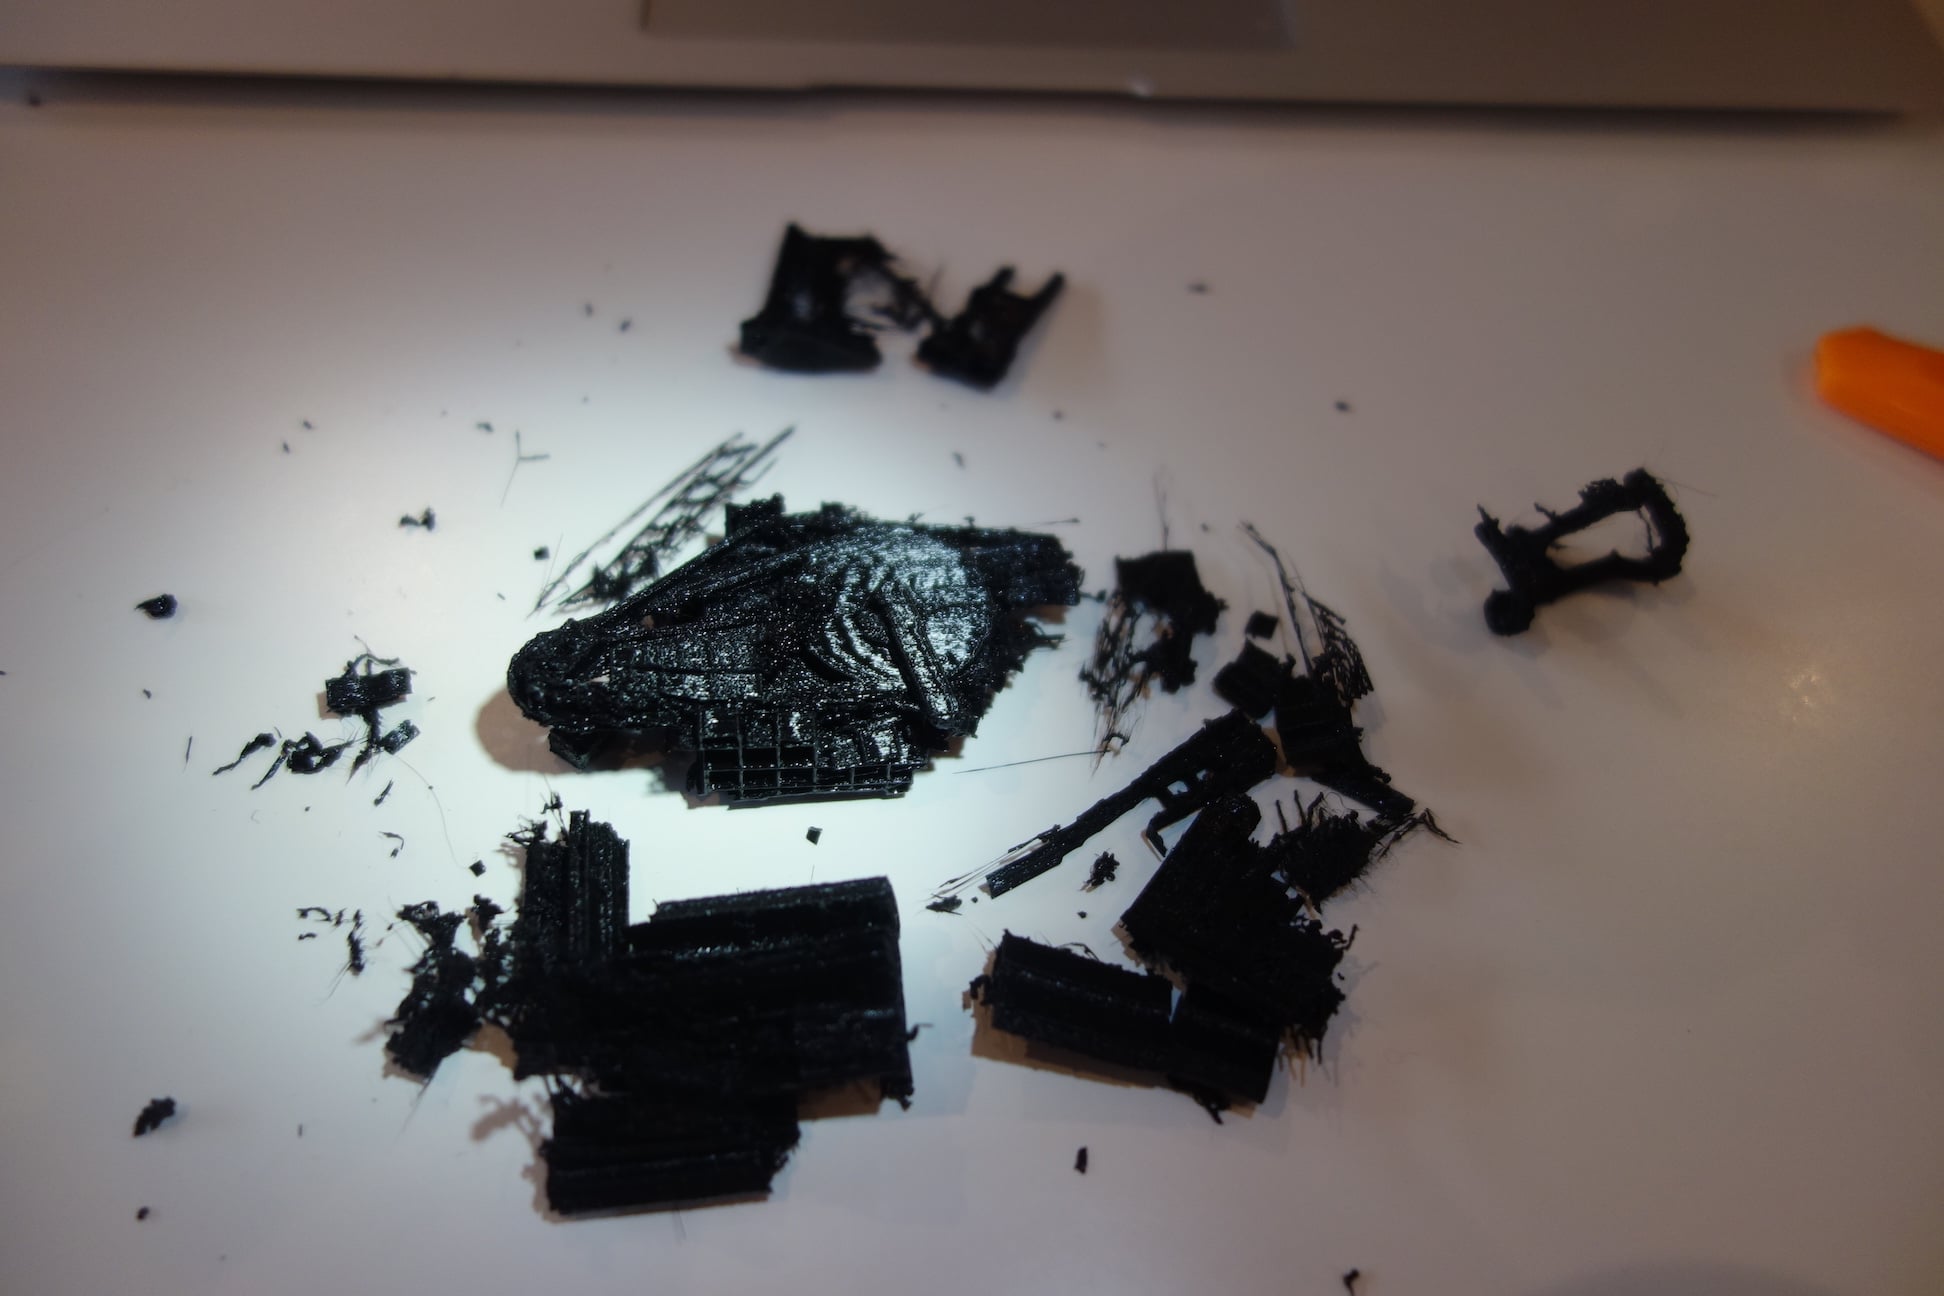
I printed a few objects on it but with a novice level of mechanical engineering knowledge of 3D printing, it wasn’t possible to achieve better results without significant hurdles and large expenses in the form of frame / print head / material upgrades.
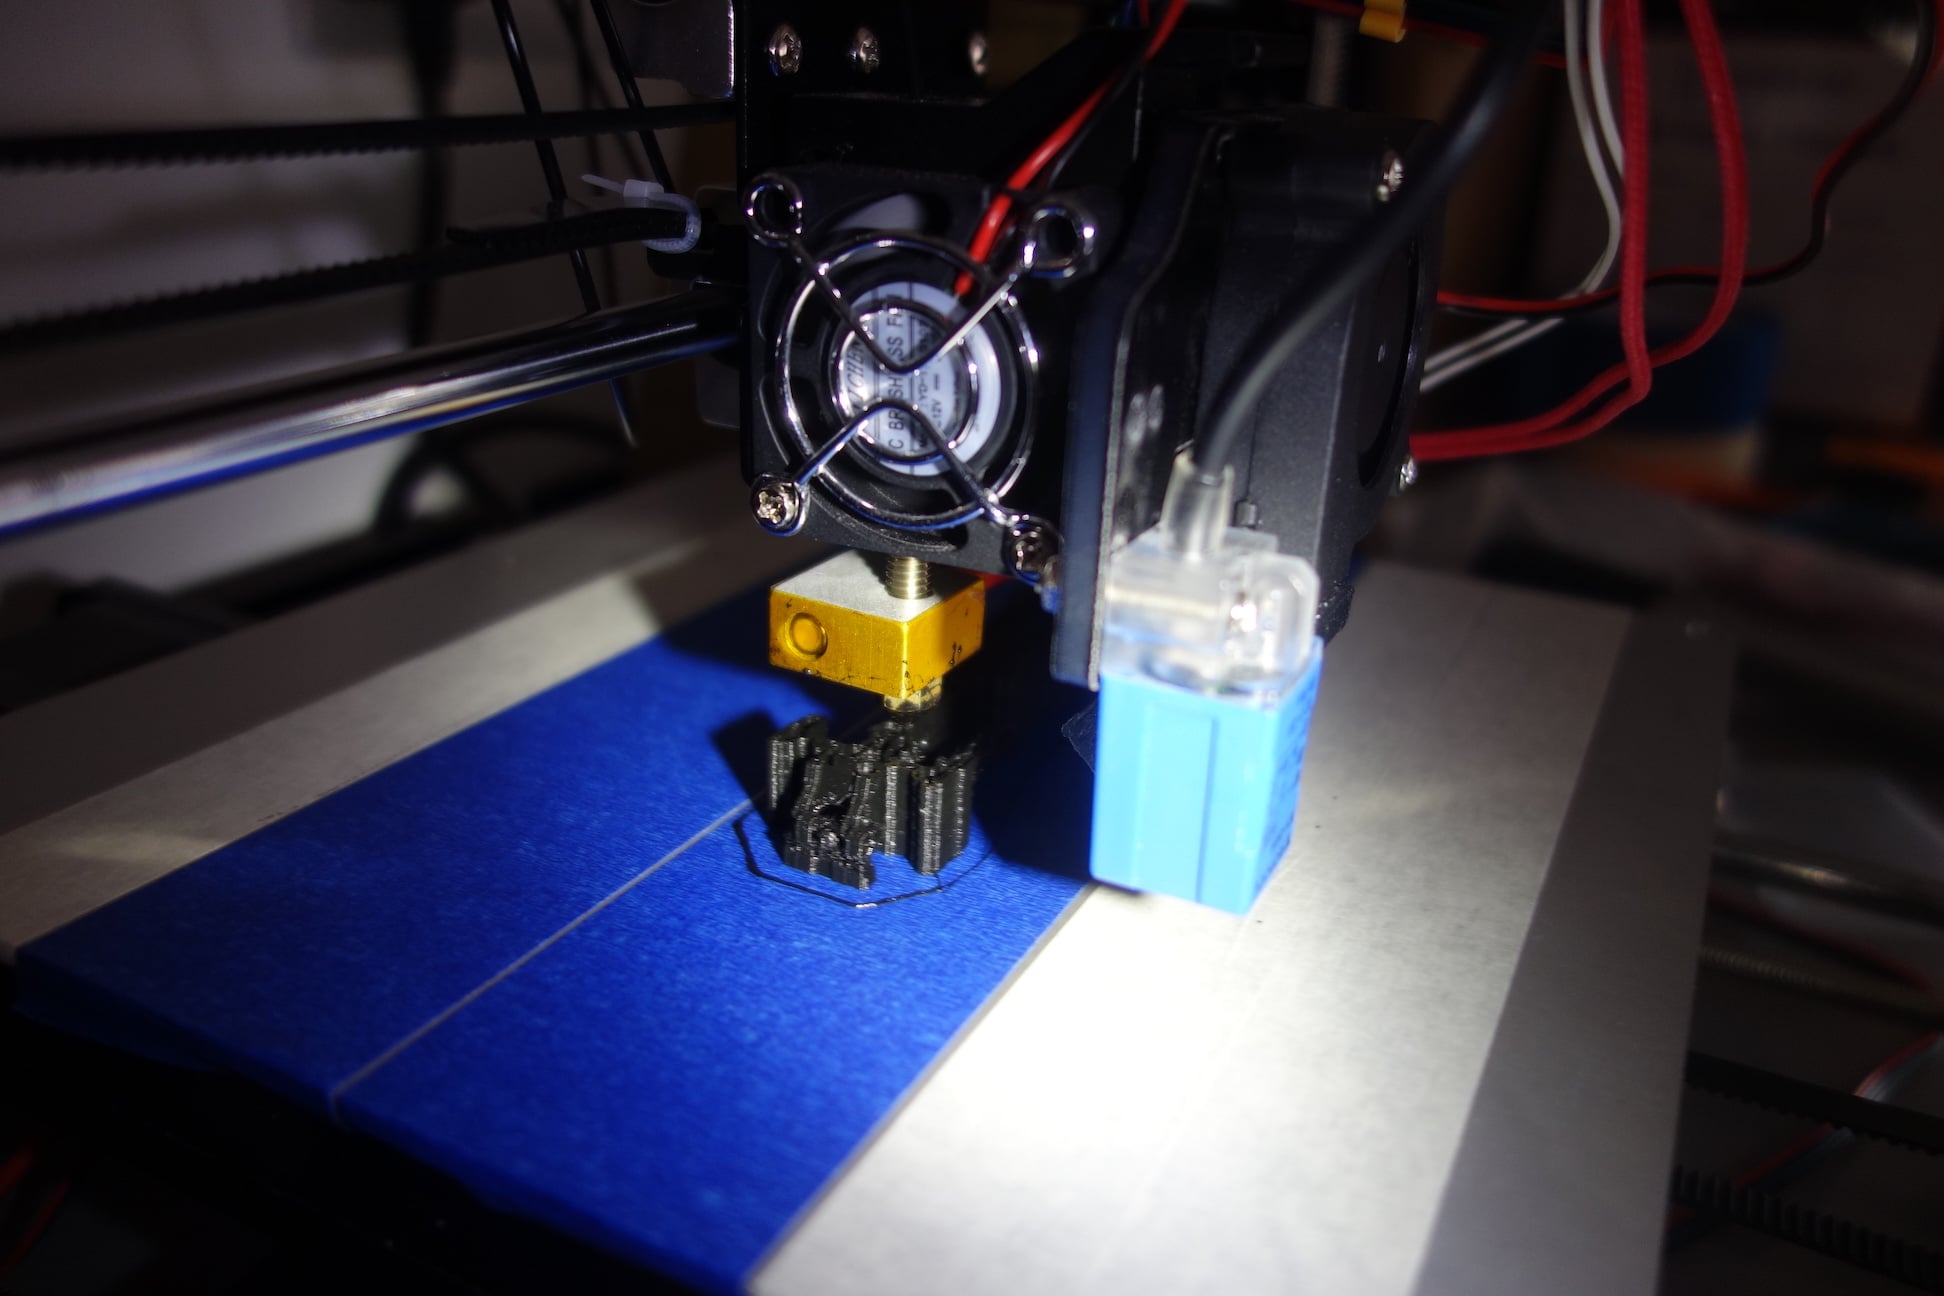
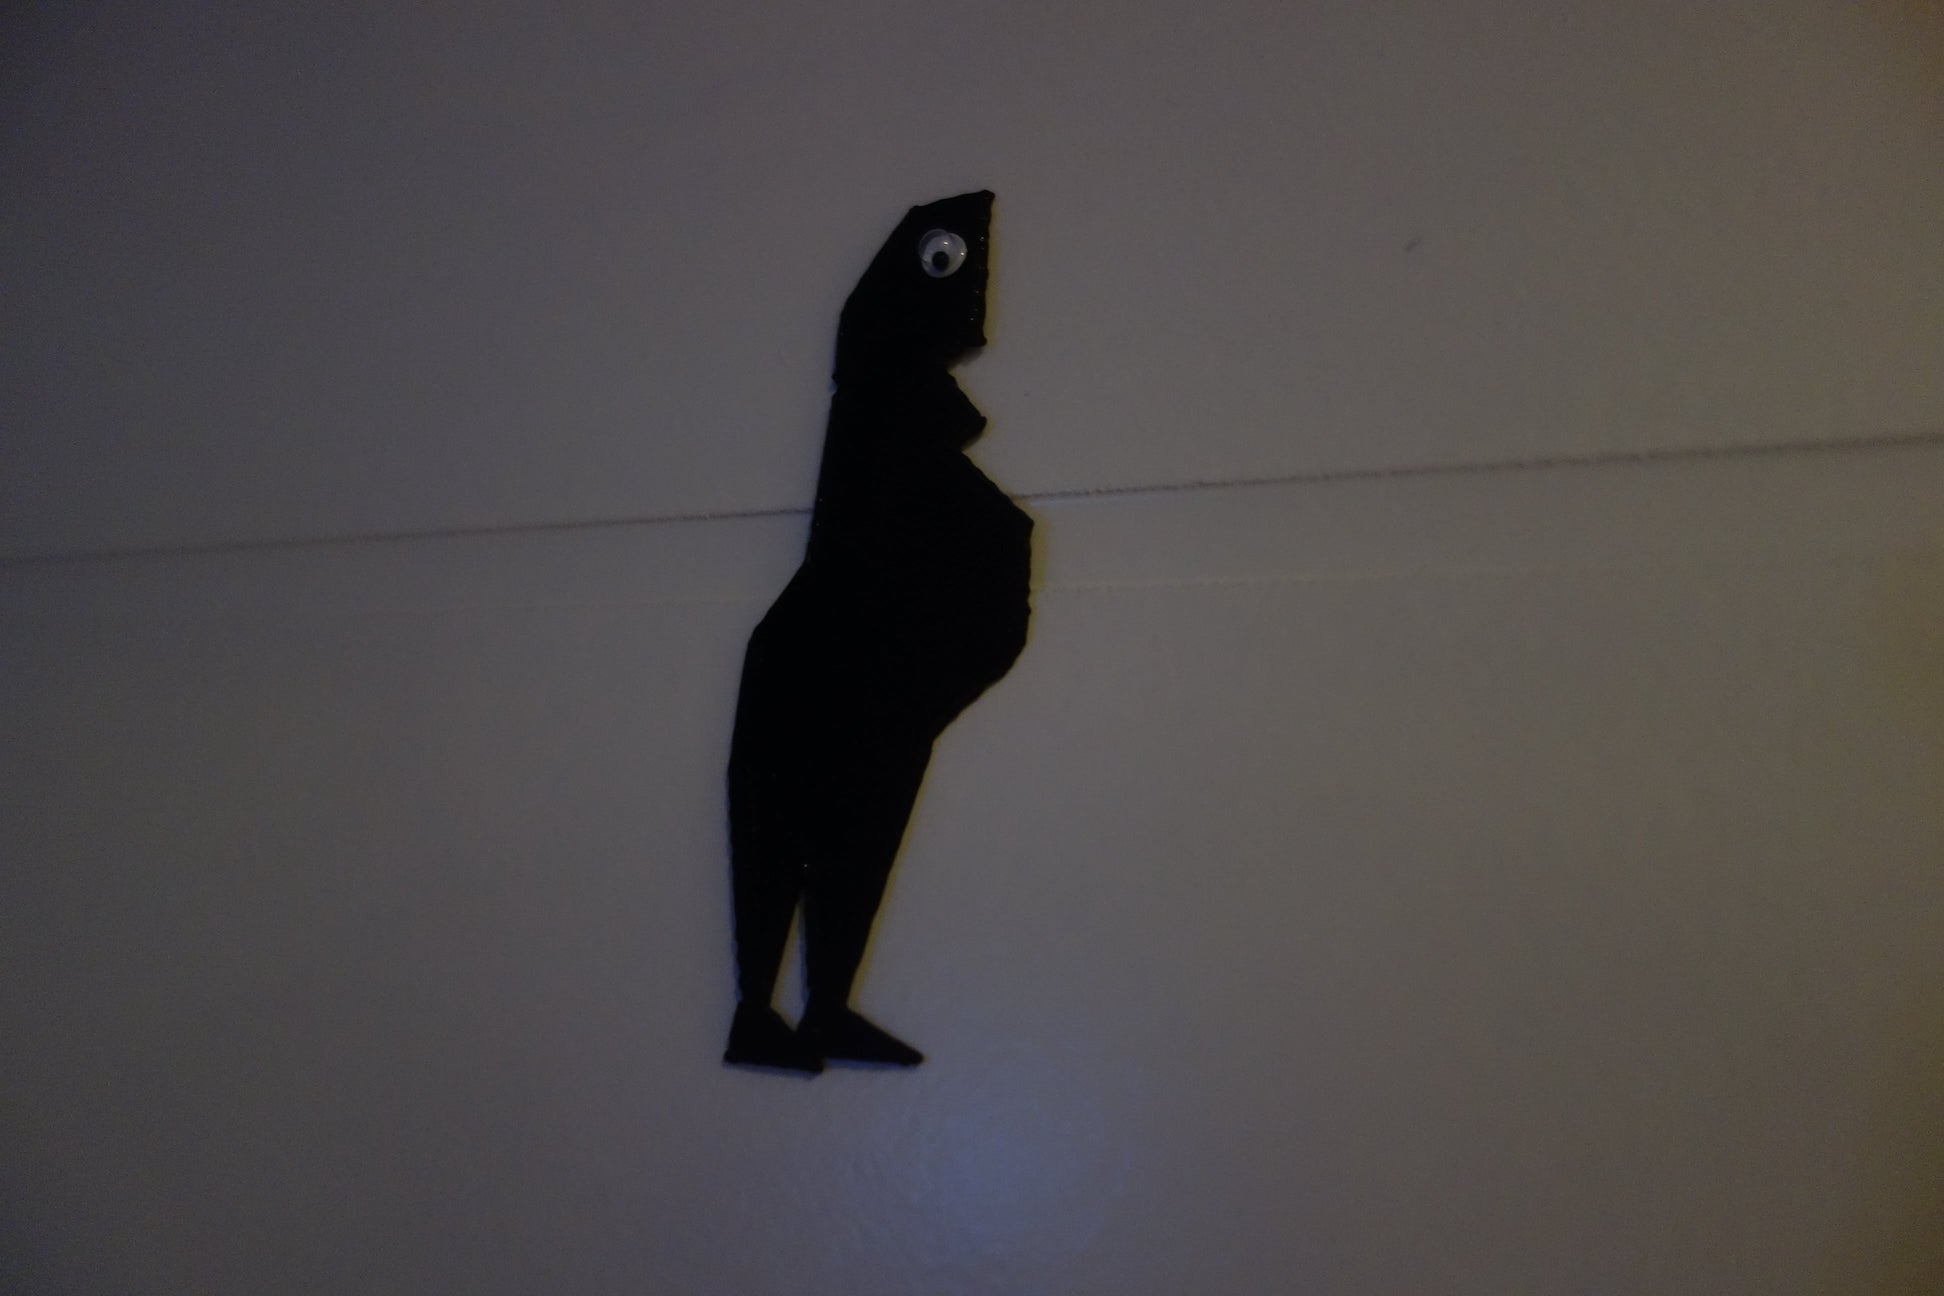
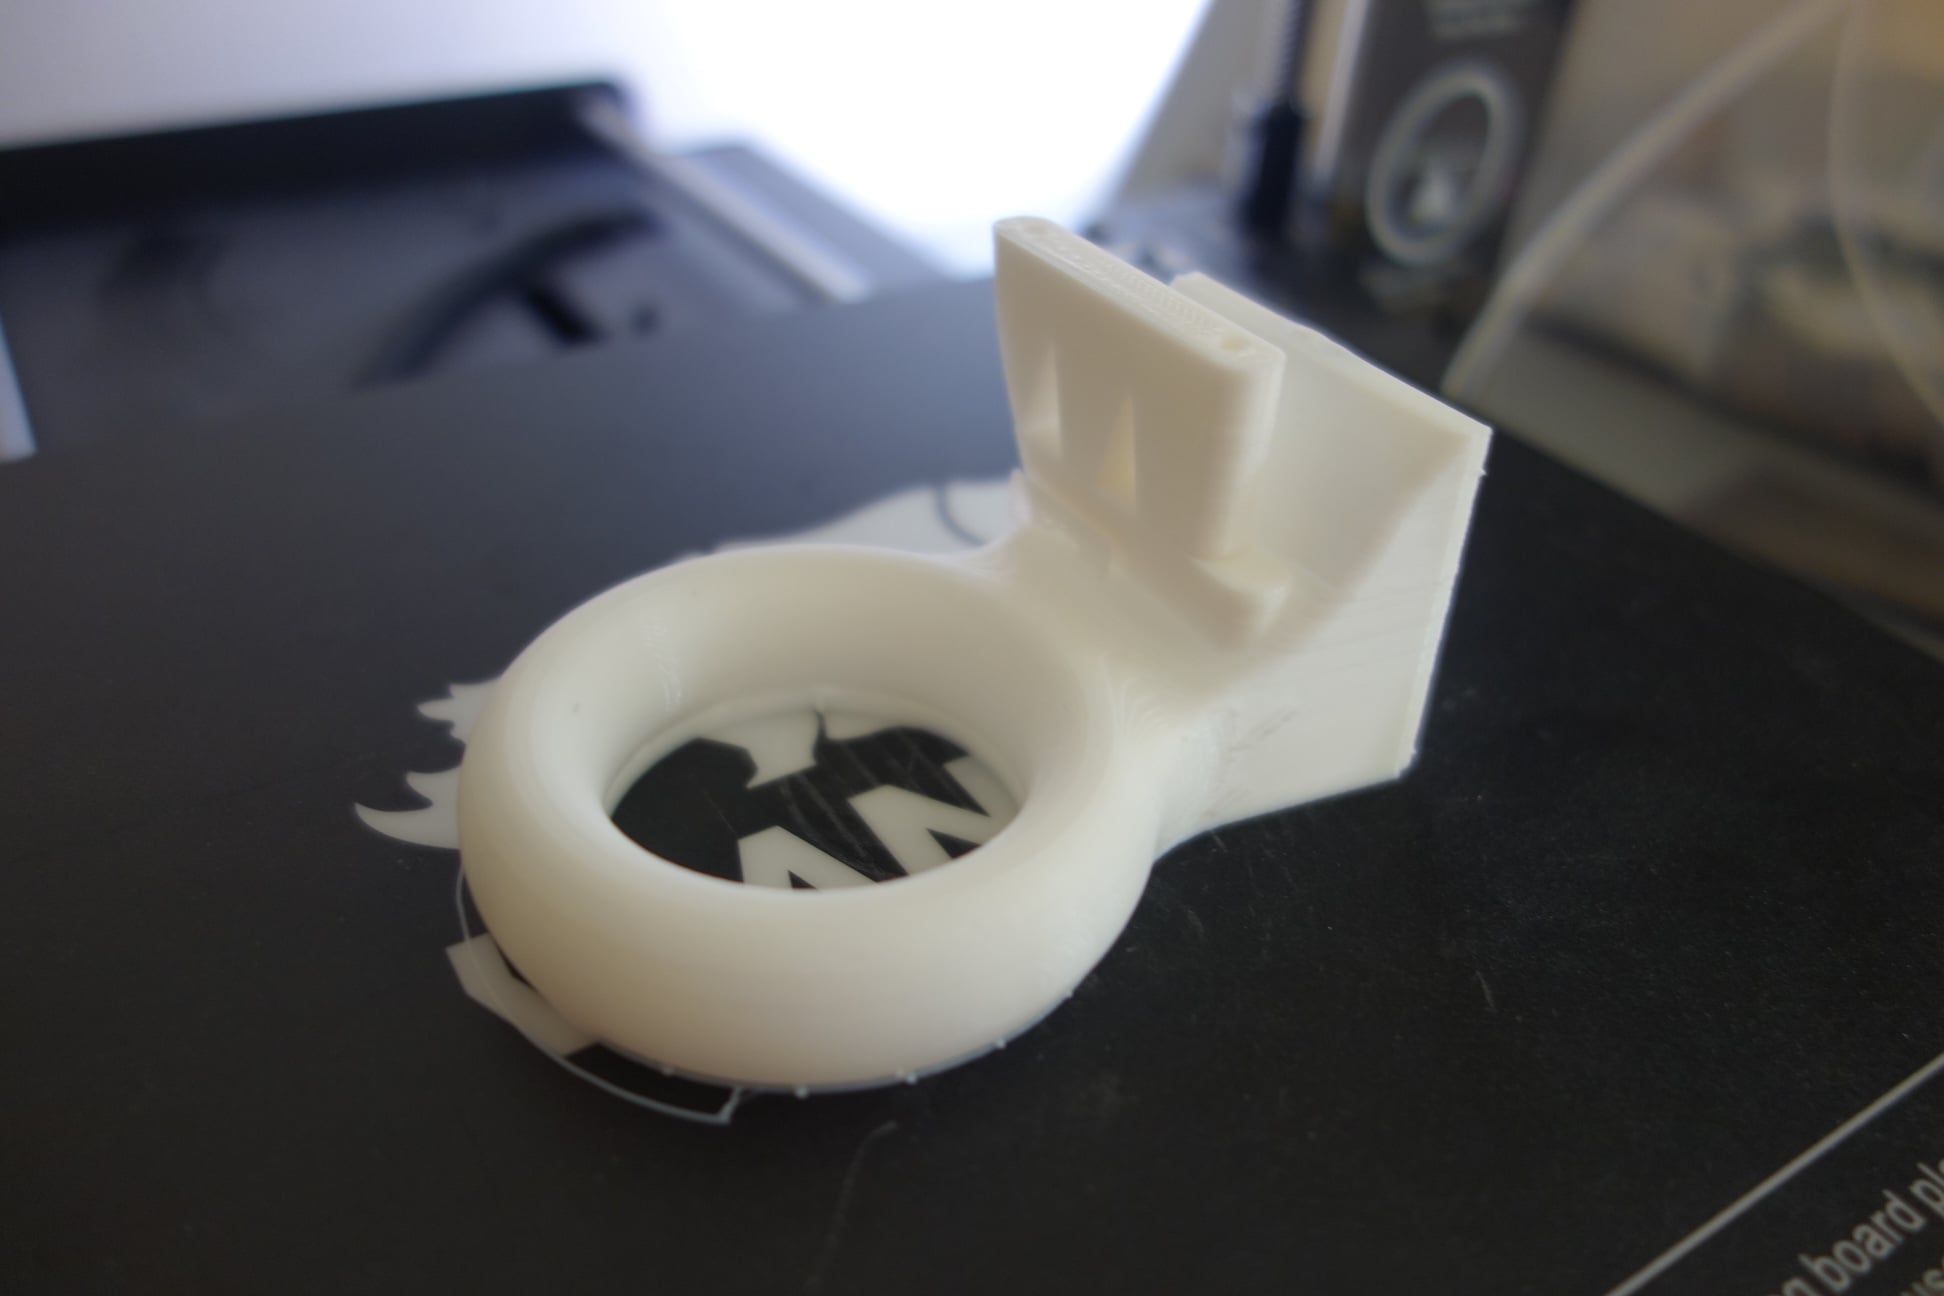
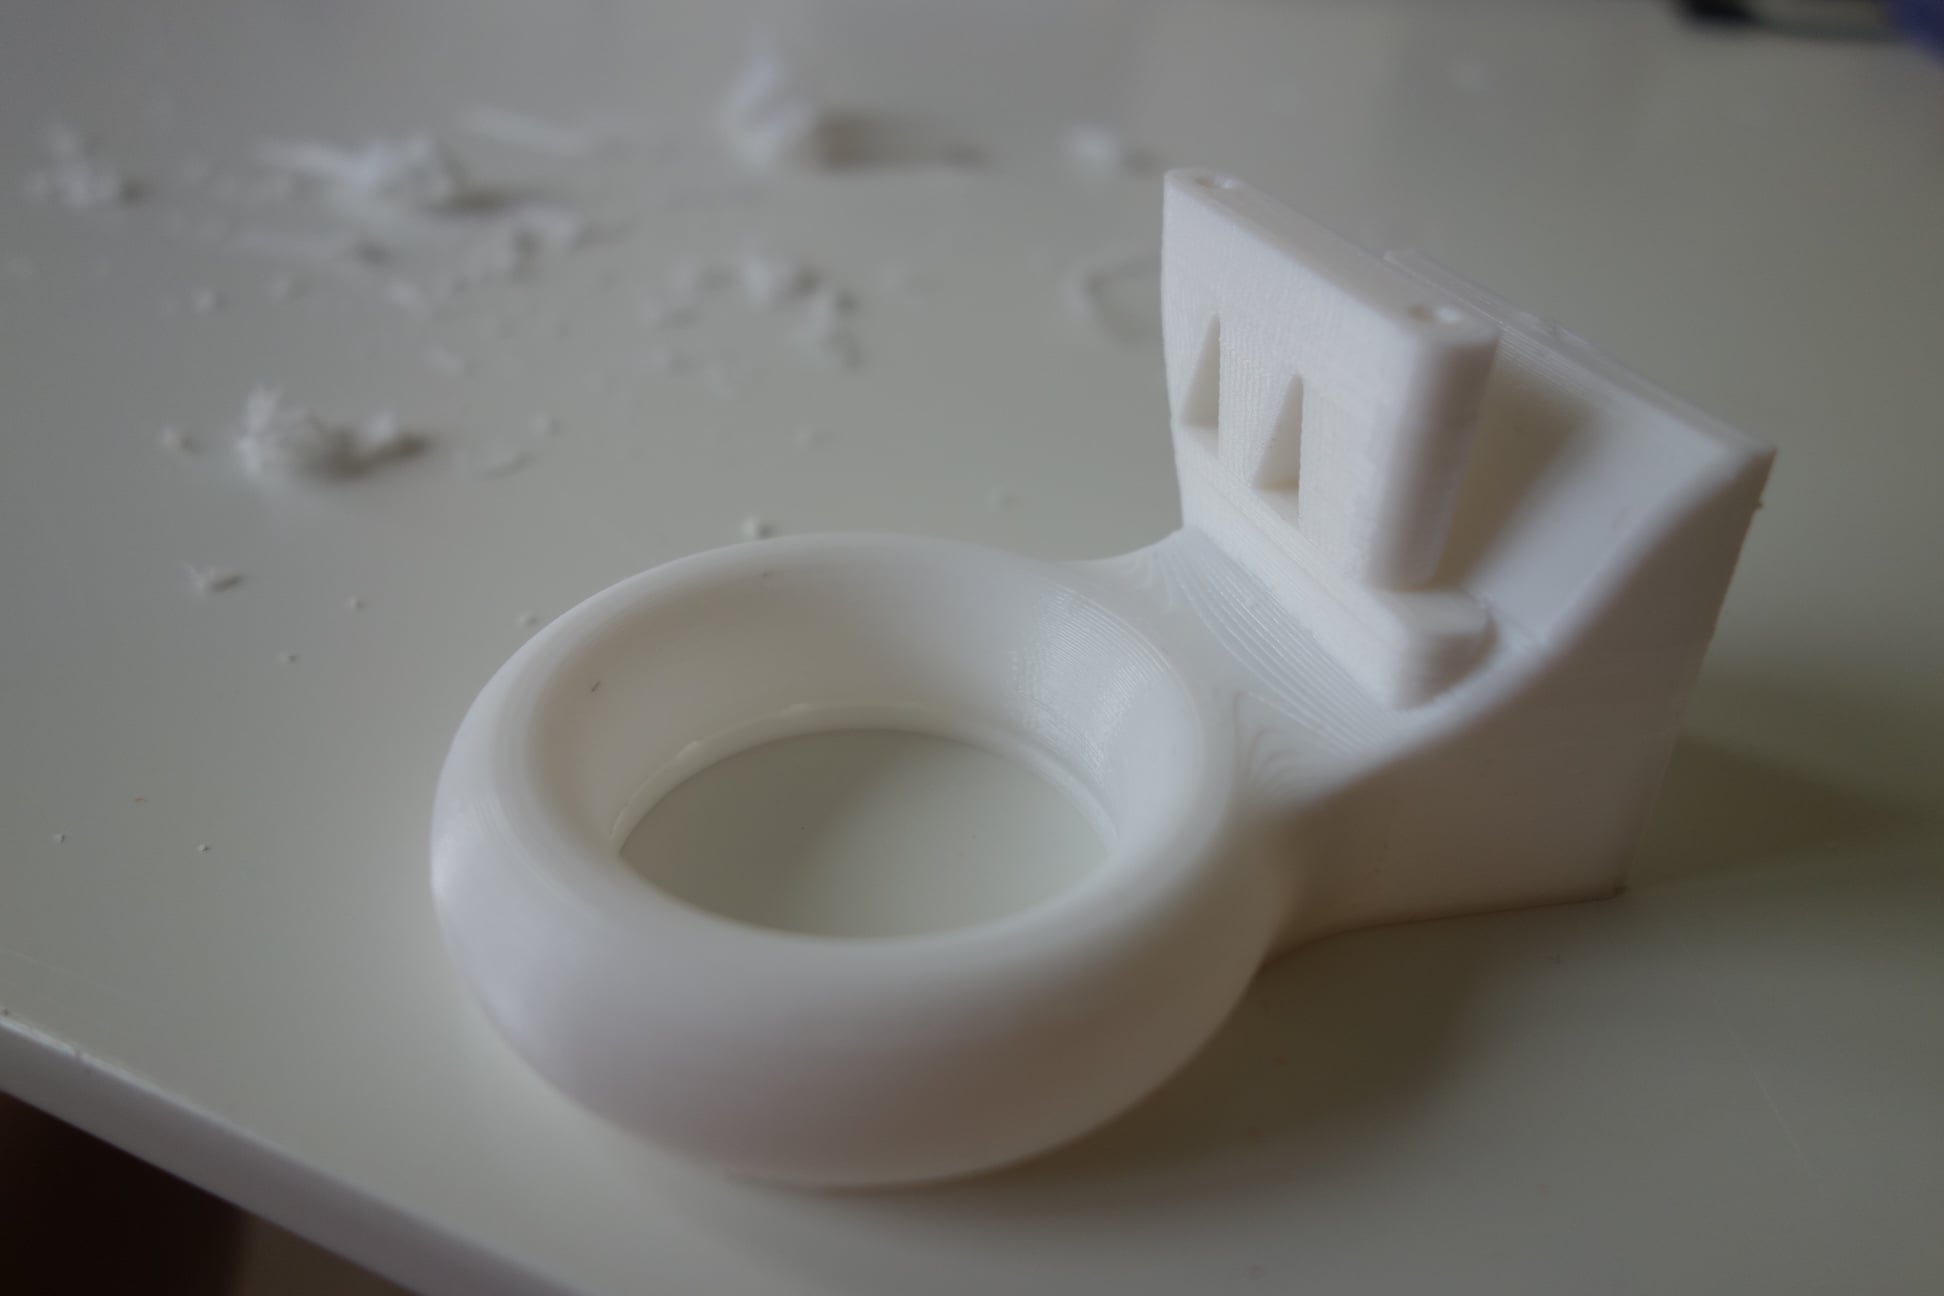
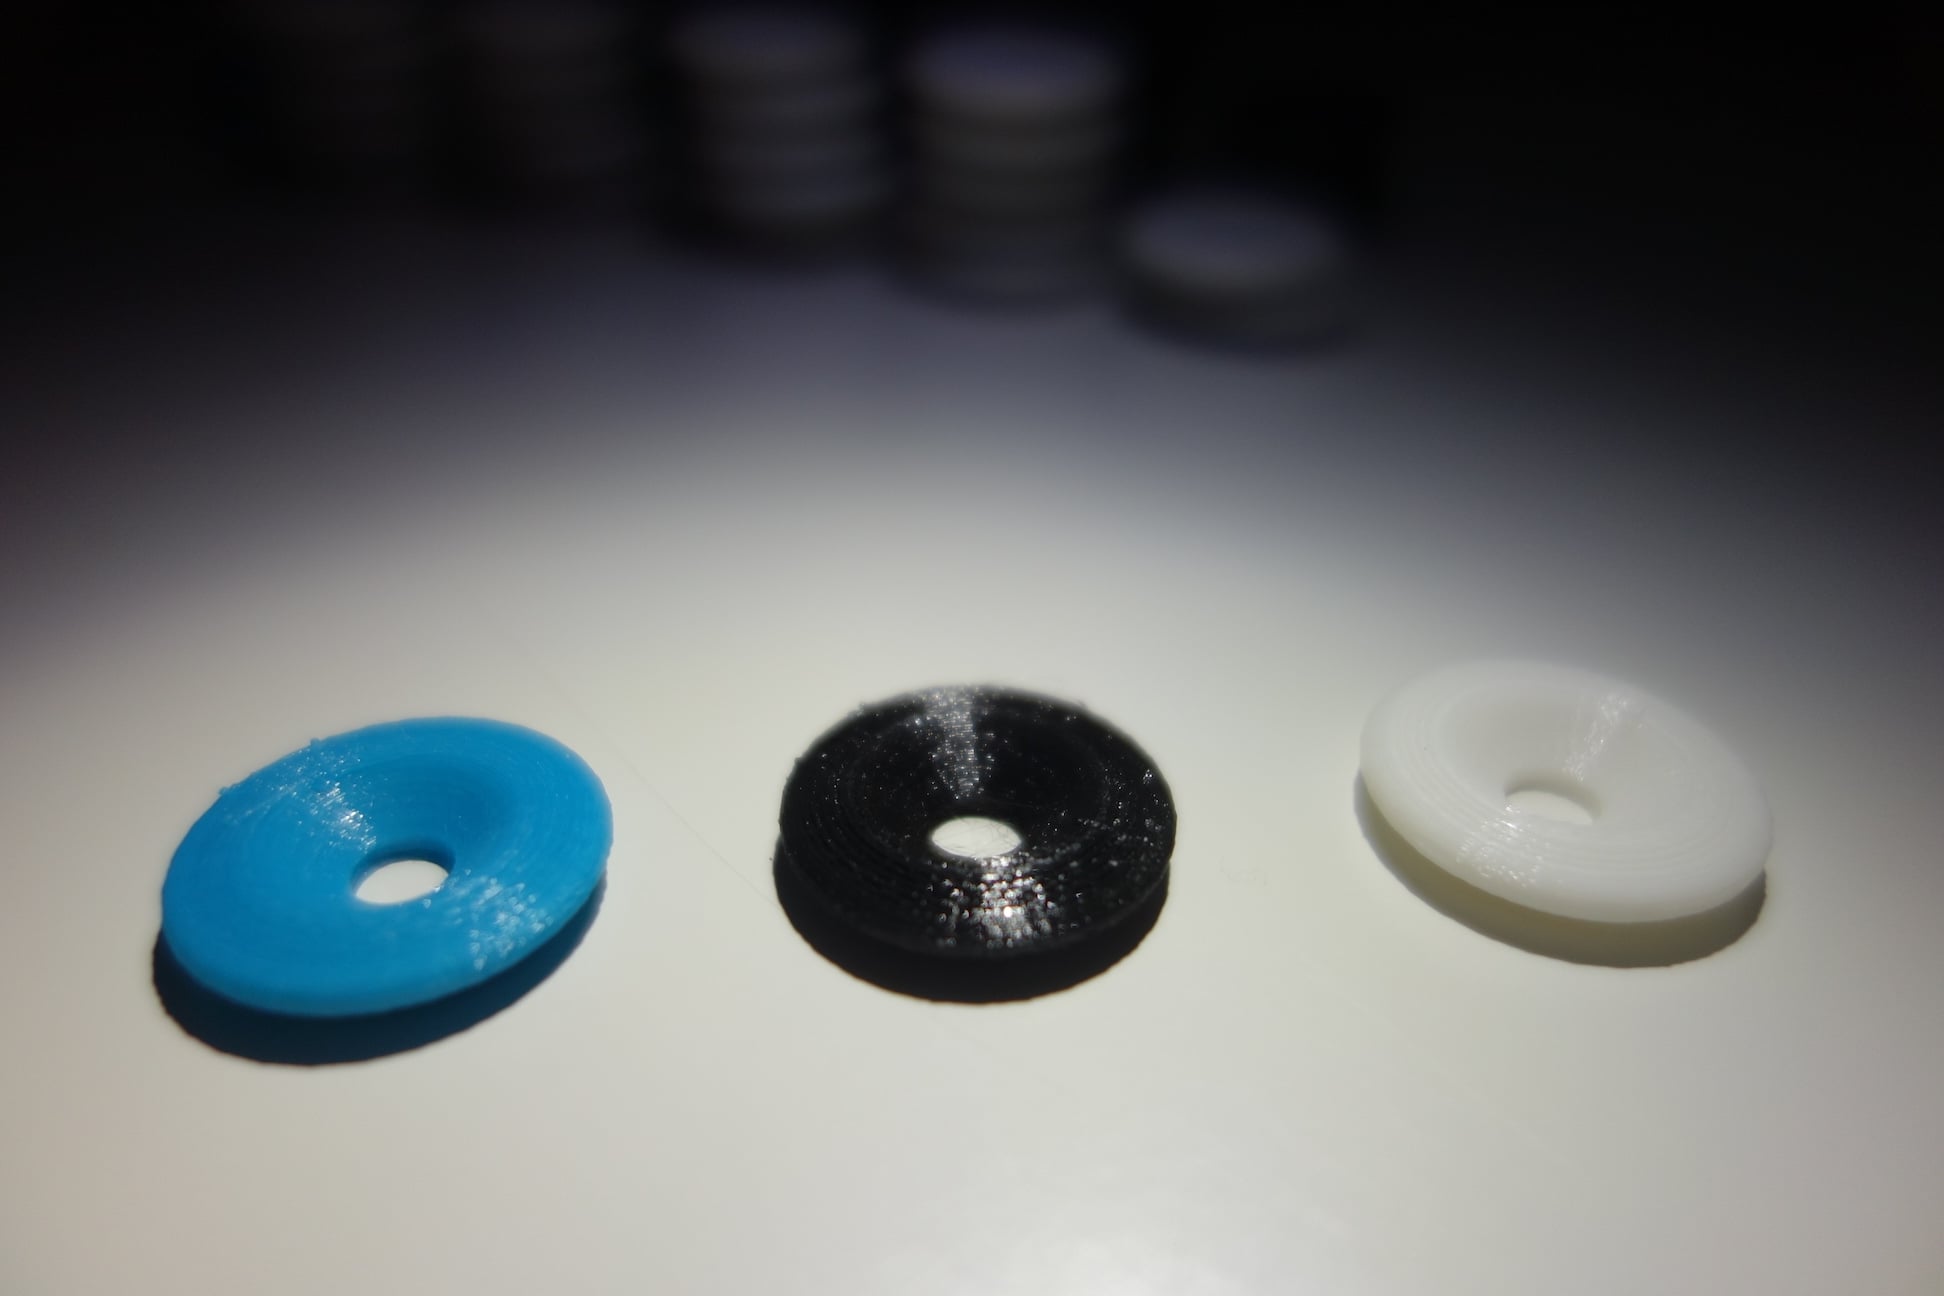
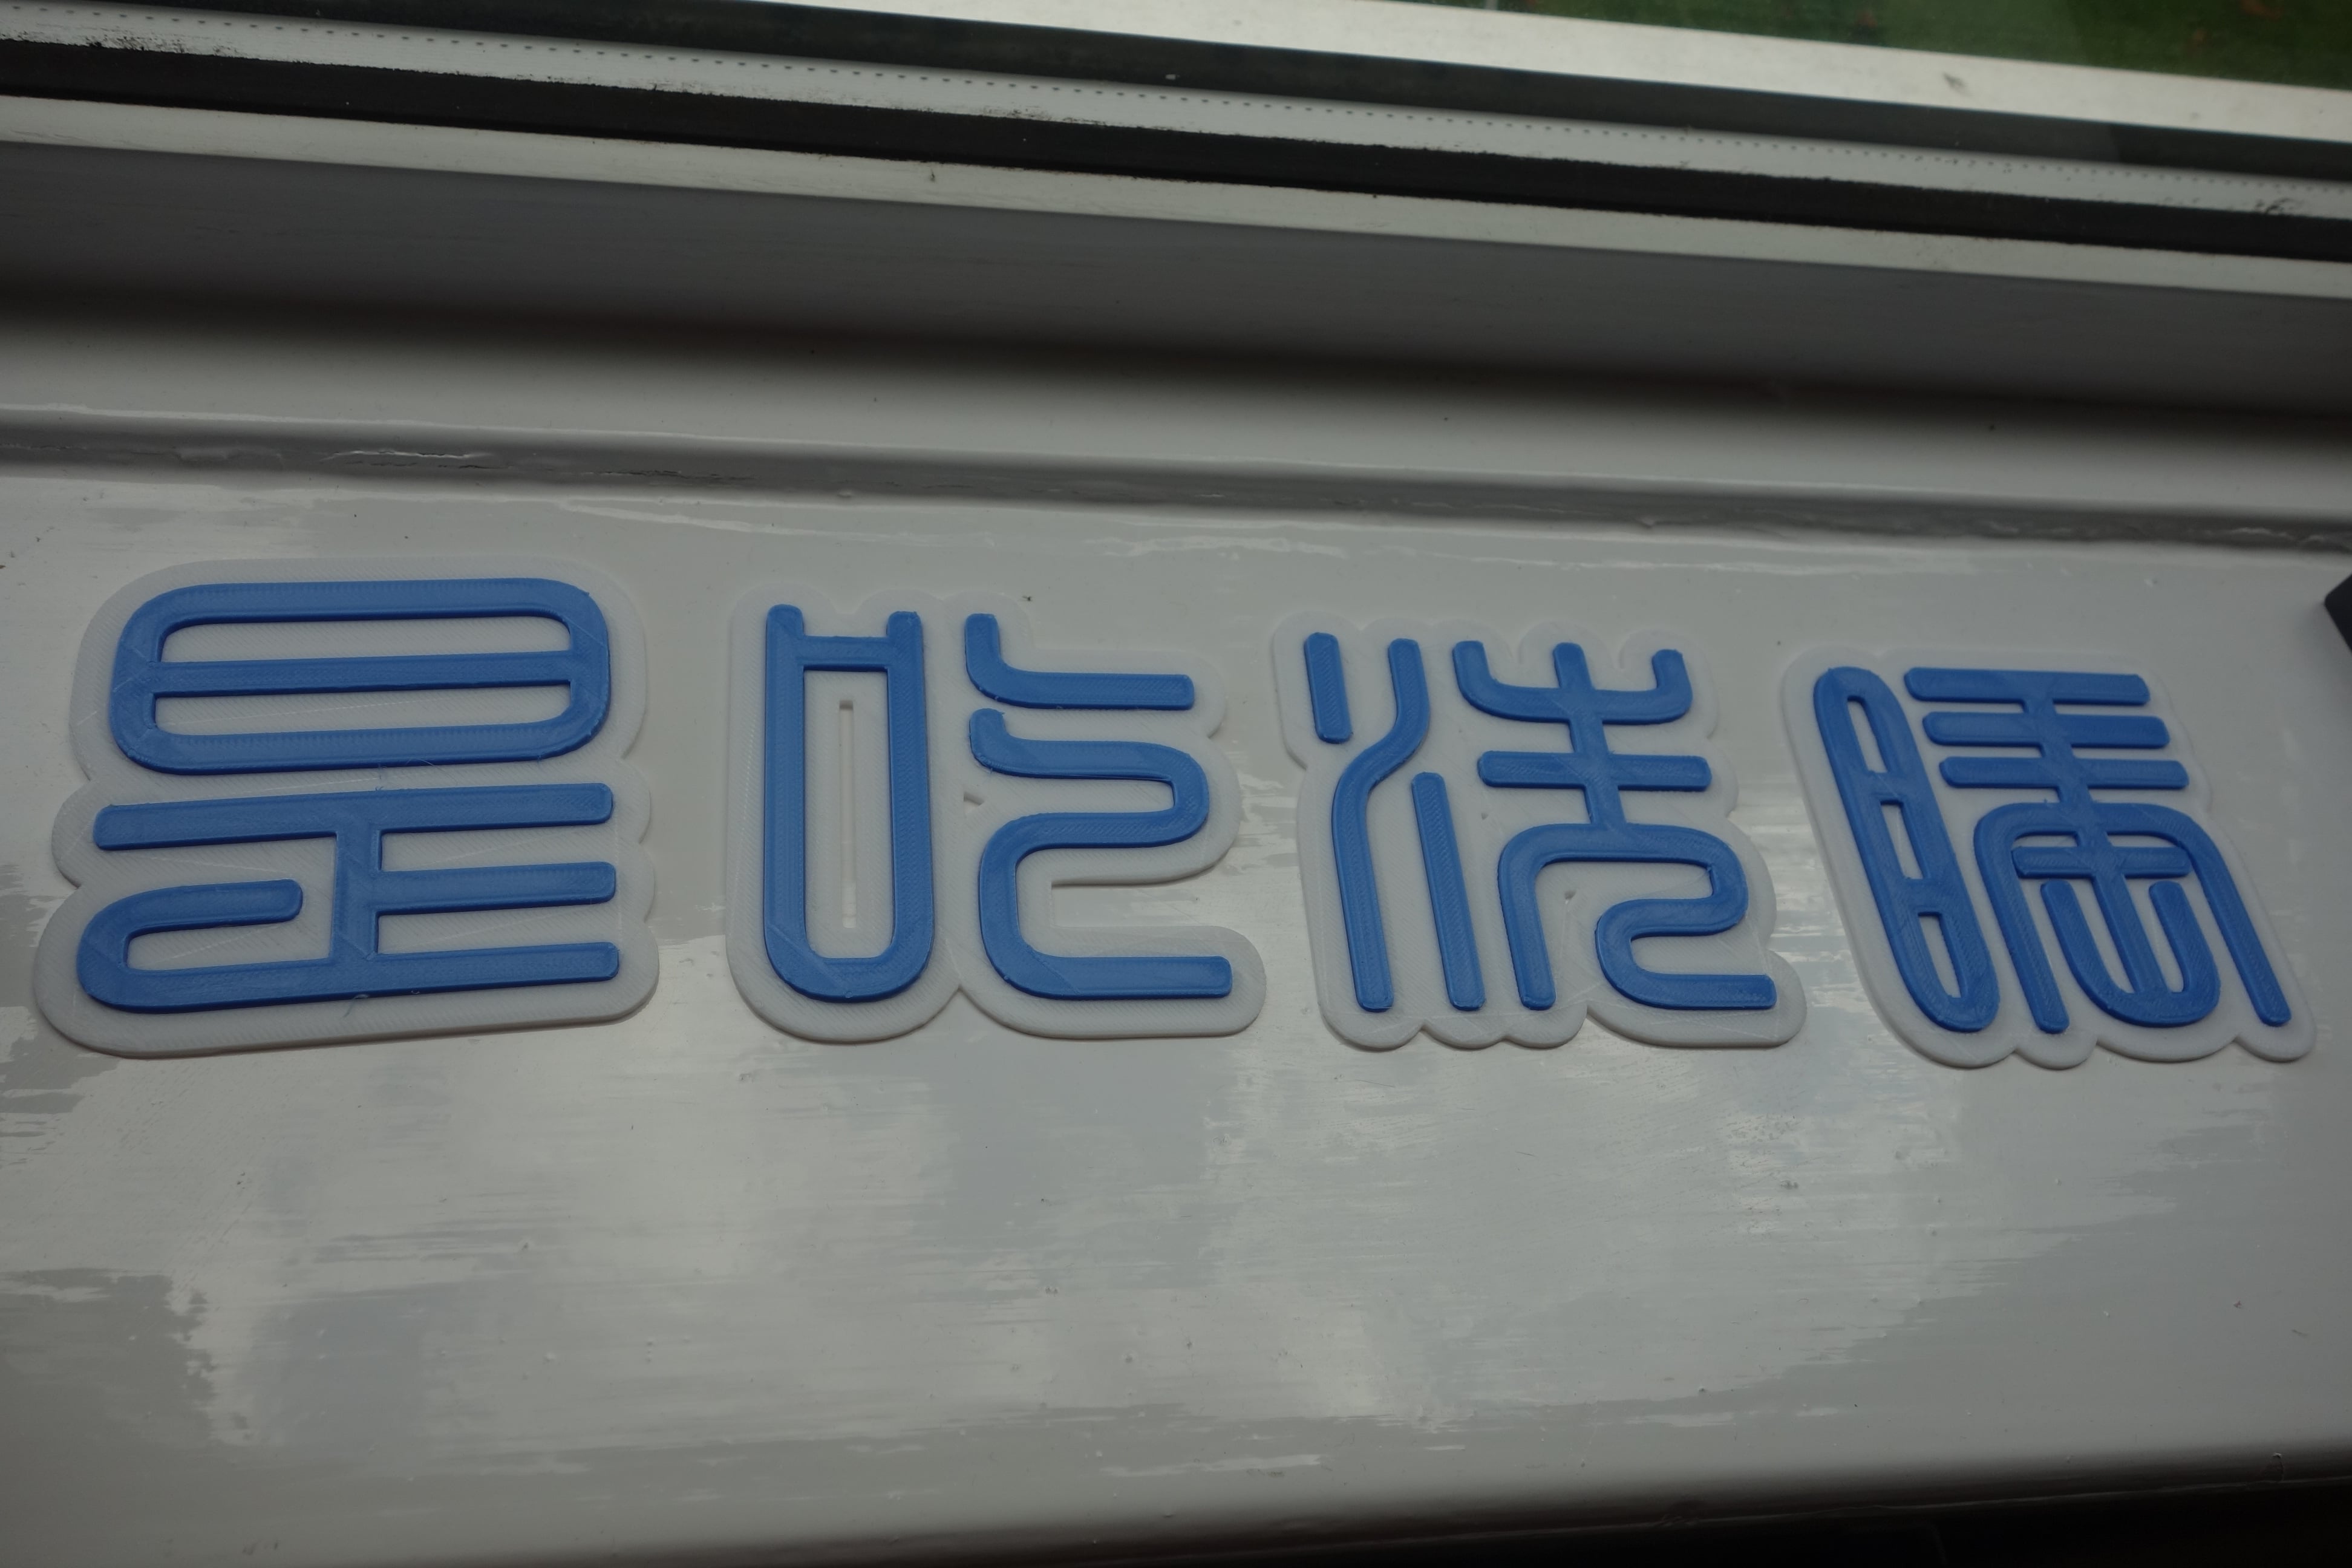
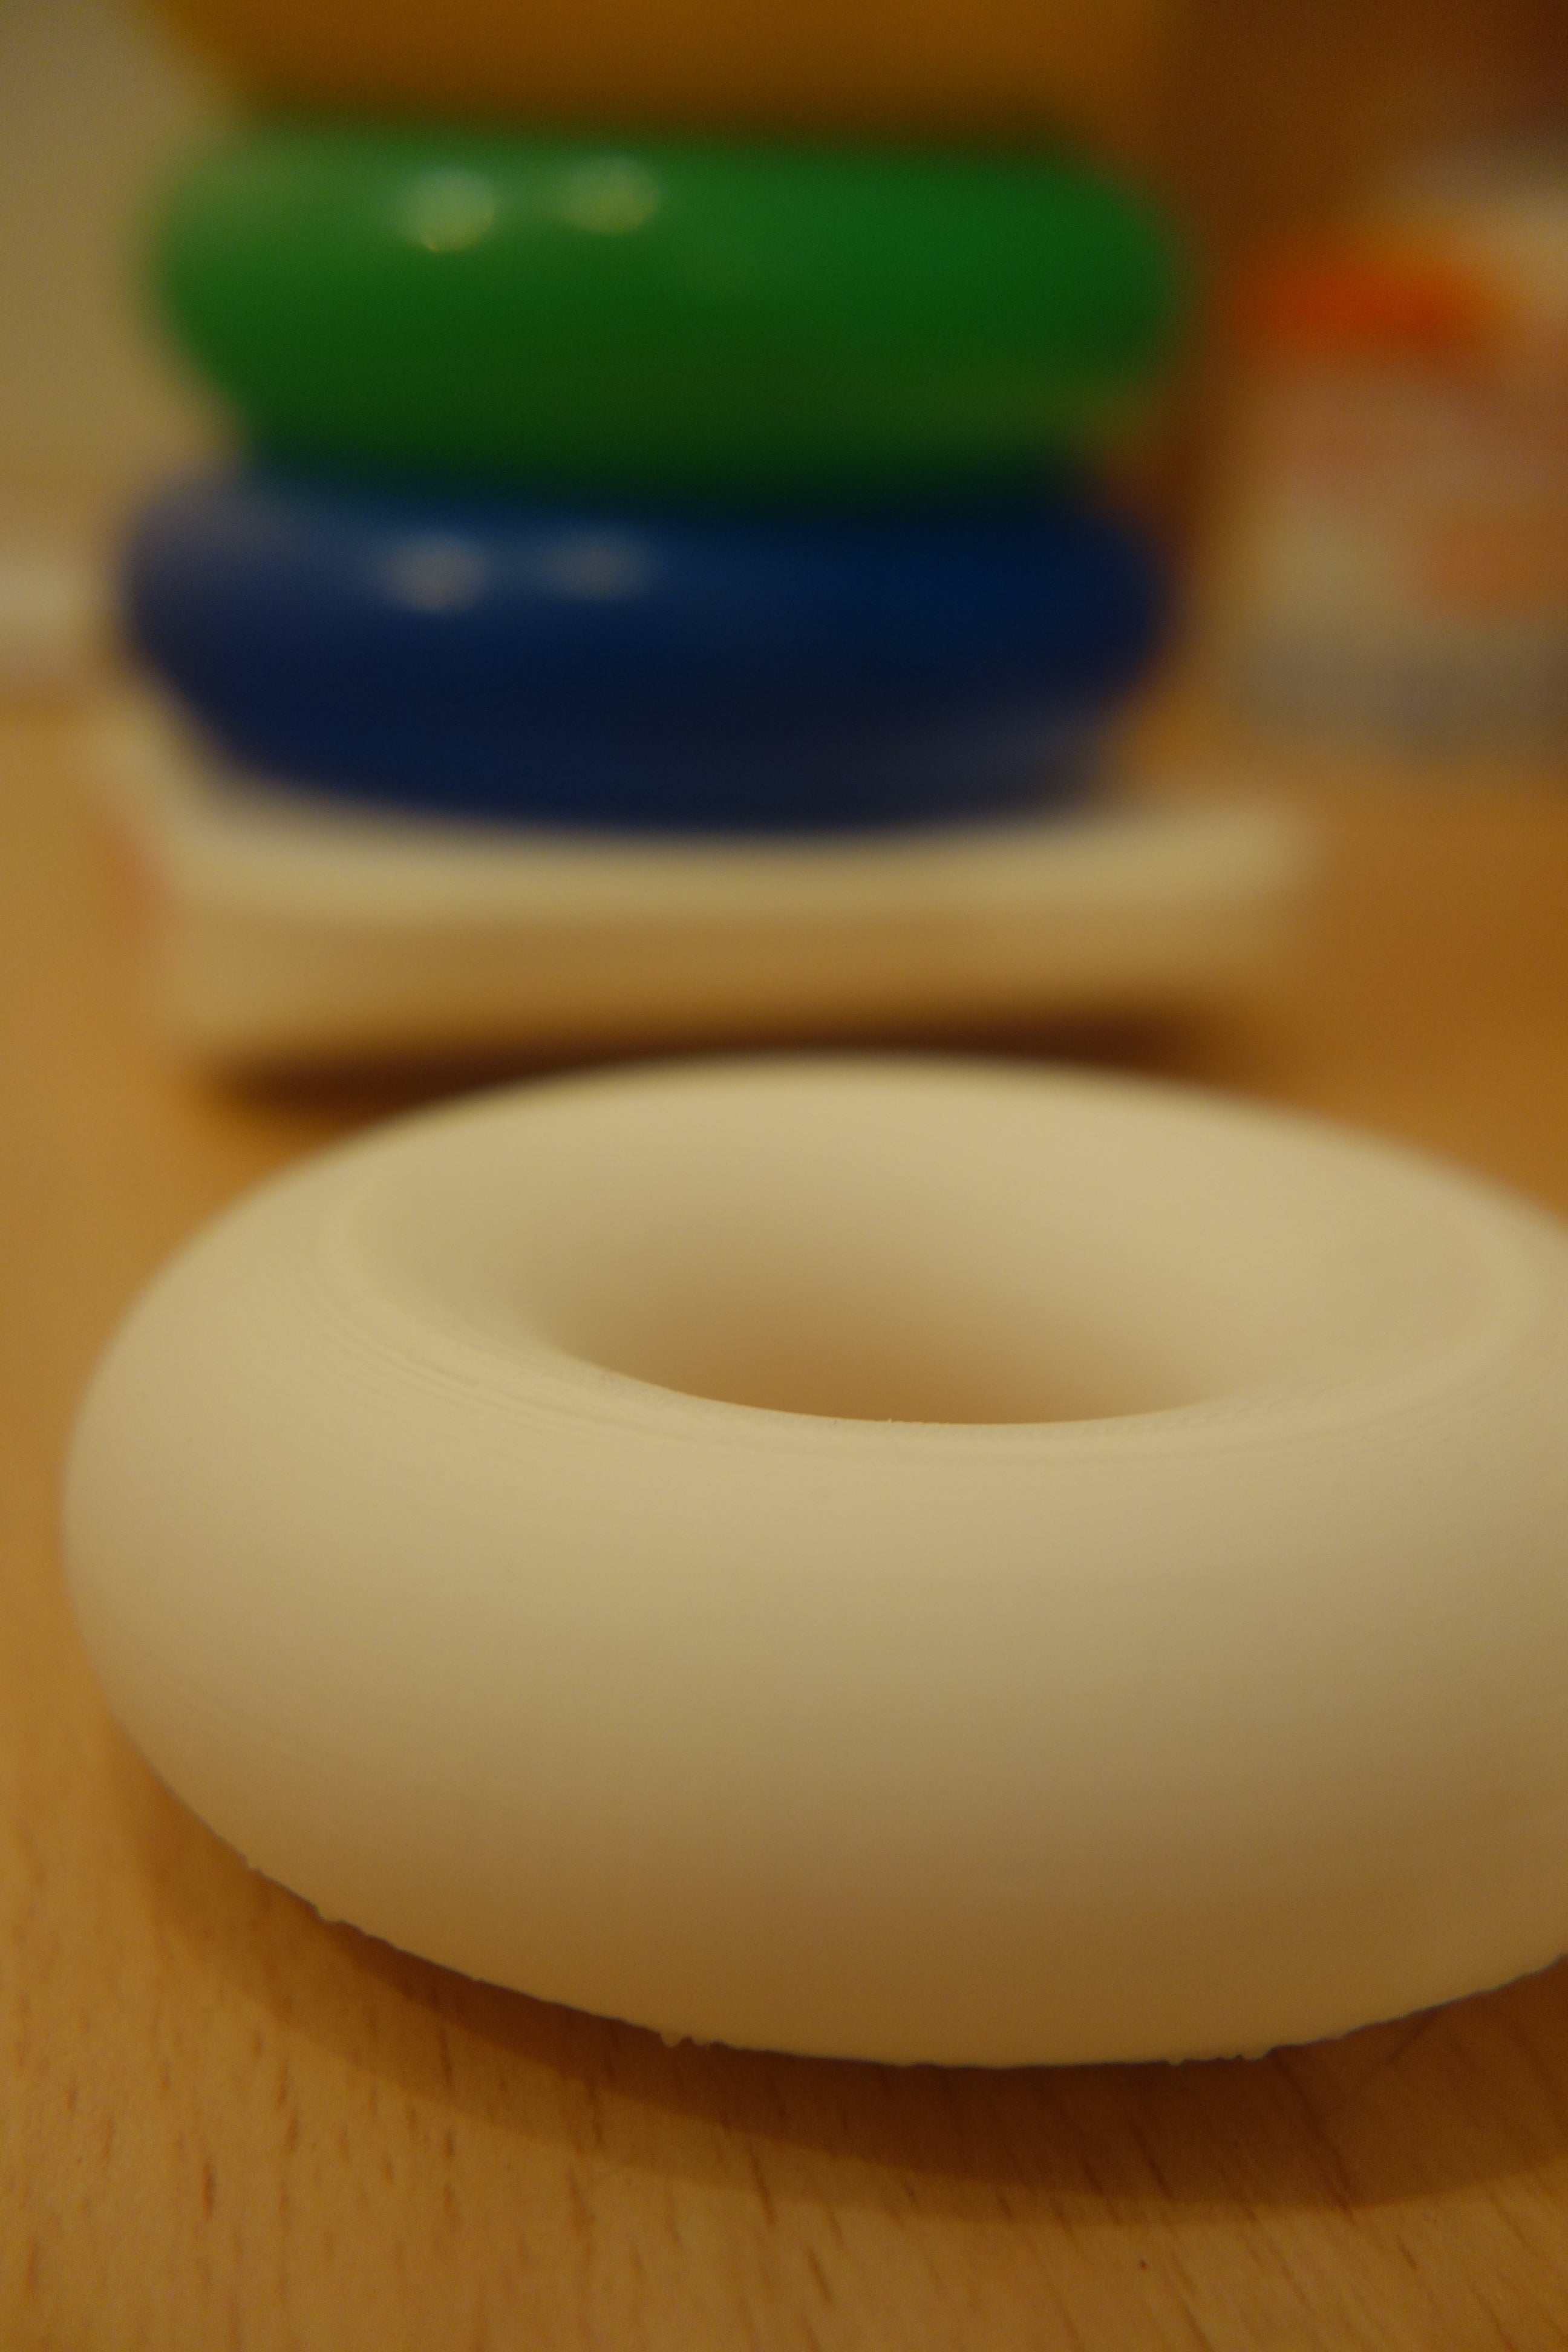
Example prints
Before long, I was eyeing up different successors that would allow me to print better quality objects with much less required tinkering.
Ended up selling this for 56% of the purchase price.
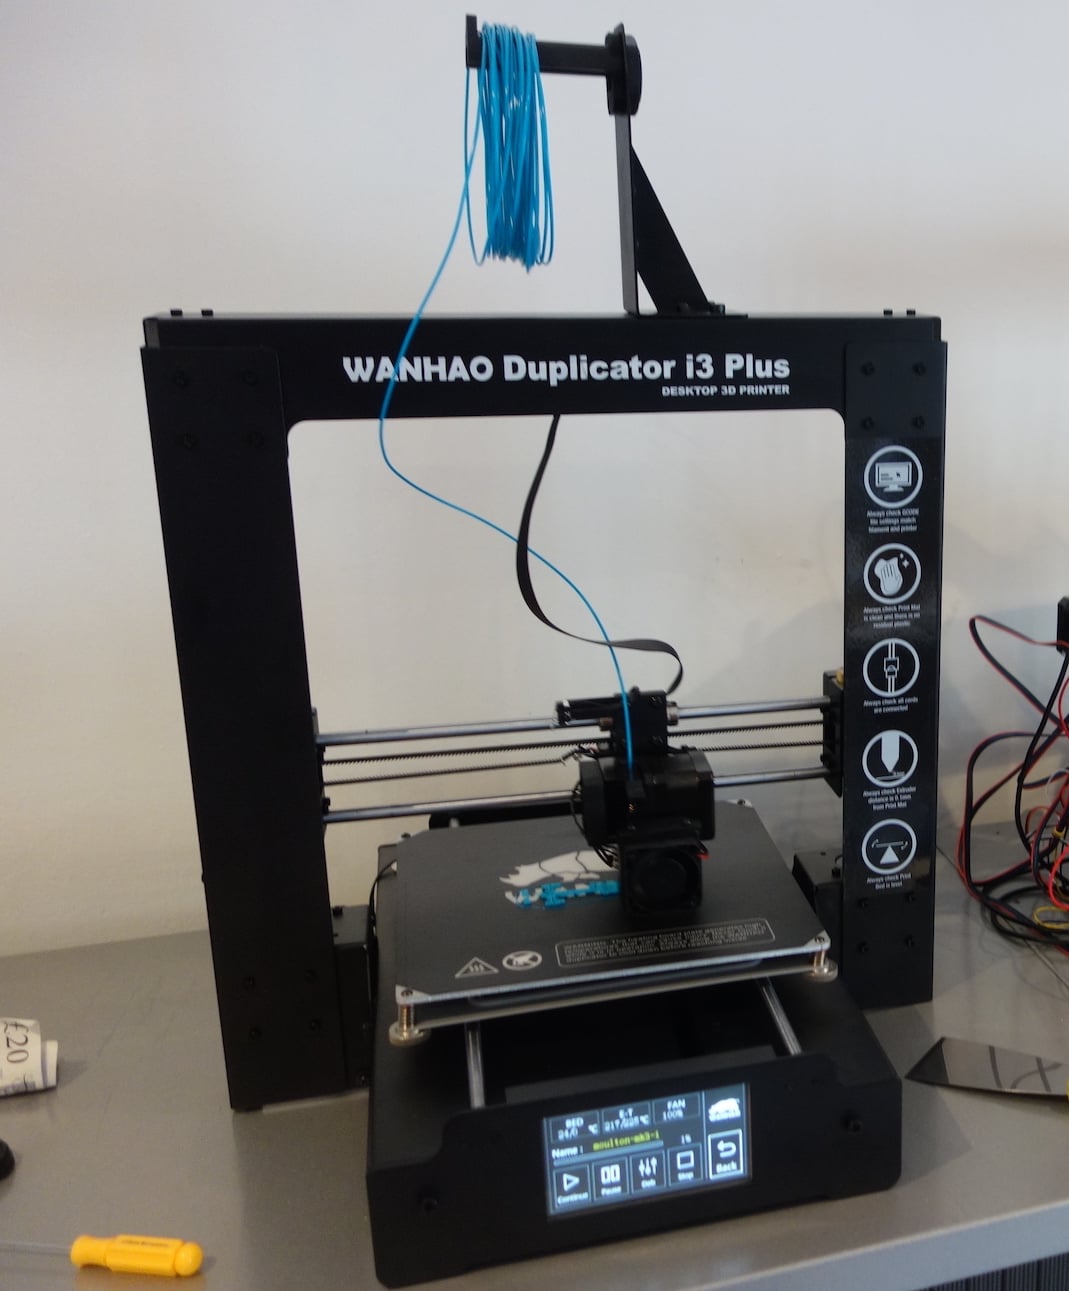
2. Wanhao Duplicator i3 Plus (2017-09)
After some research on a slightly more novice-friendly printer with good value for the pound. The Duplicator i3 Plus cost £340, which was more than twice as expensive as the first printer. This was also an i3-style printer, which is evident from the name.
The bigger price was for good reasons: it was strongly built and had many user-friendly features.
Positives
- Exceptionally easy to assemble and disassemble: just 2 main pieces!
- Touch screen interface allowed users to calibrate the printer’s onboard setting and to choose / start / stop prints easily
- Frame material was steel: the machine had a beefy weight
- Reflected well on prints: the heavy steel frame had a dampening effect on the print head and prints came out with less vibrational artifacts
- Much quieter than the previous printer, a side-effect of the heavy frame
- Came with an SD card
- Print head cooling fan was much more effective
- No exposed power supply or control board
- All electronics were self contained in the printer frame: the only cable that was necessary was the mains power cable!
- Came with a good print bed surface that was a step above removing prints from blue tape
Negatives
- Fairly expensive
- Cooling fan was inadequate for long-running jobs and was only effective in a single
direction
- Printed a fix for this but the improvements in print quality were minor
- Not very upgradable due to outdated control board running old firmware
- Bed level required constant adjustment
- The construction of the stock levelling screws and nuts did not help keep the bed level across multiple prints, a corner would develop some rising faster than others
- Still fairly loud in operation
- The cooling fan was one of the main sources of noise, second only to the rattling of the gantries when the print head was moving long distances
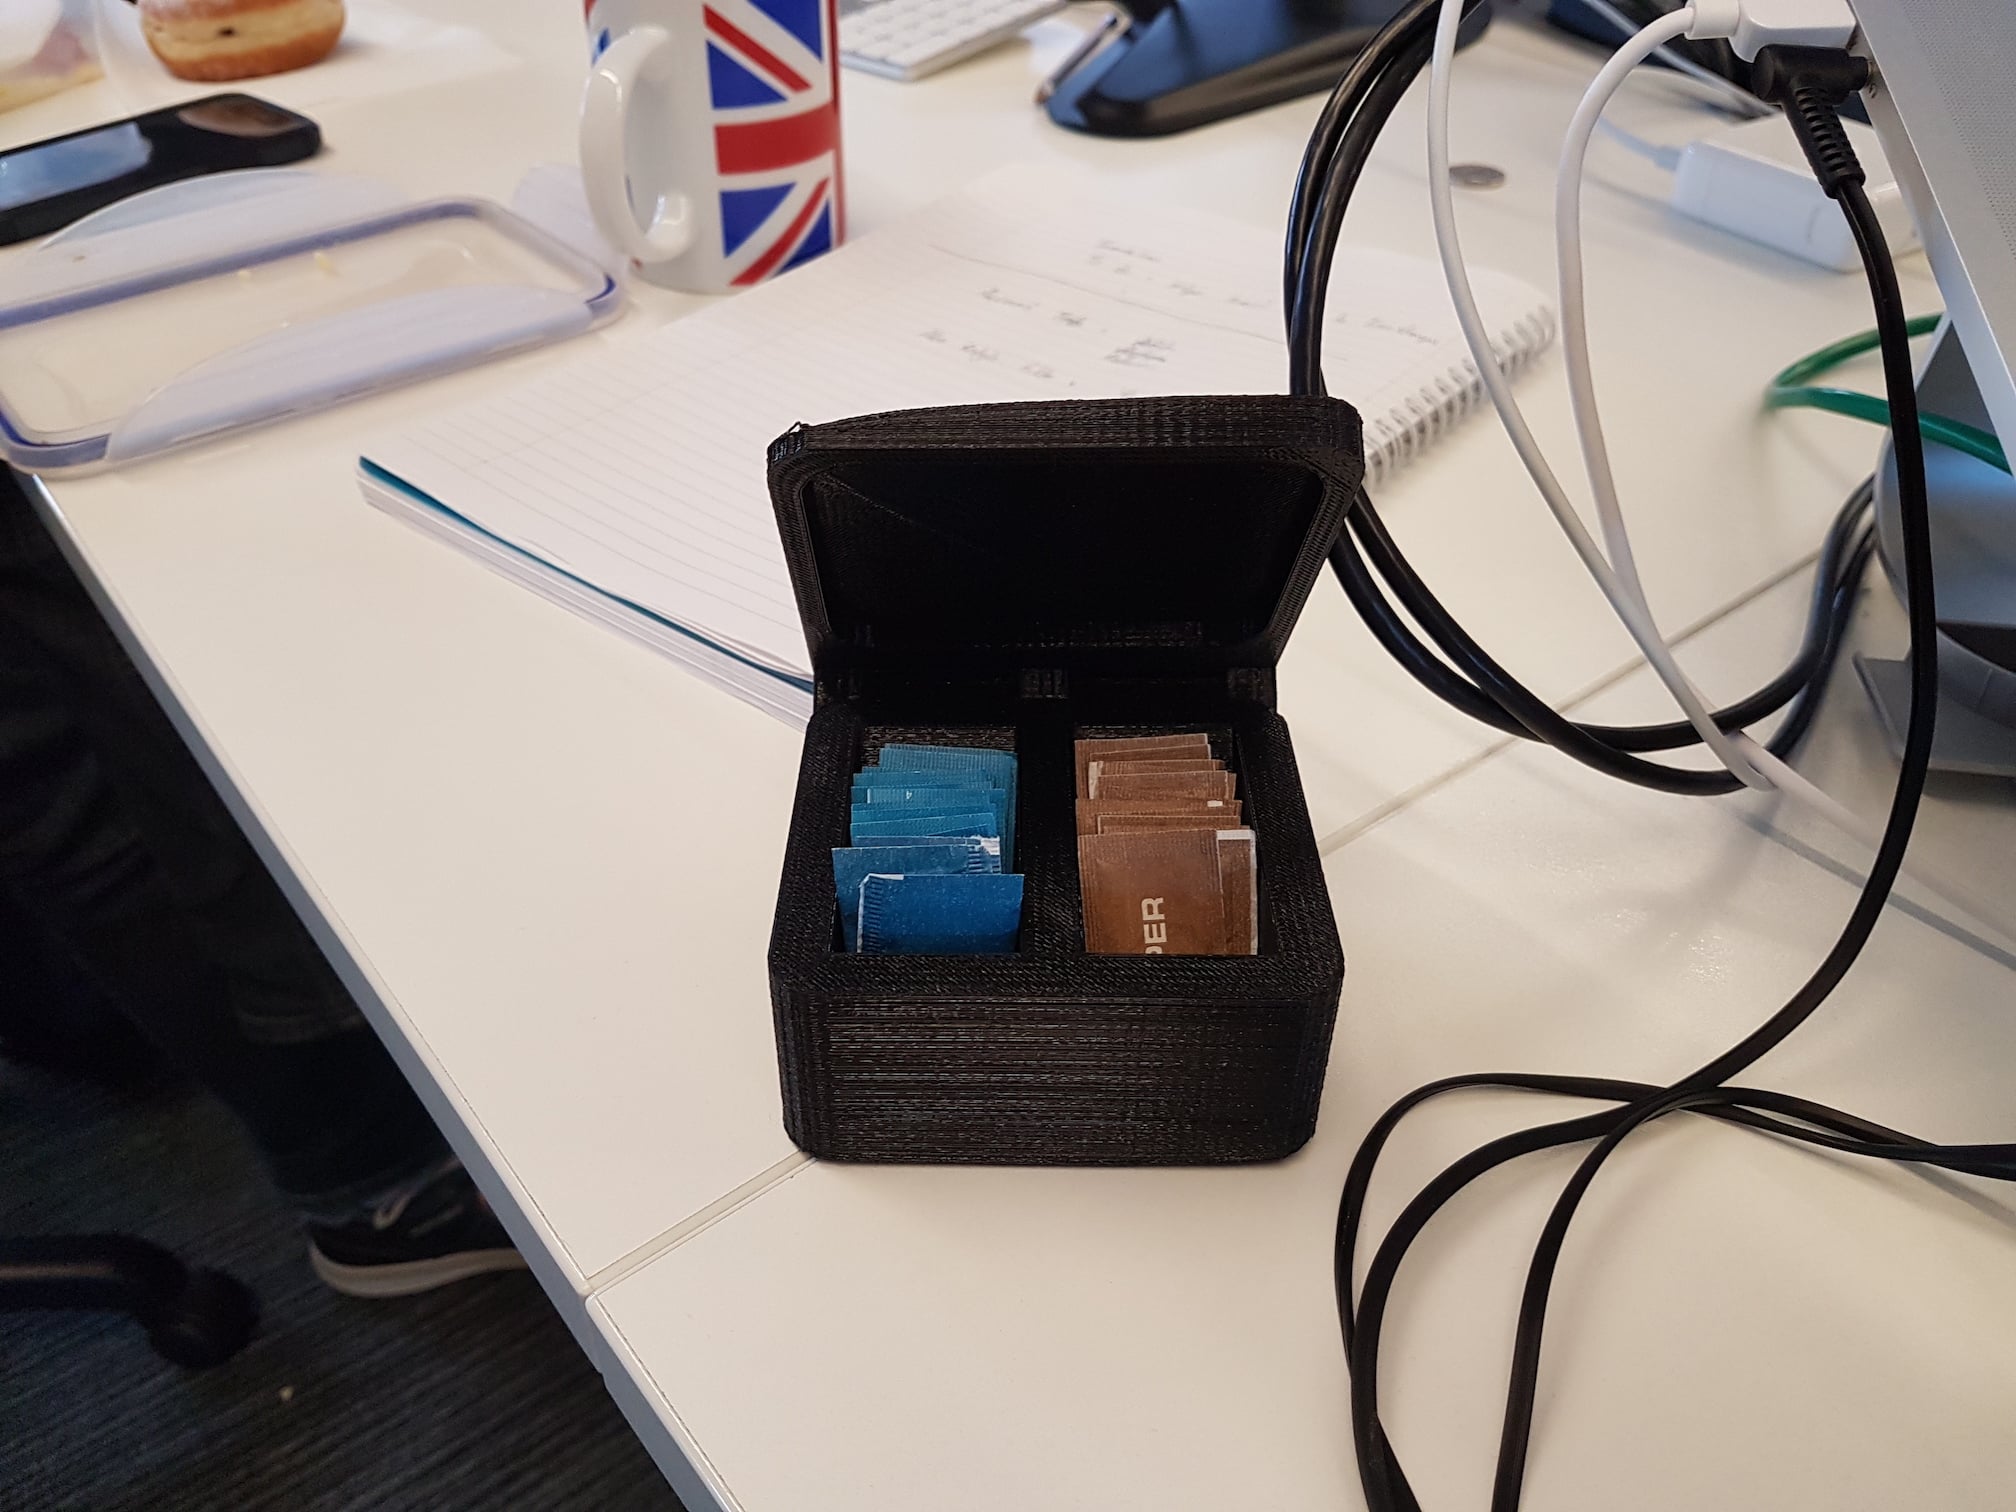
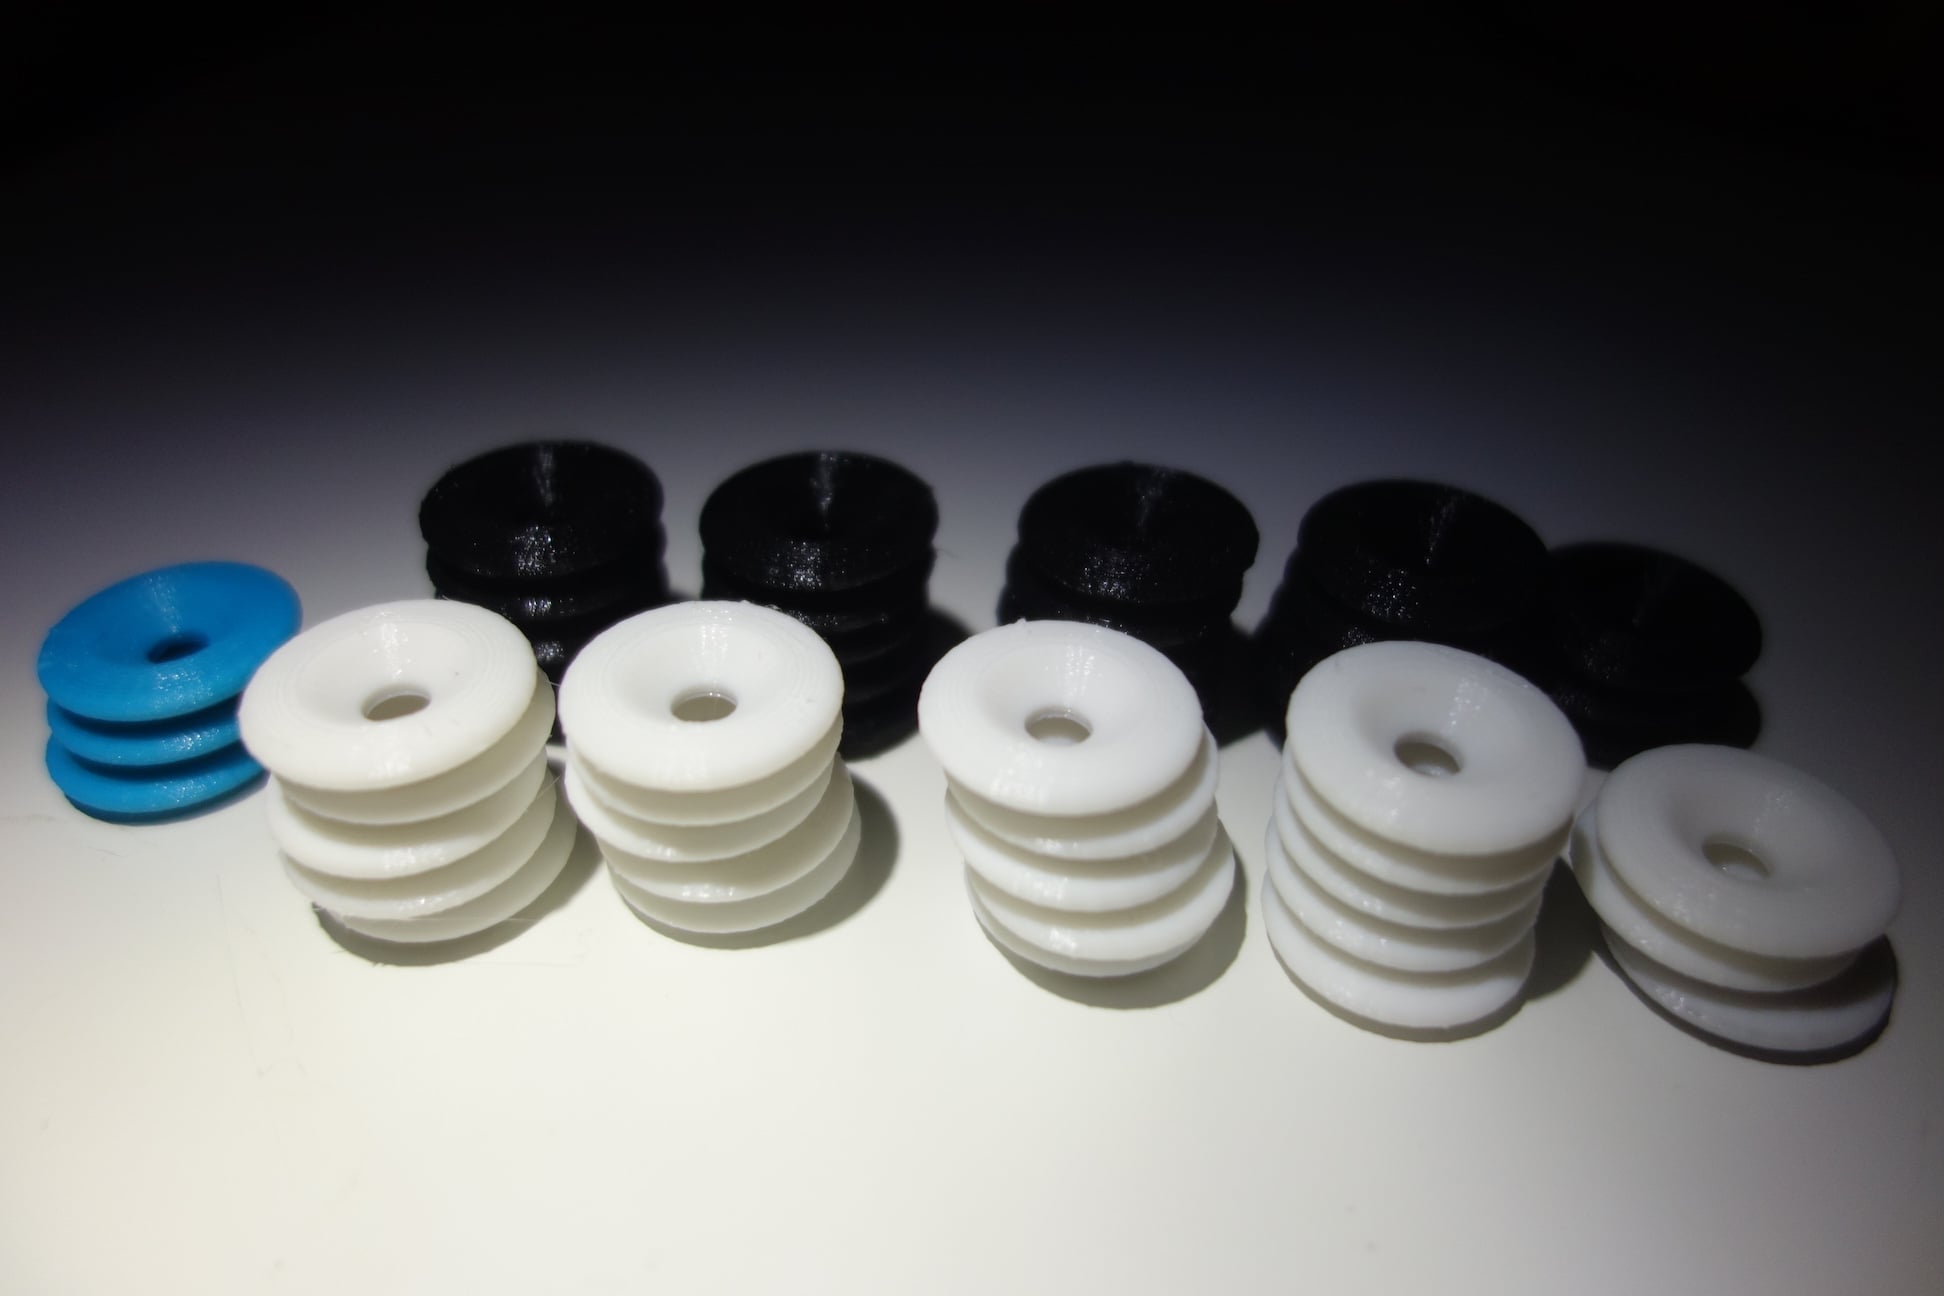
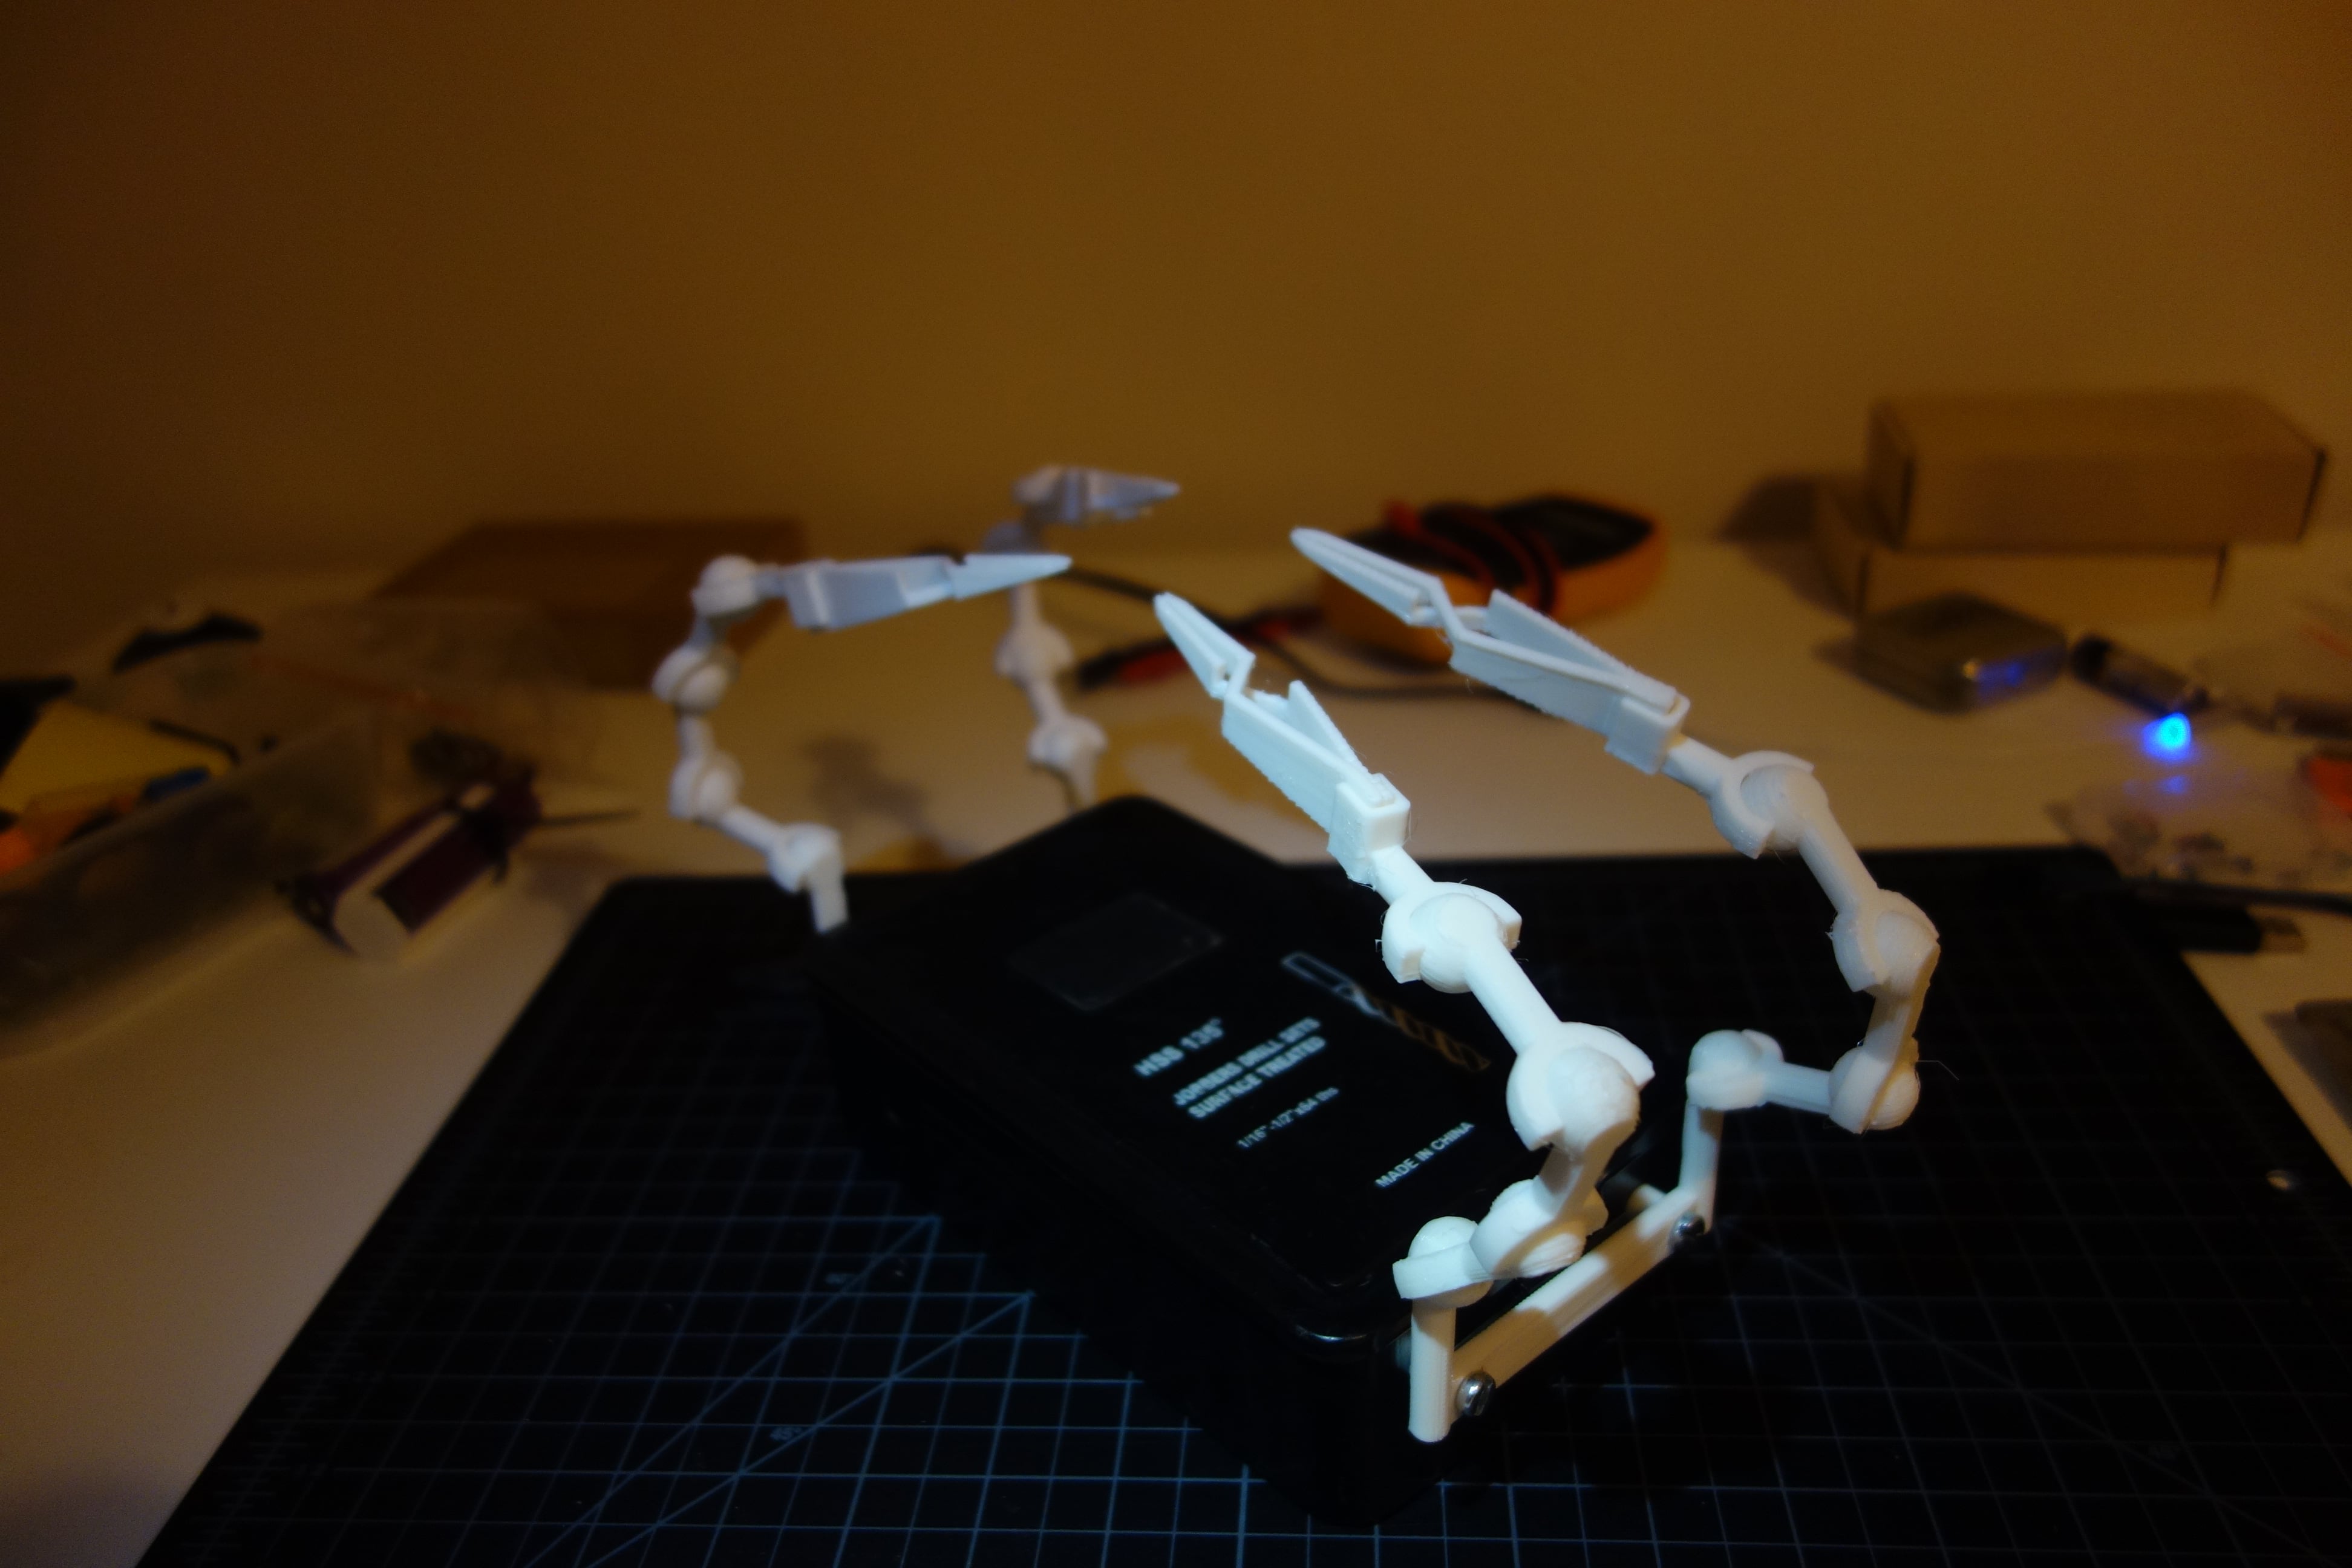
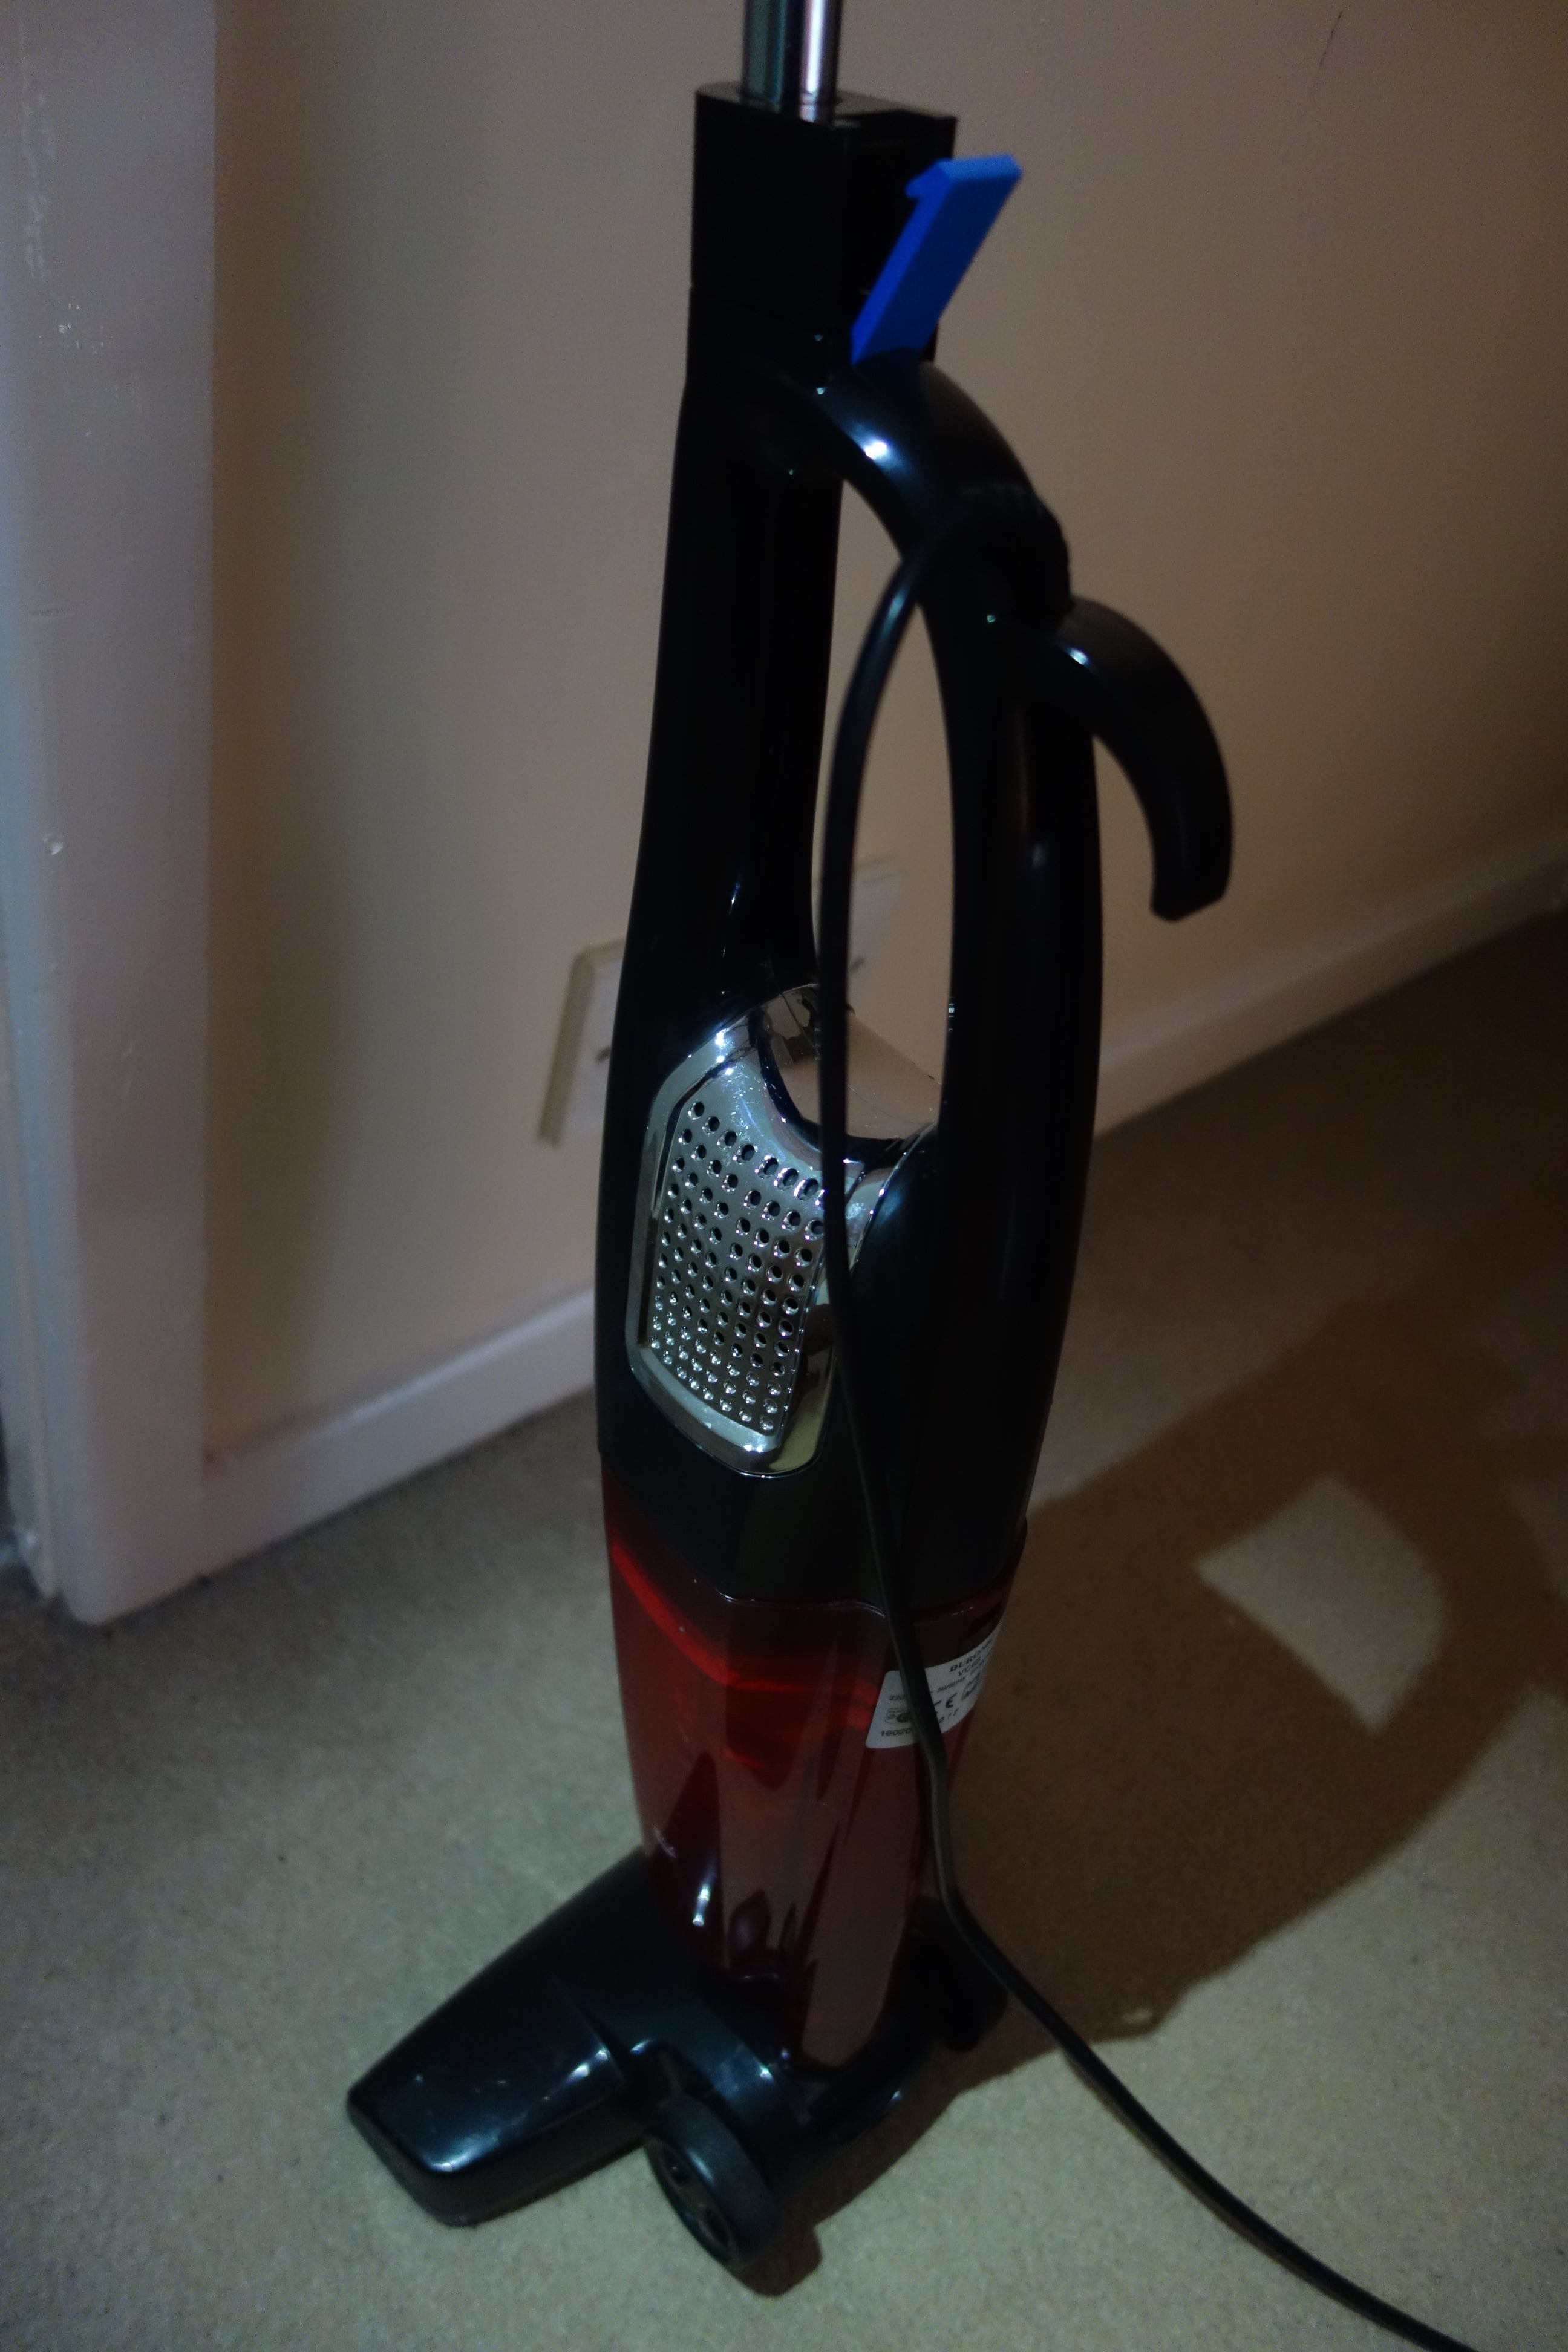
Example prints
Ended up selling this for around 67% of the purchase price.
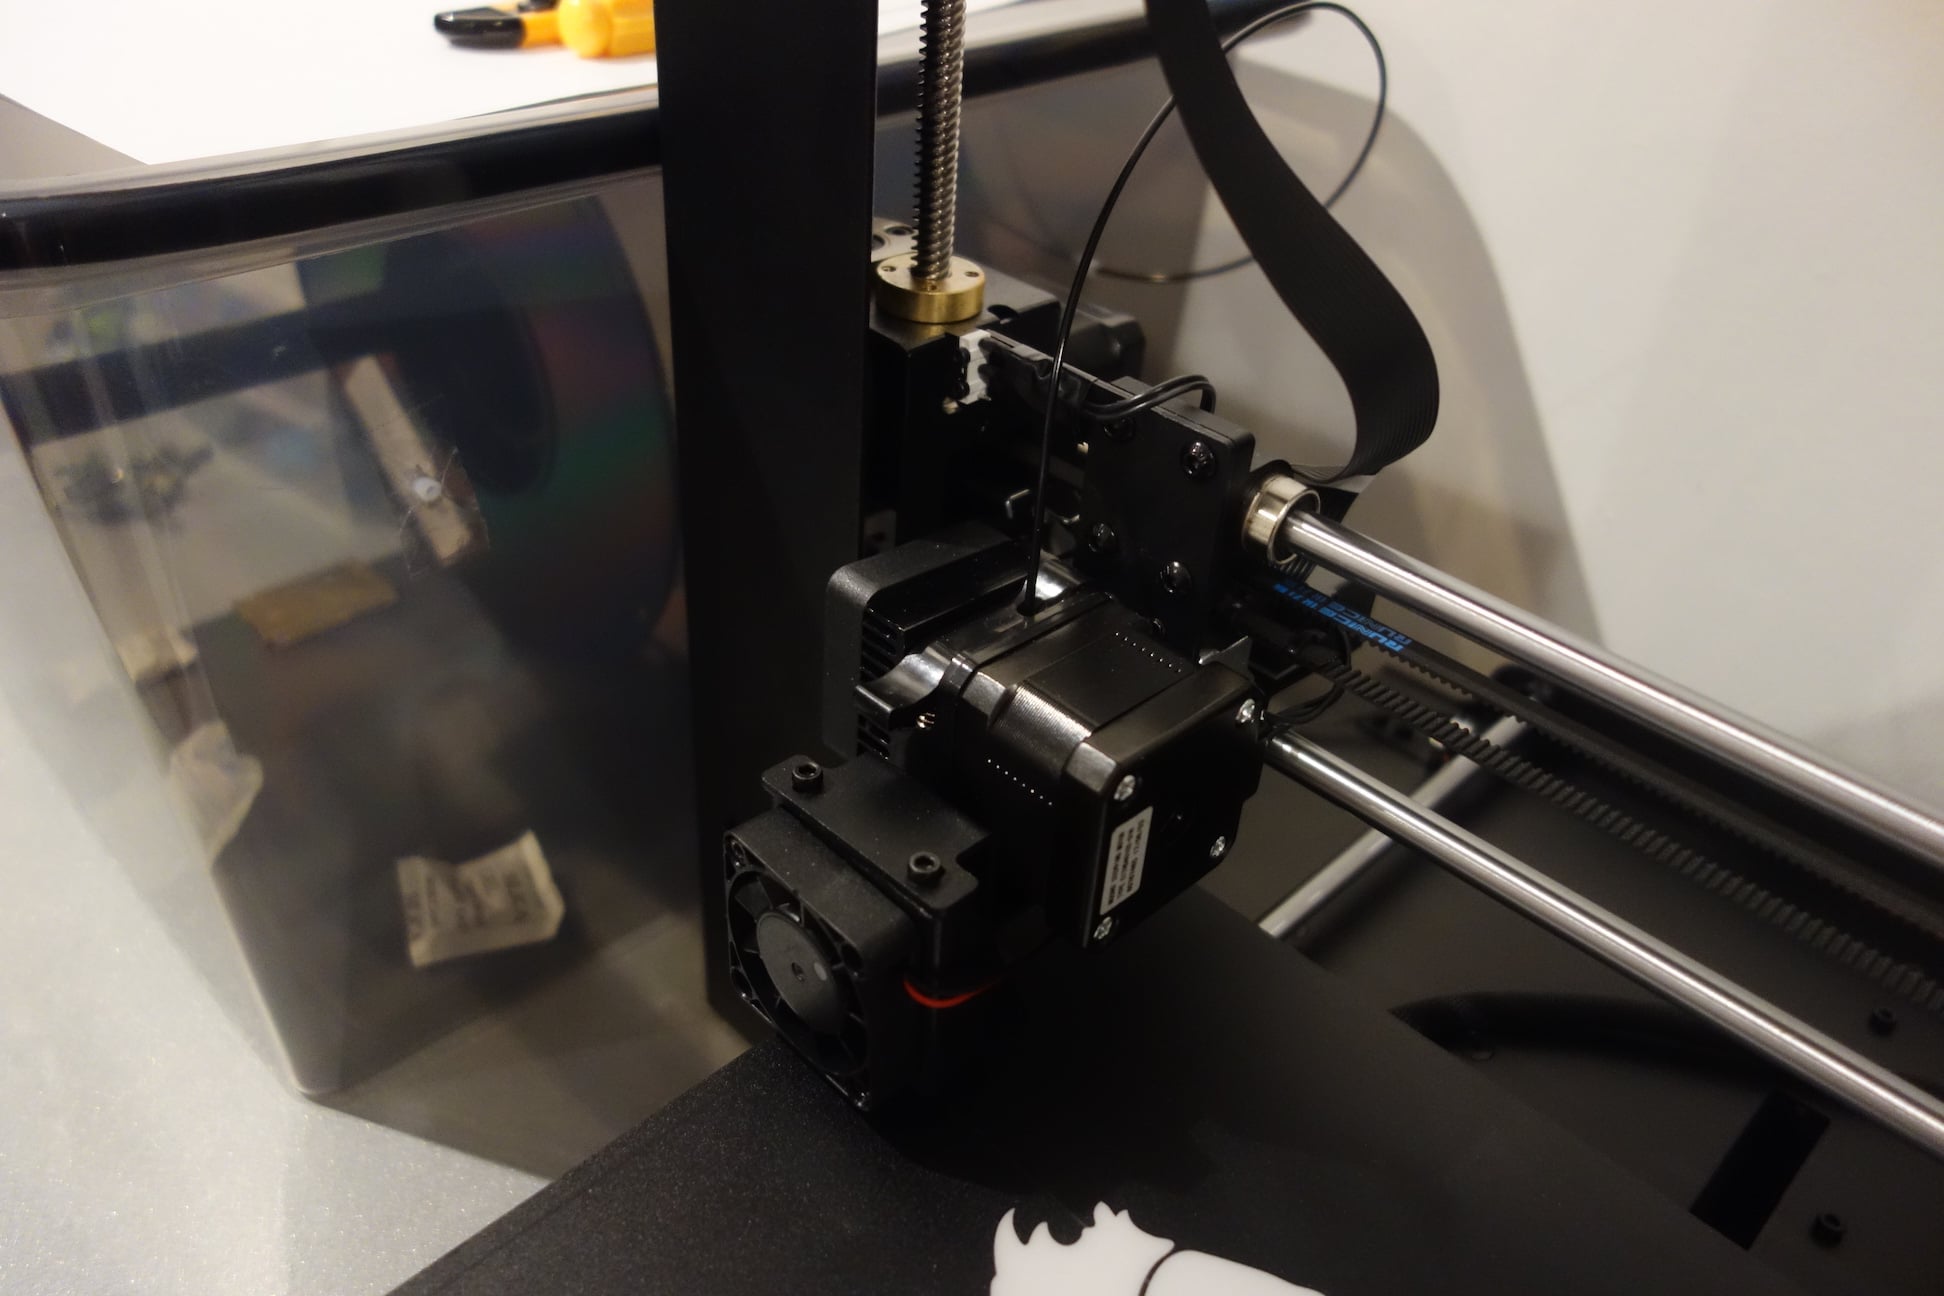
3. Creality Ender 3 (2018-07)
By the summer 2018, I had acquired significantly more printing experience due to the sheer number of hours spent tweaking the designs and the variables of the Duplicator i3+. The Creality Ender 3 was a newly released printer which was topping the lists of the greatest value printers there were at this time.
Creality have been in the 3D printer manufacturing market for a number of years now and they already had several very successful products. I was originally looking at supplementing the Wanhao Duplicator with an Ender 2 (a cantilevered frame design) but wanted the extra print volume of the Ender 3. So I bought it for £176.
Positives
- Printer came in kit form: but clear instructions meant it was simple to assemble
- Axial movement was on roller wheels: noticably quieter than all previous printers
- Print volume to total printer volume was superb
- The design allowed a generous print volume
- Print head cooling fan was even more effective
- Bed level was slow to diminish
- Adjusting the levelling knobs was now something that had to be done per hundreds of prints vs tens of prints
- Came with a great print bed surface and an additional borosilicate glass plate that further increased bed flatness
Negatives
- Cannot handle more sophisticated materials consistently such as ABS, PETG and flexible filaments
- Cooling fan was much improved over the previous printer but still blew air only from one
cardinal direction
- Print details and especially overhangs that faced the opposite direction clearly suffer from lack of adequate cooling and give a worse result
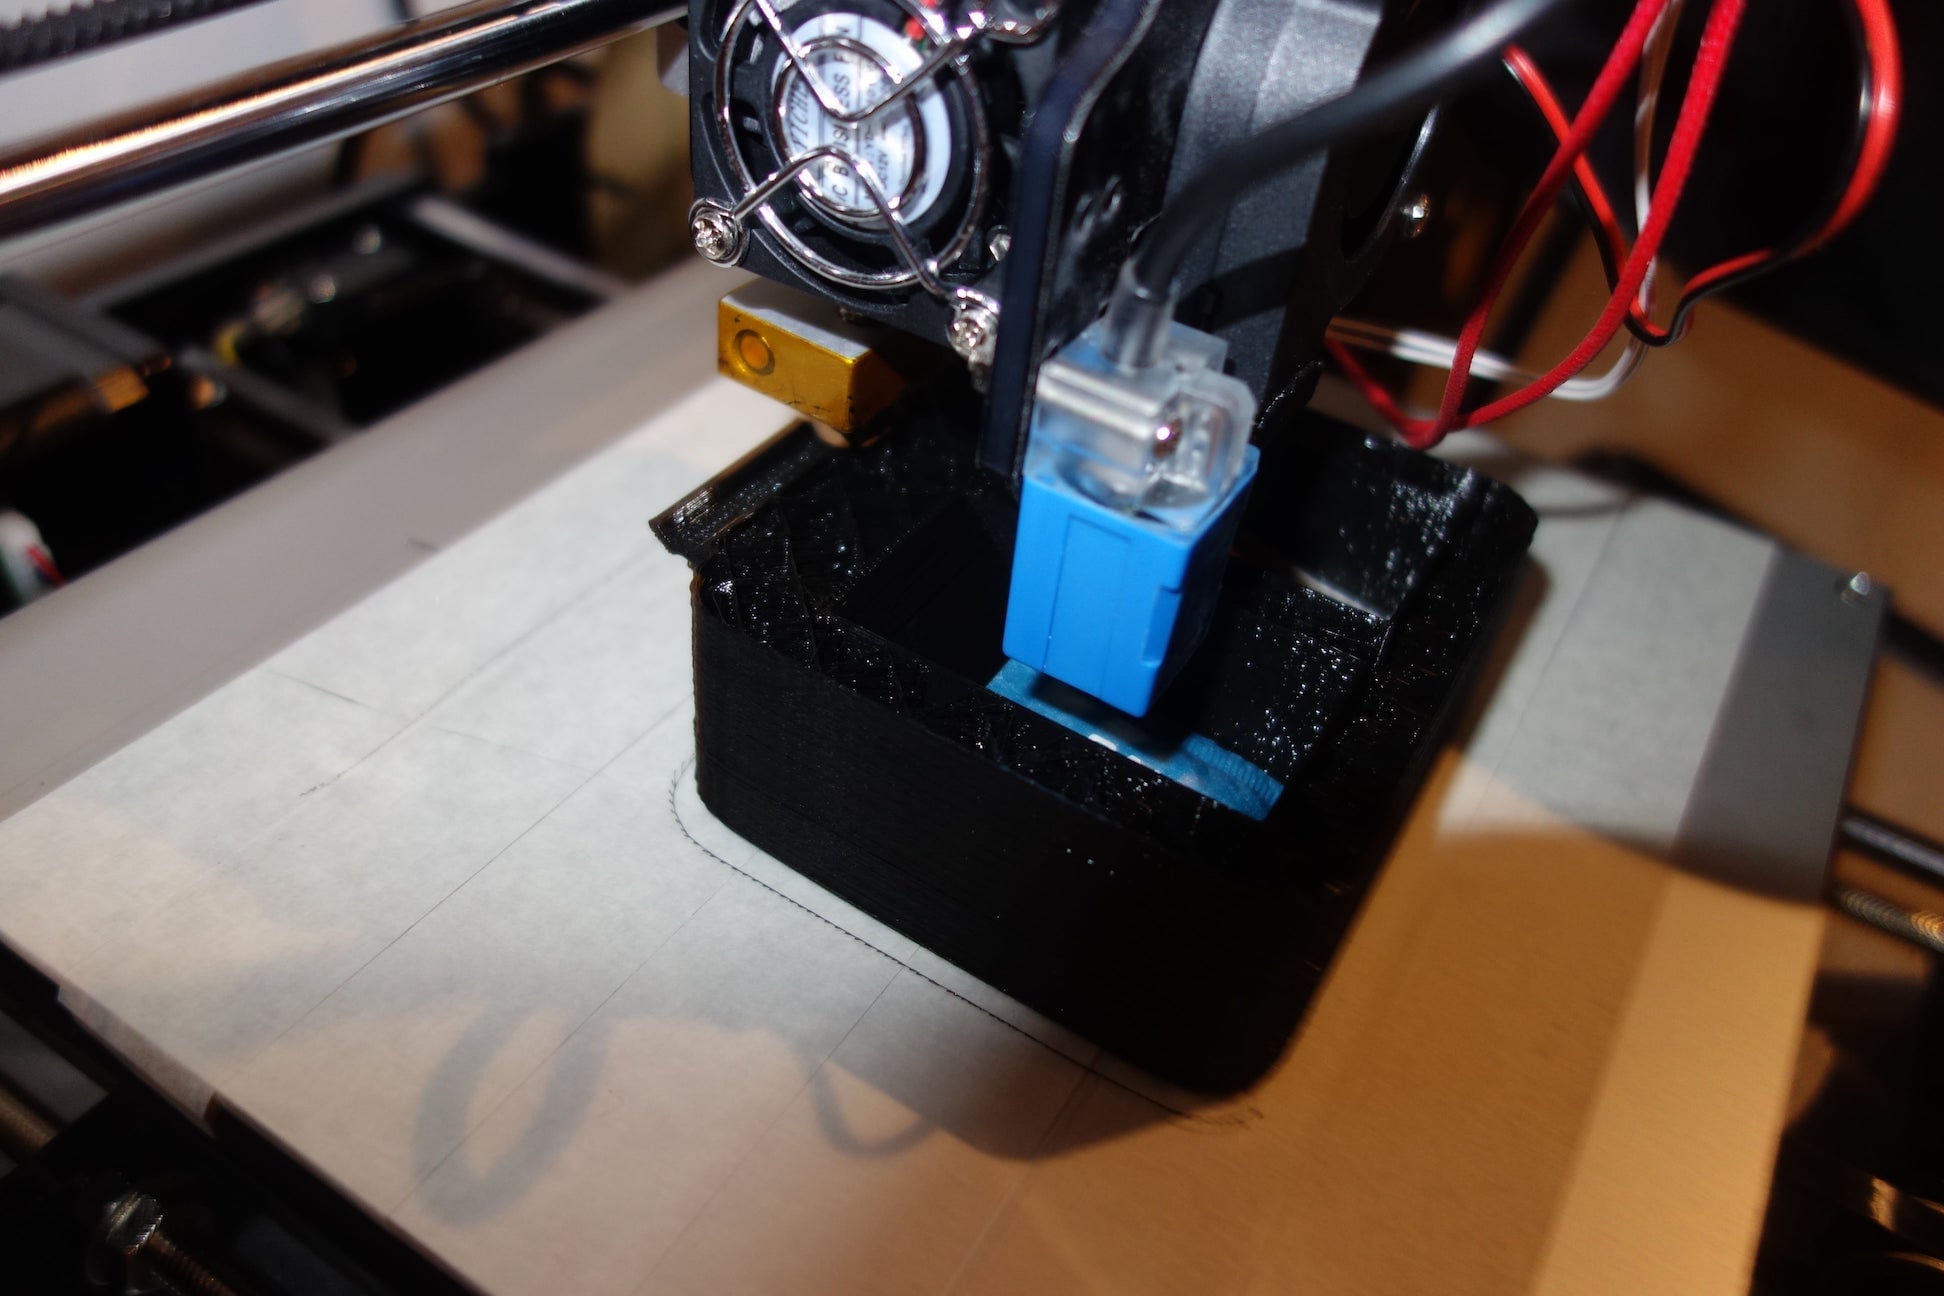
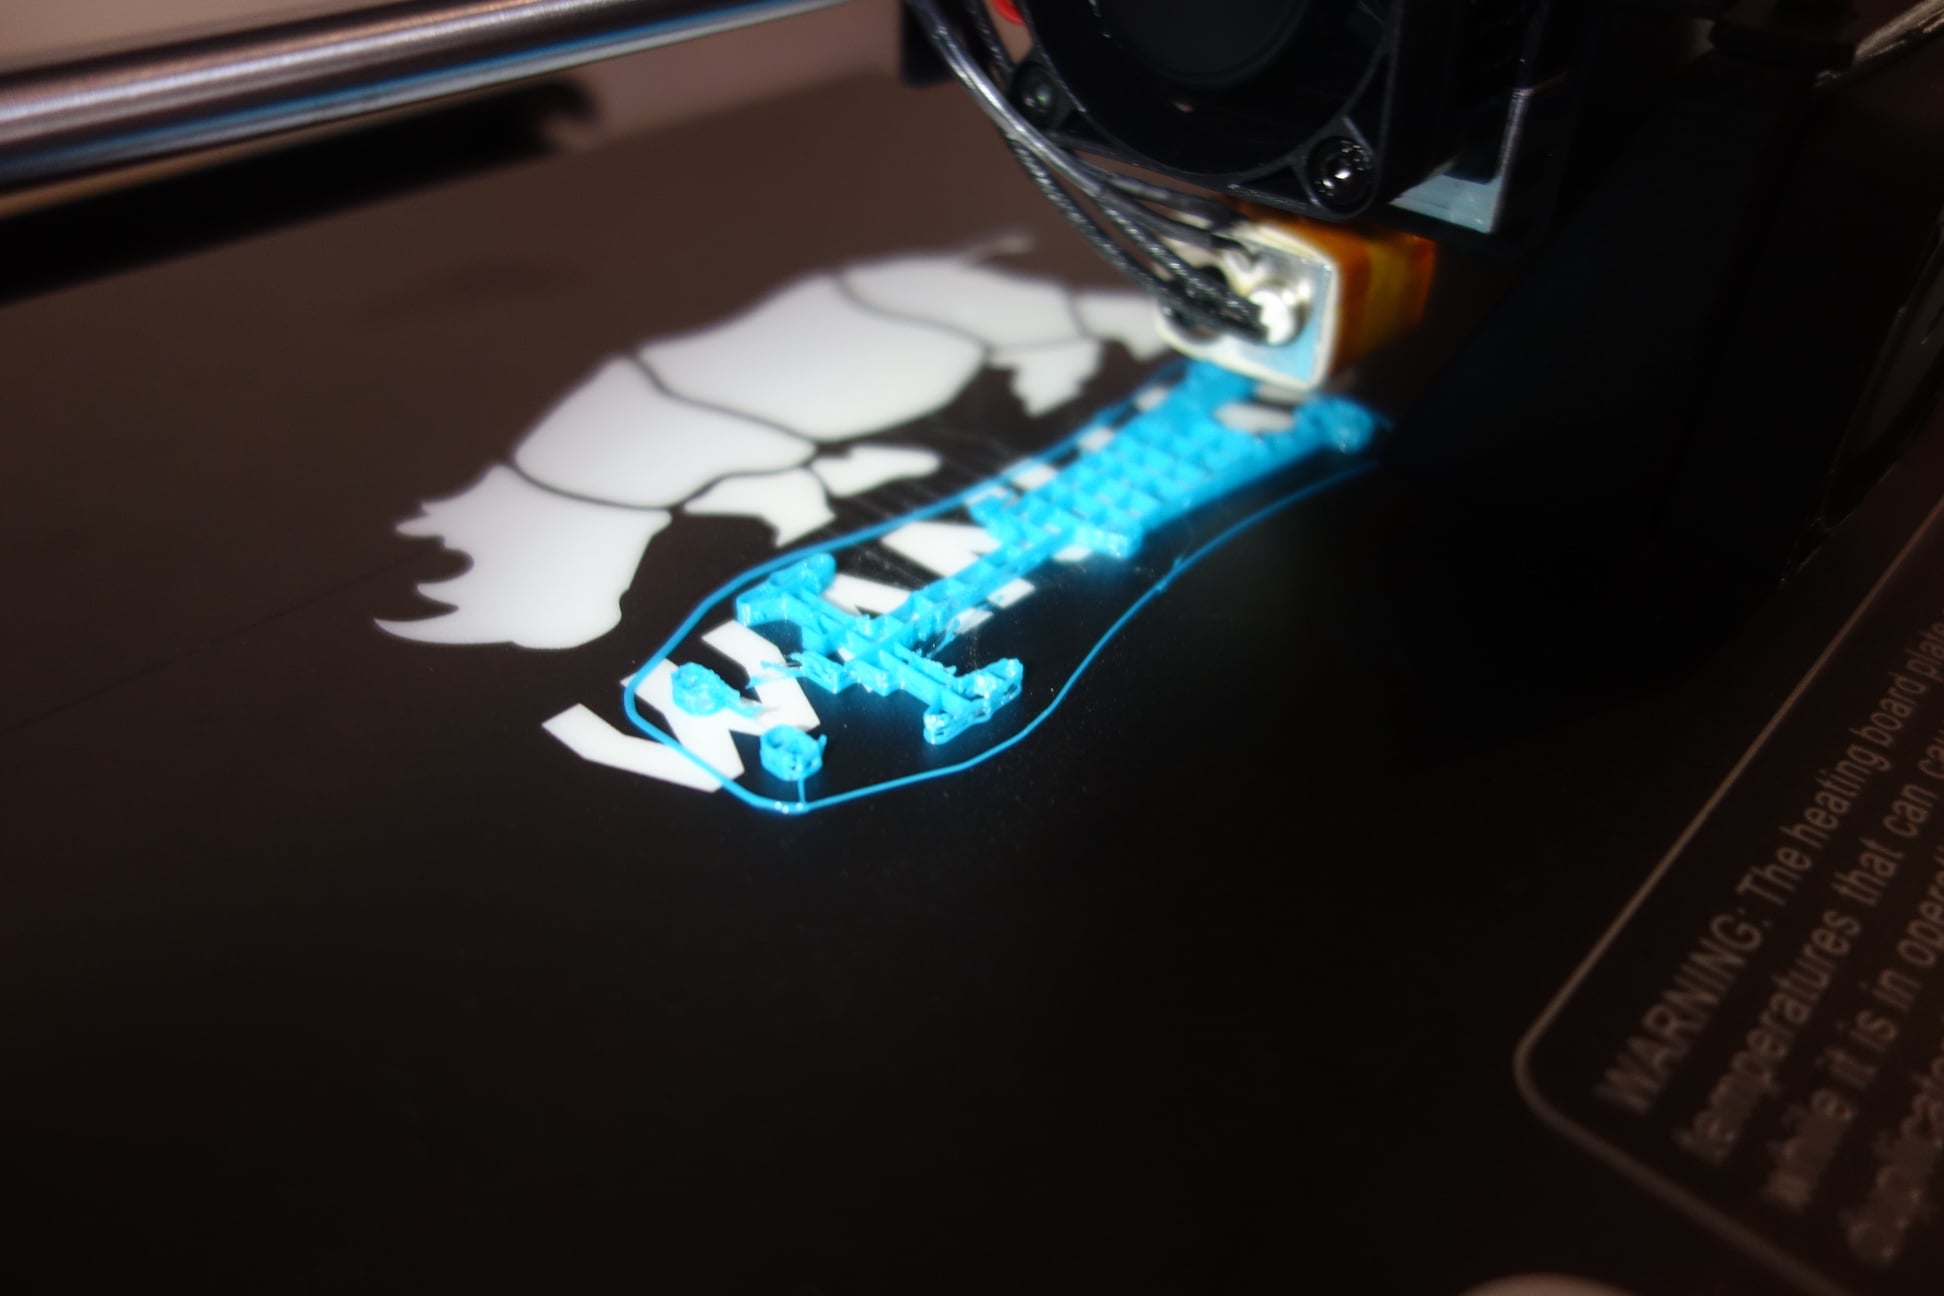
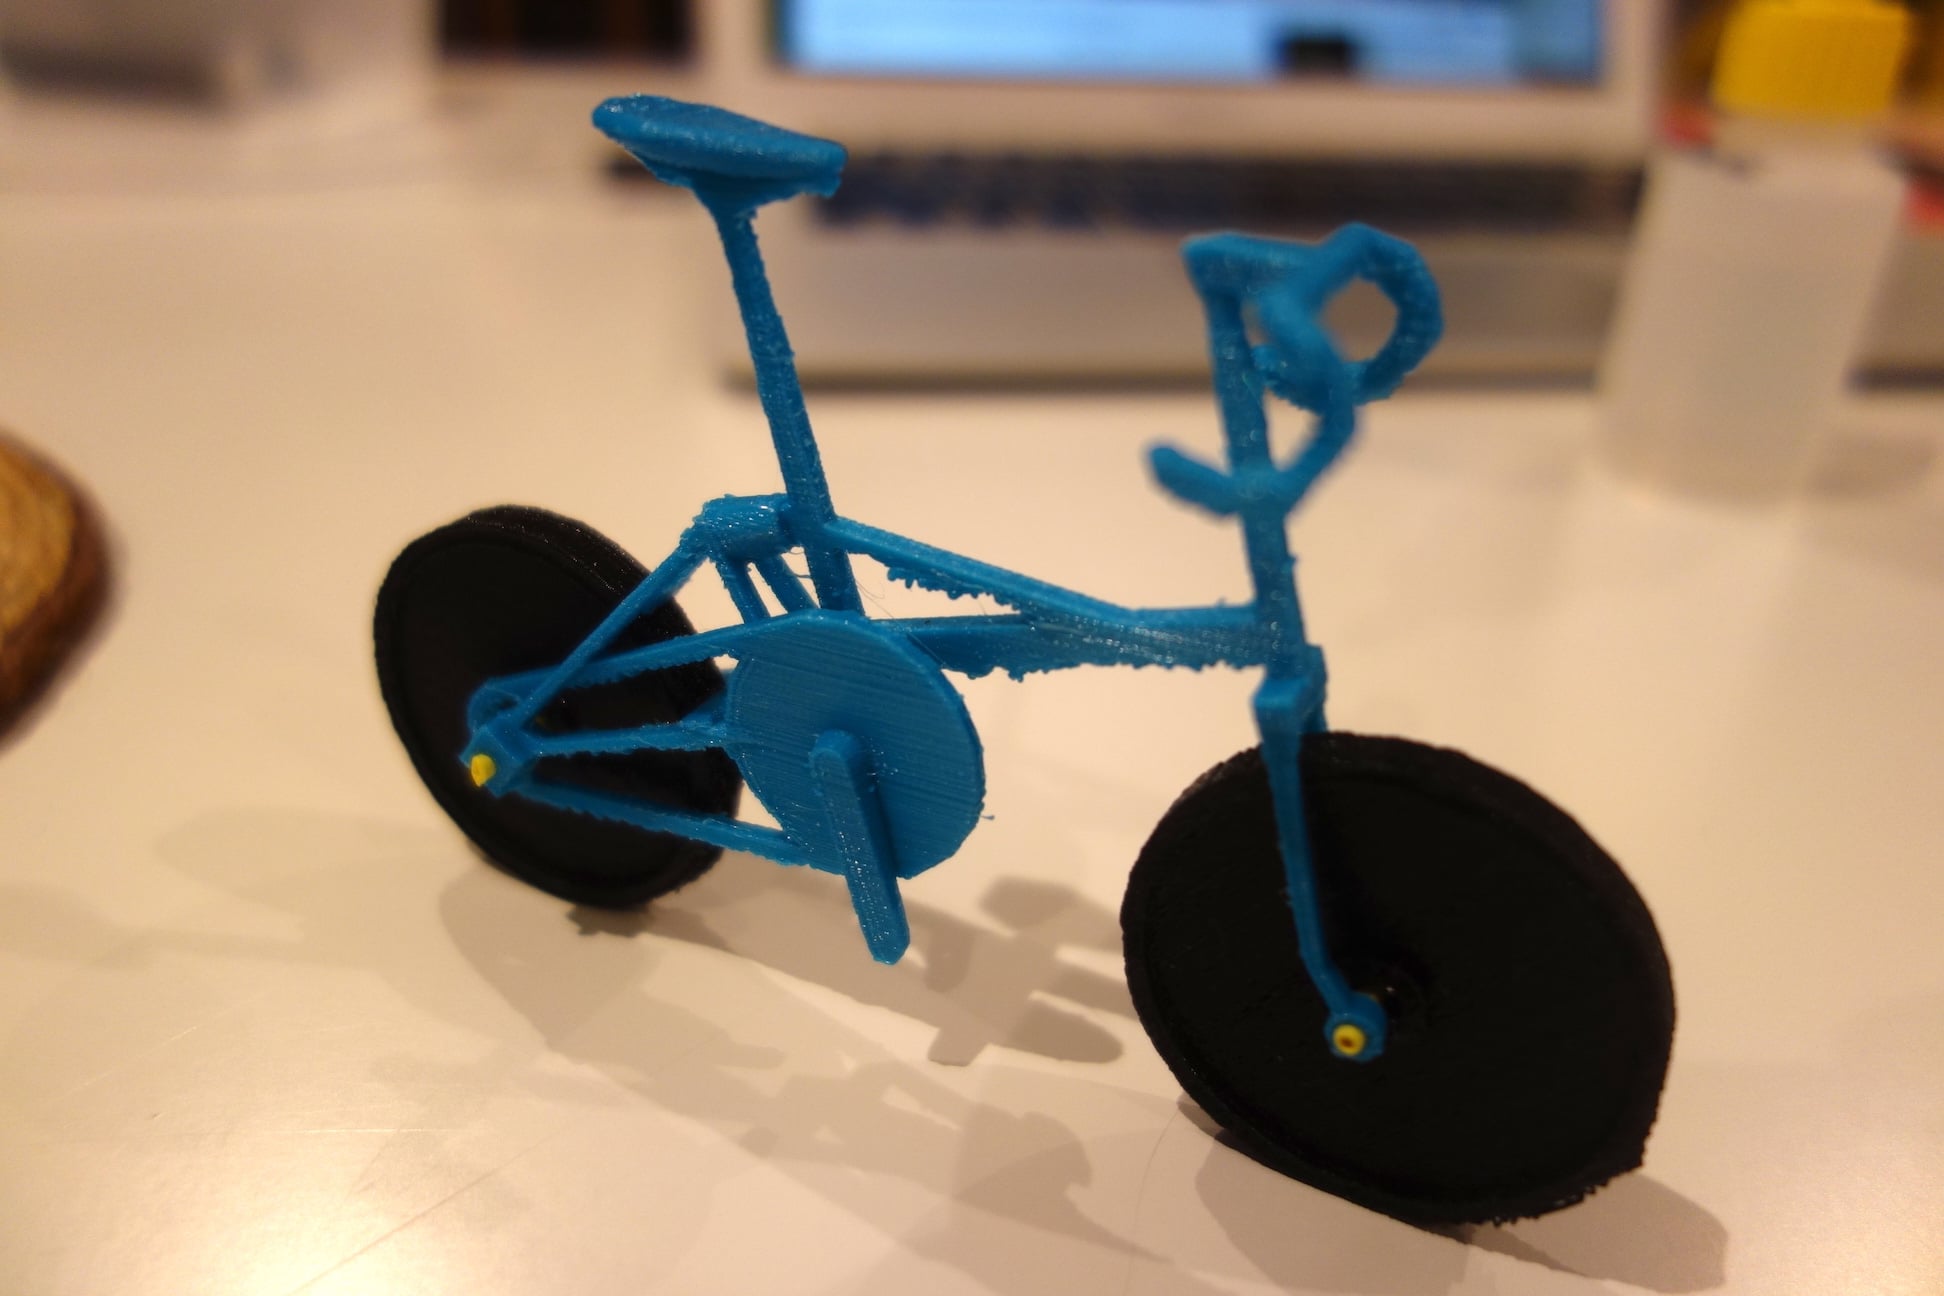
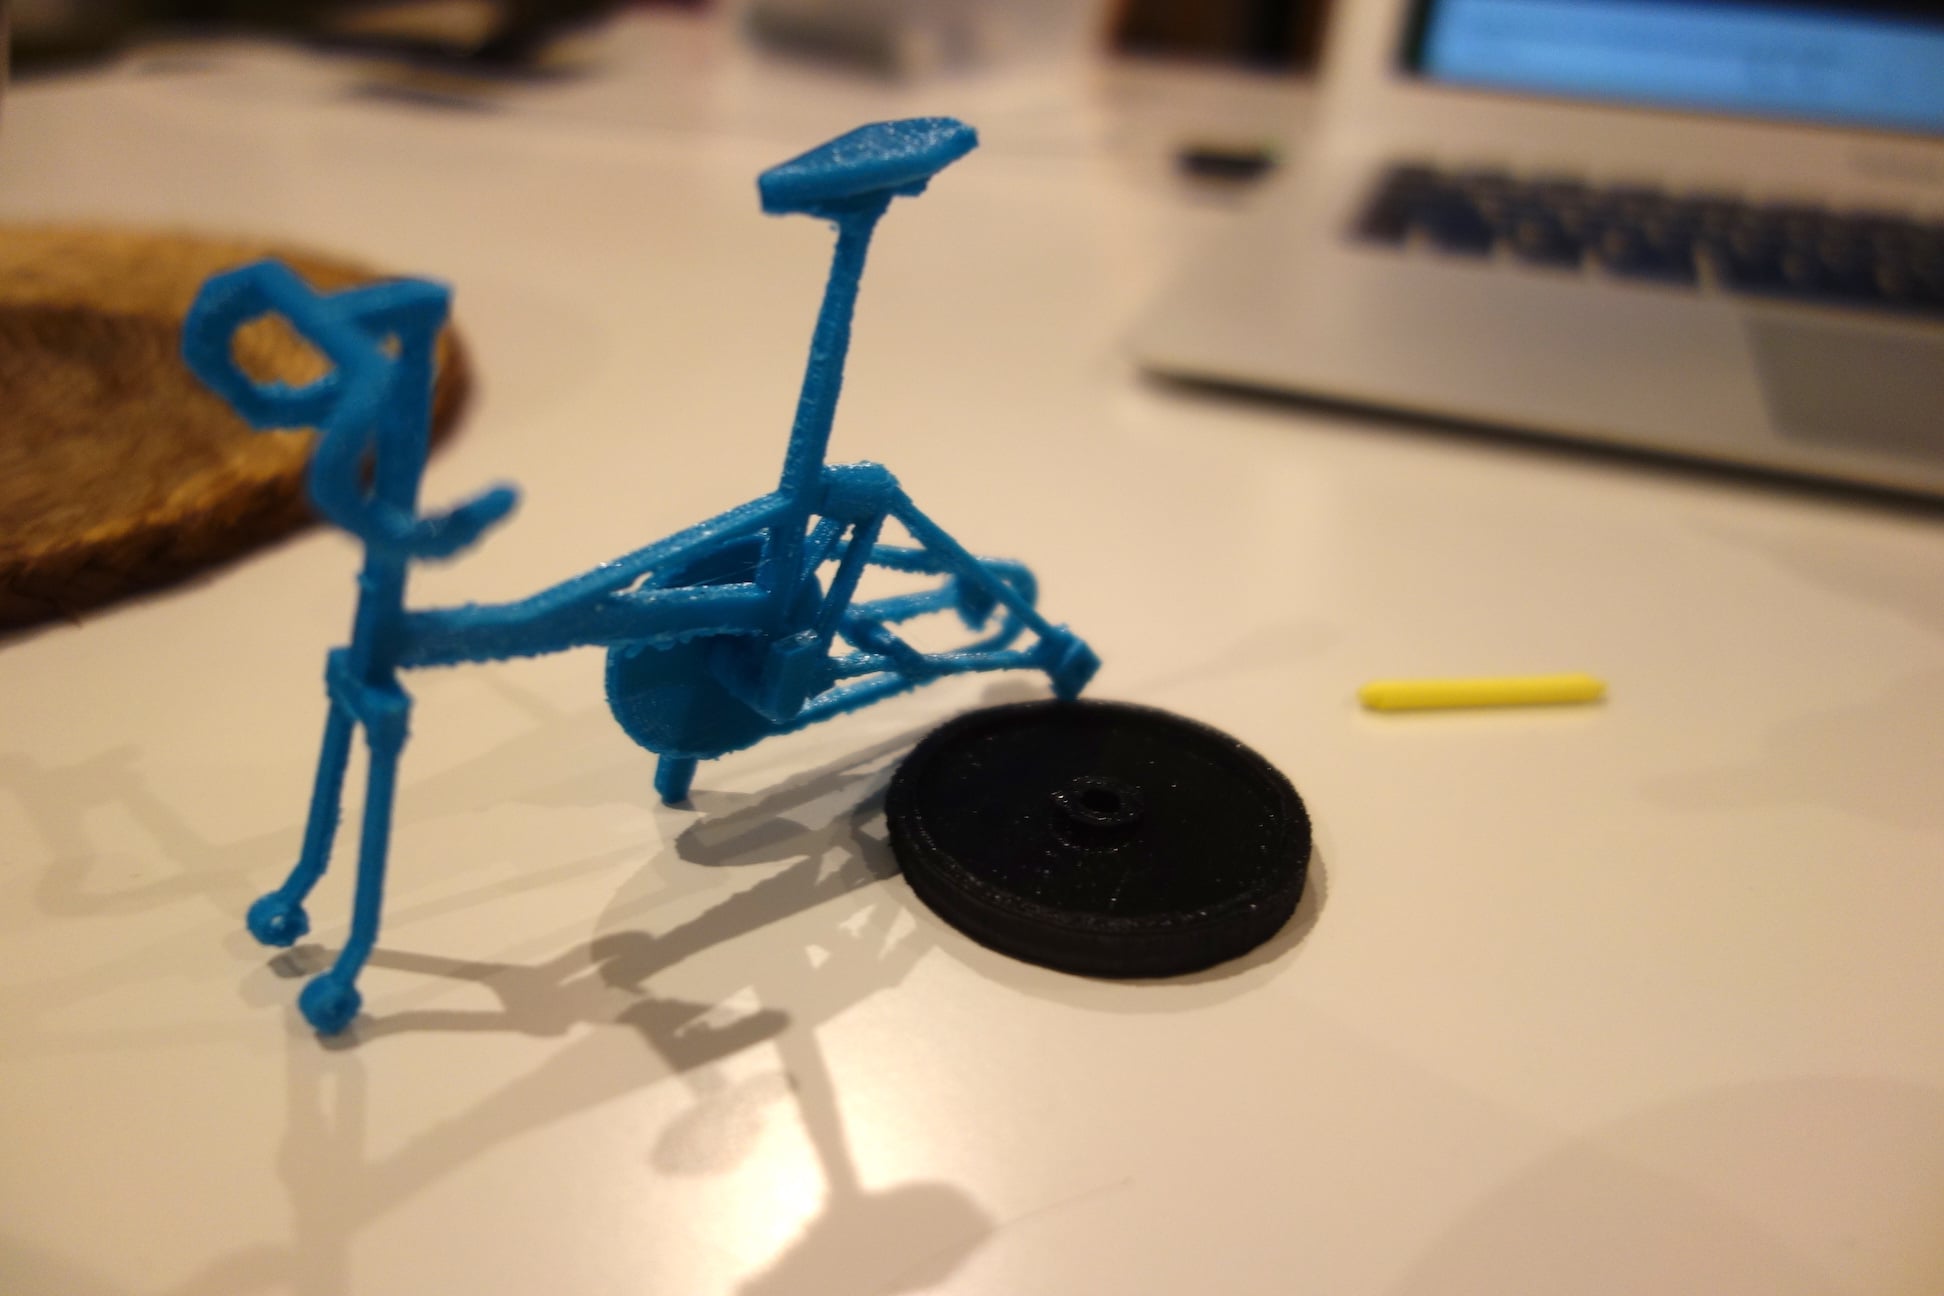
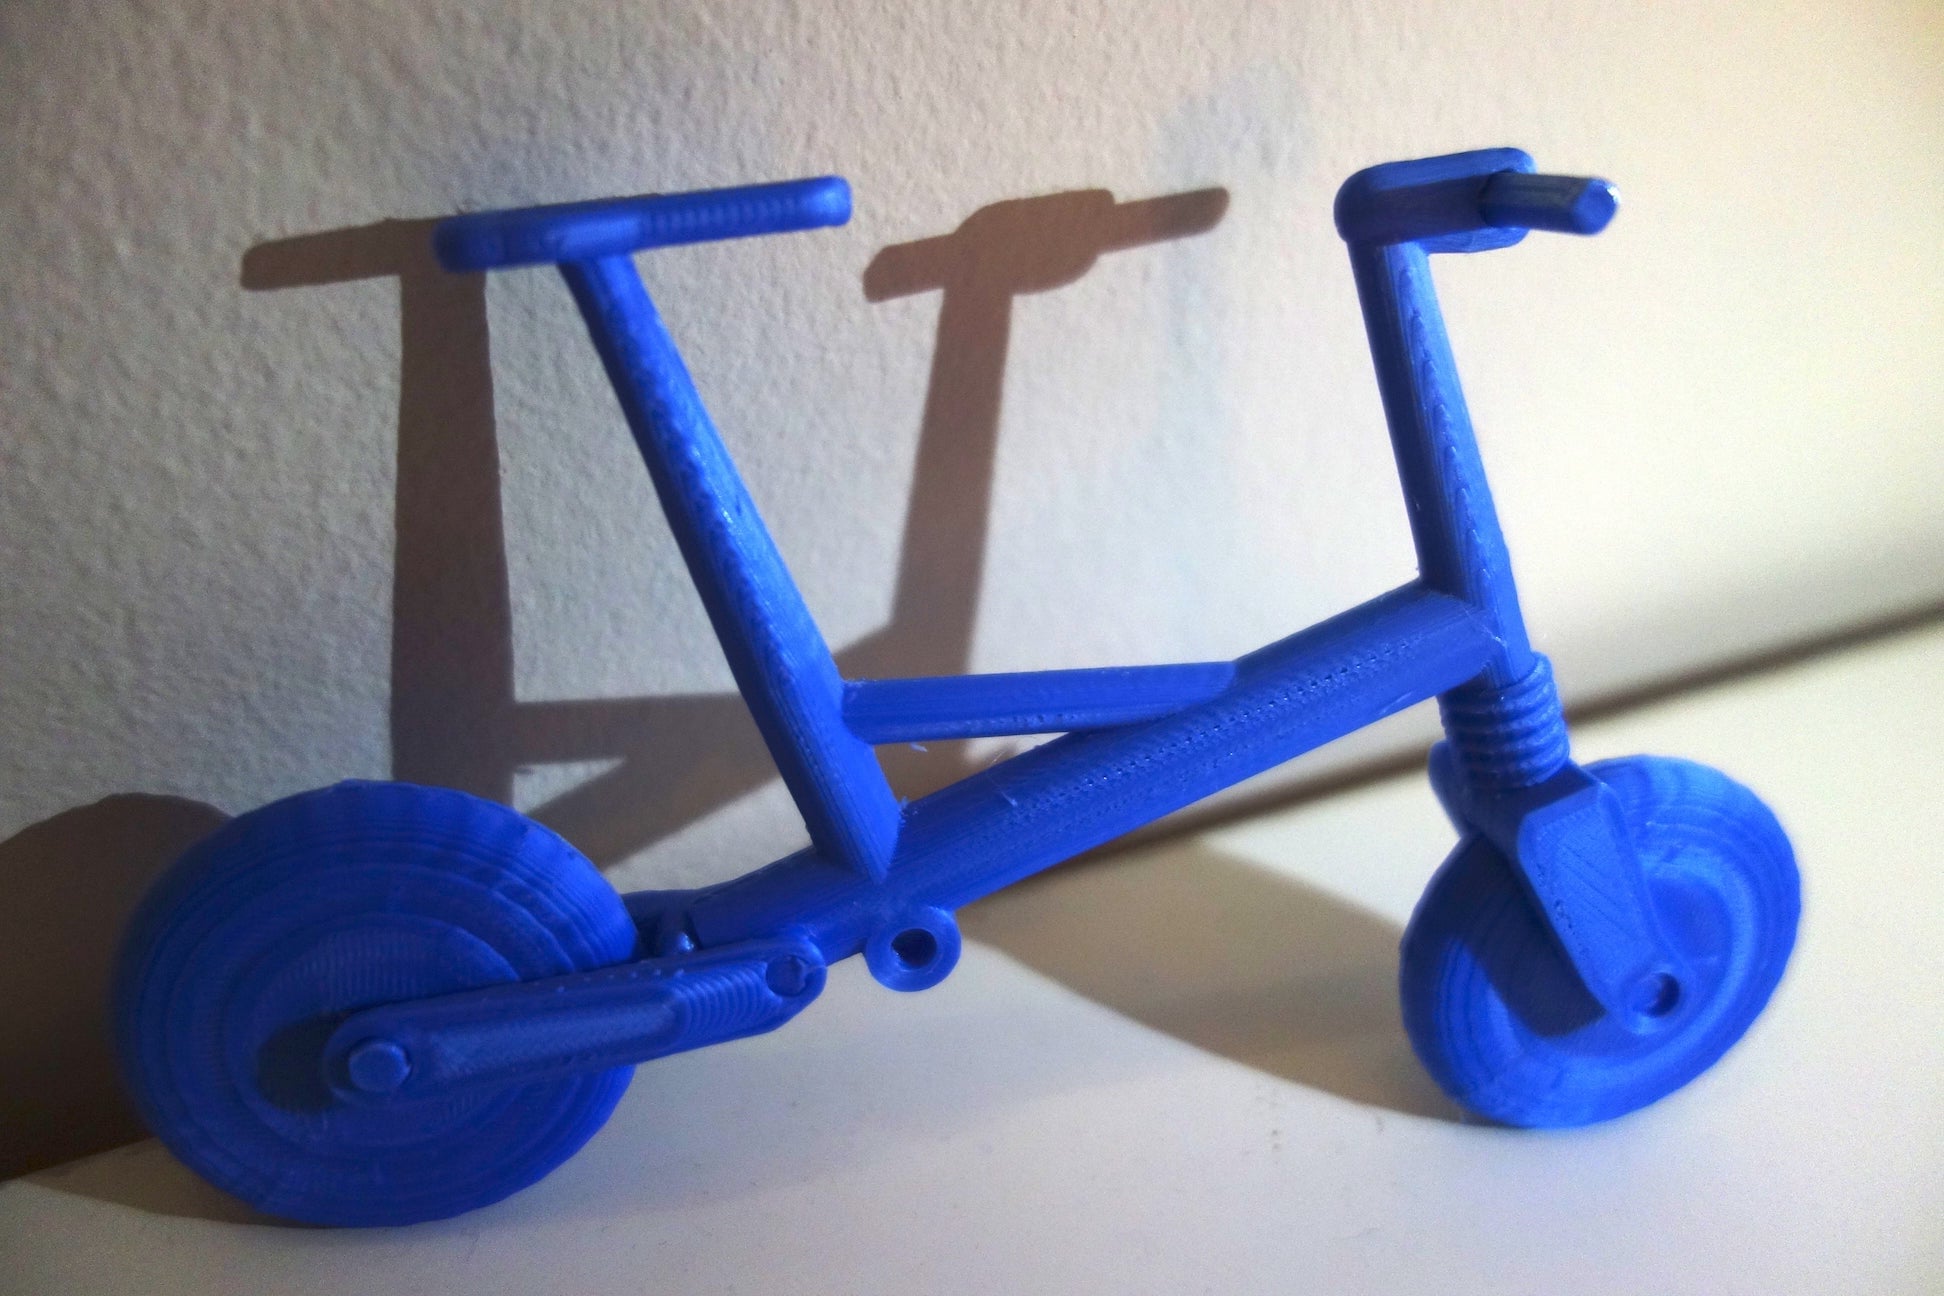
Example prints
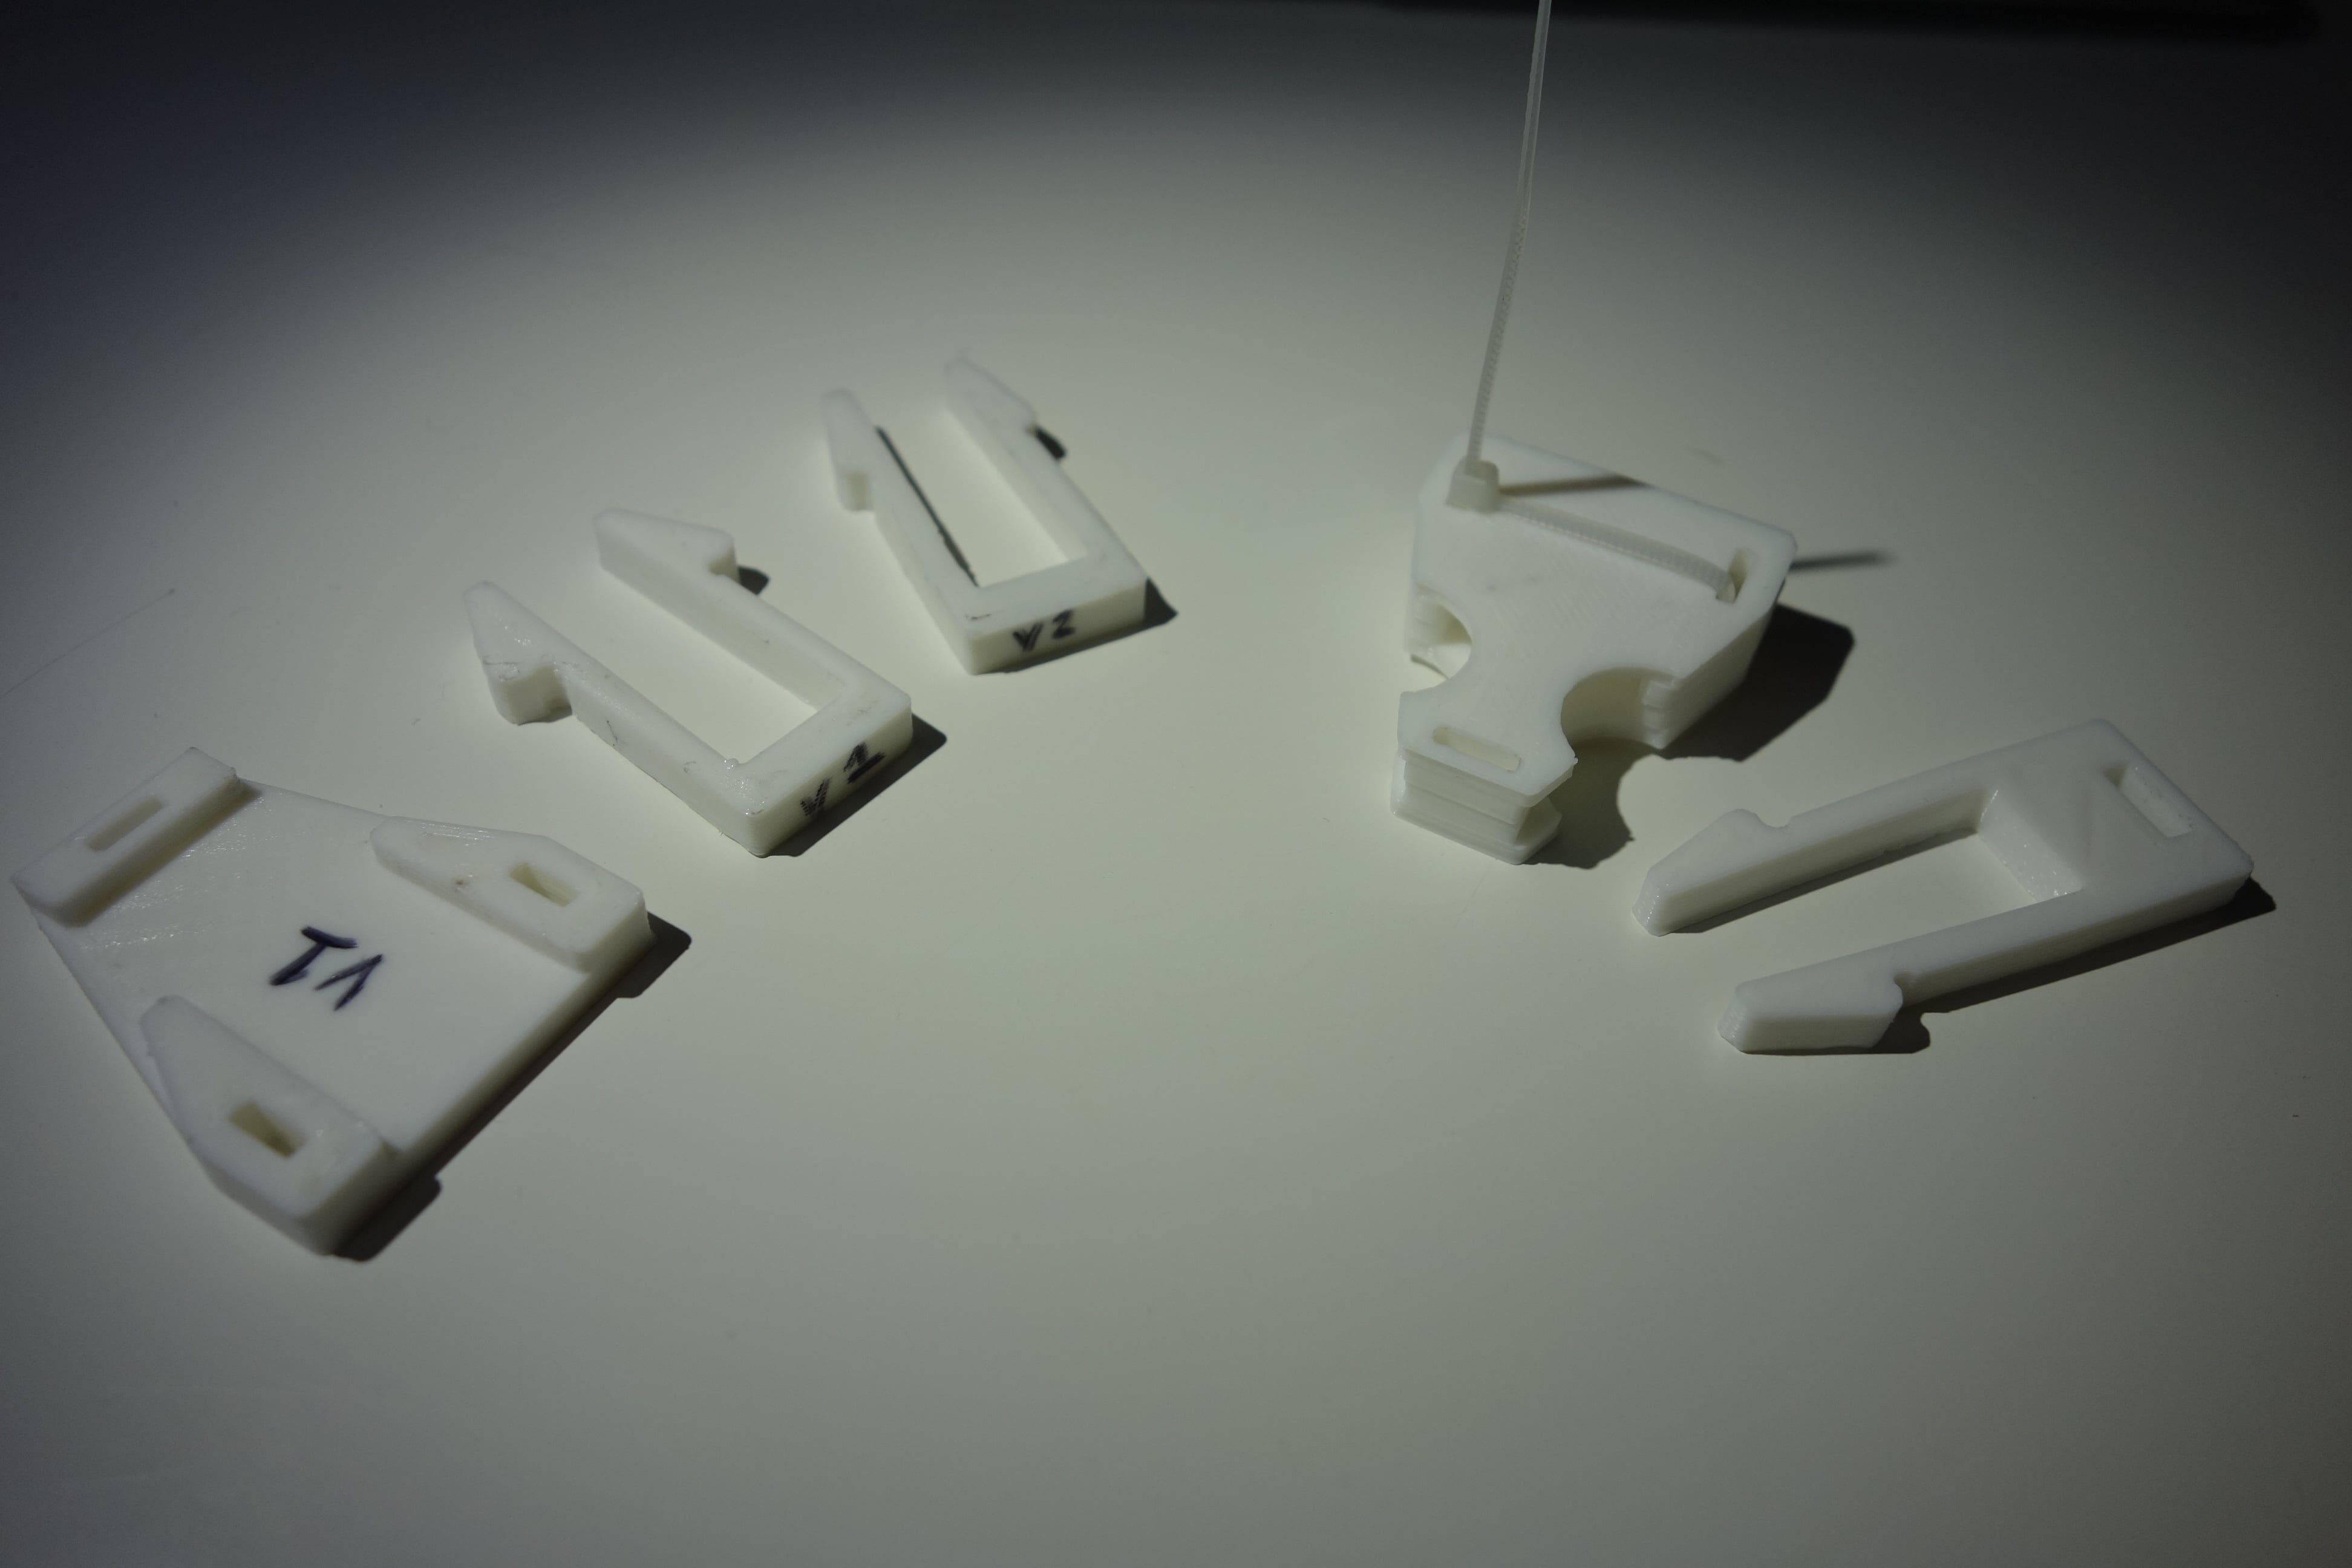
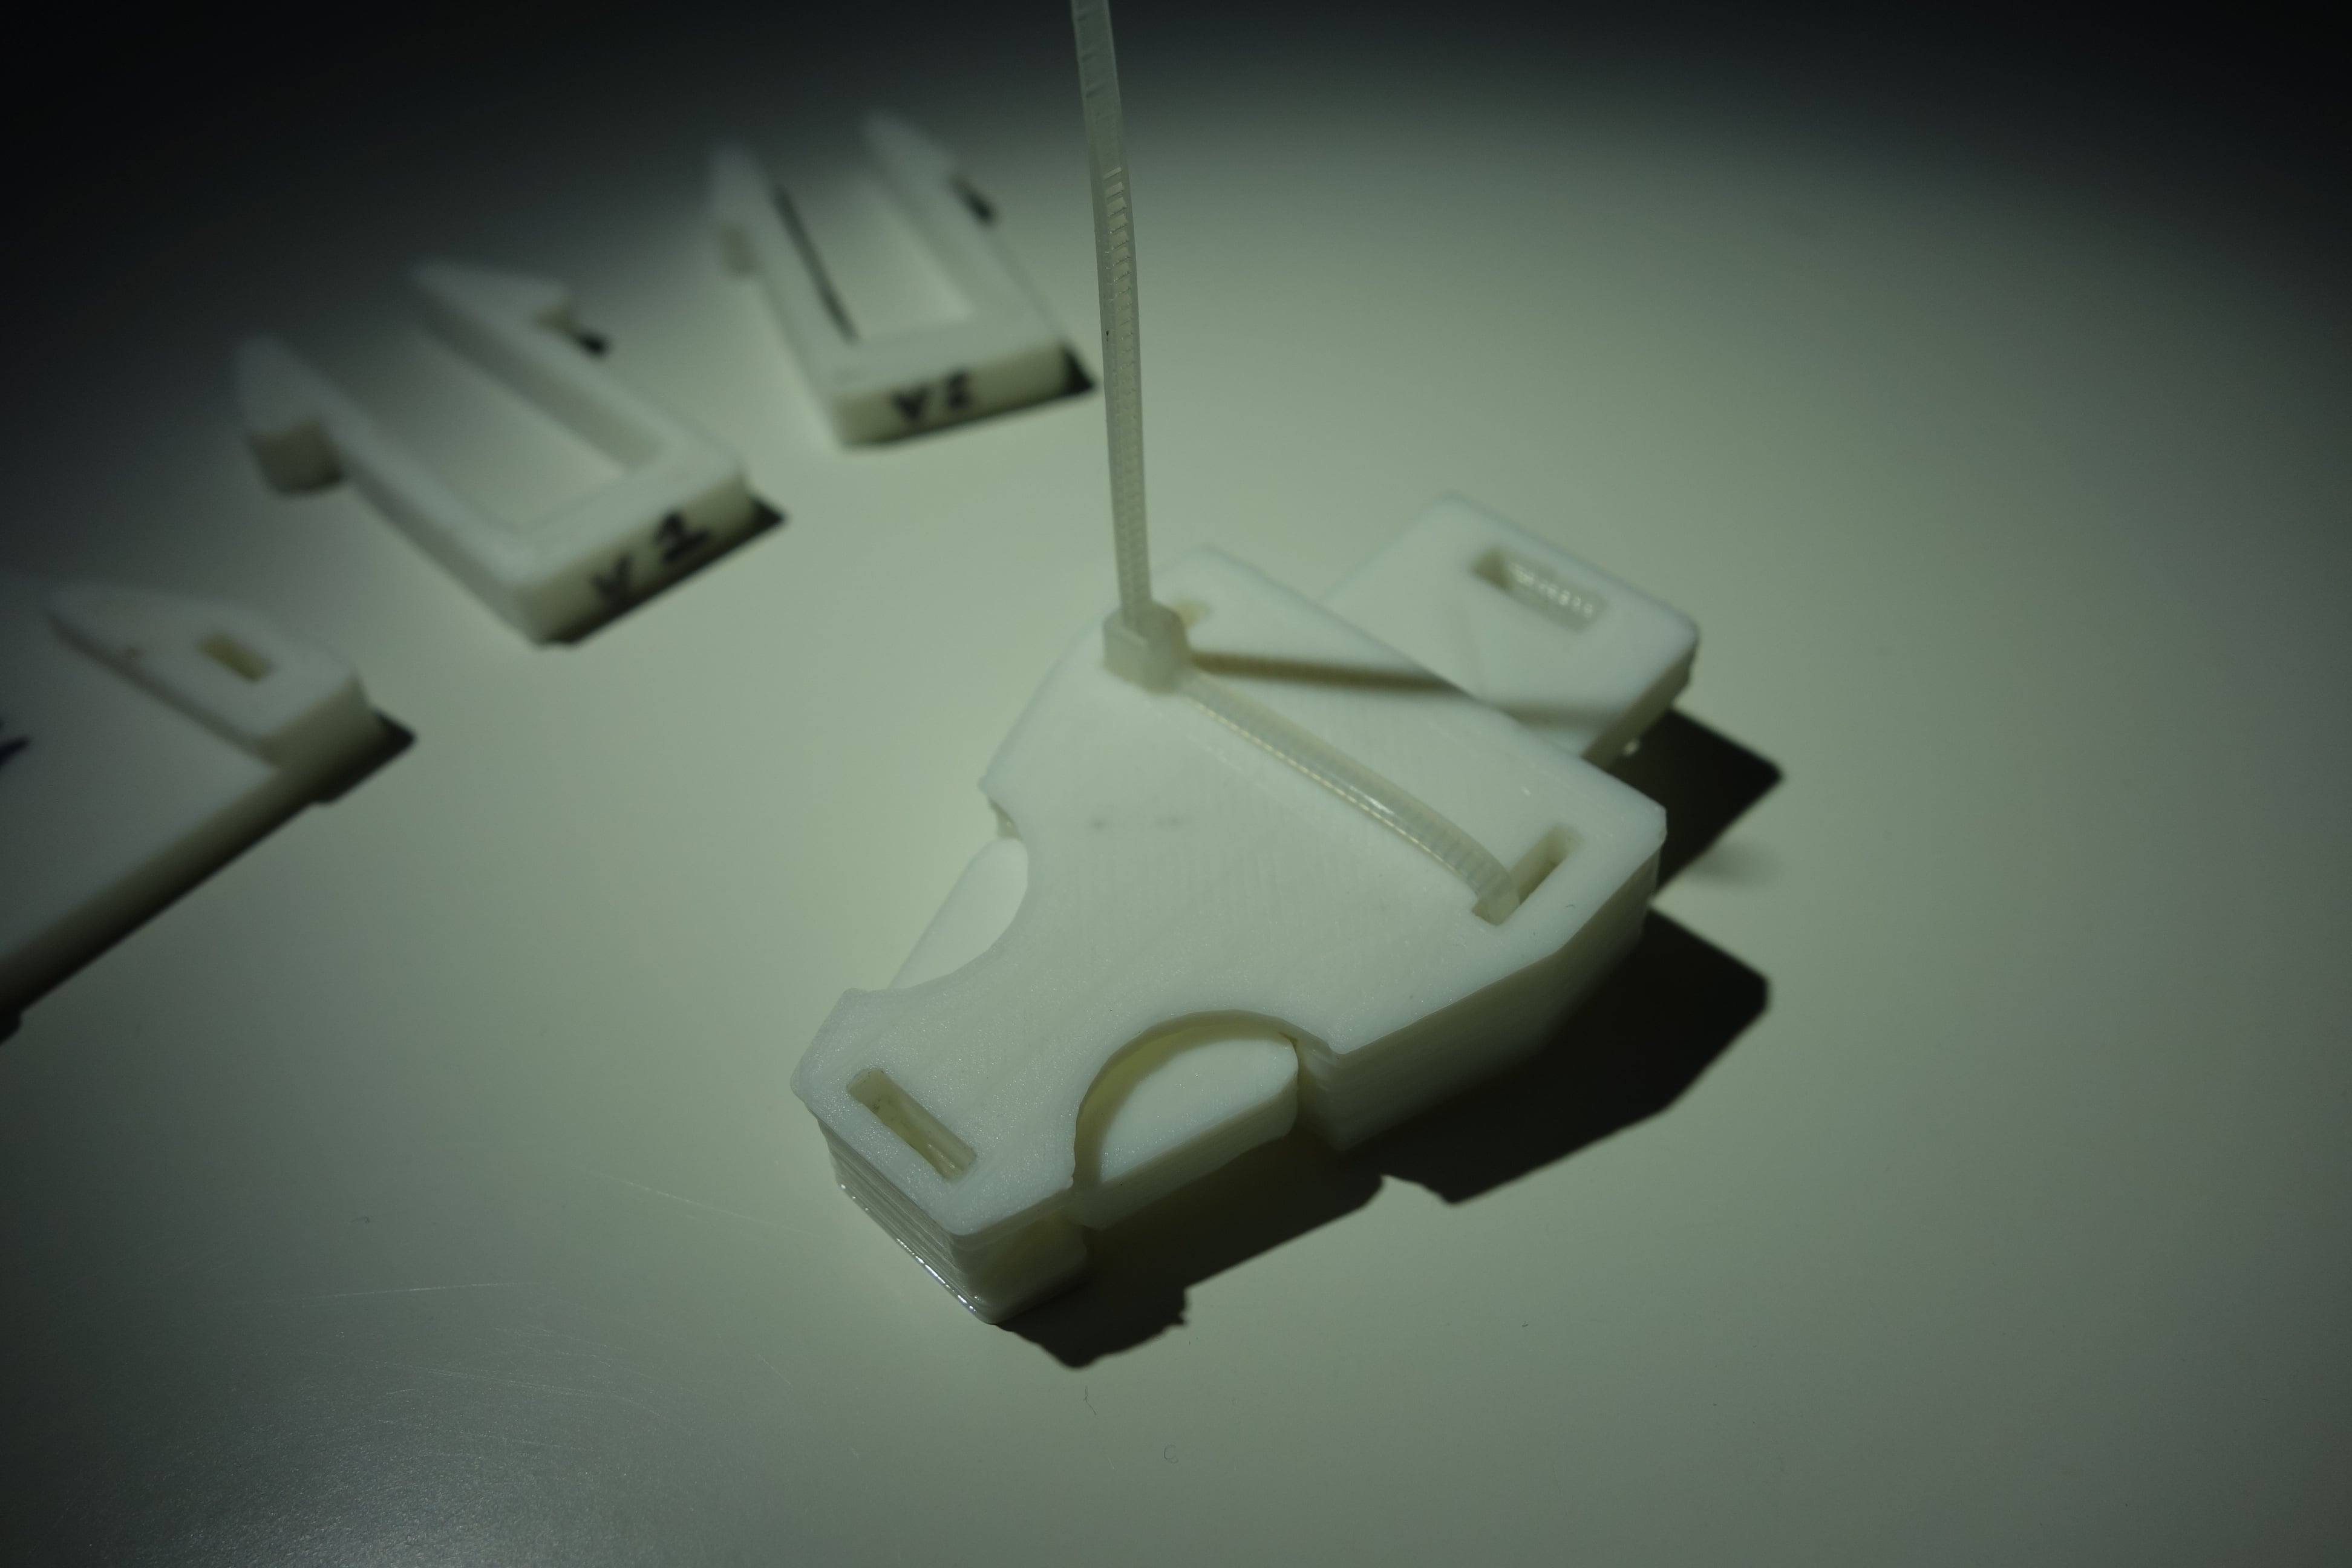
Modifications
I modified some key features of this printer:
-
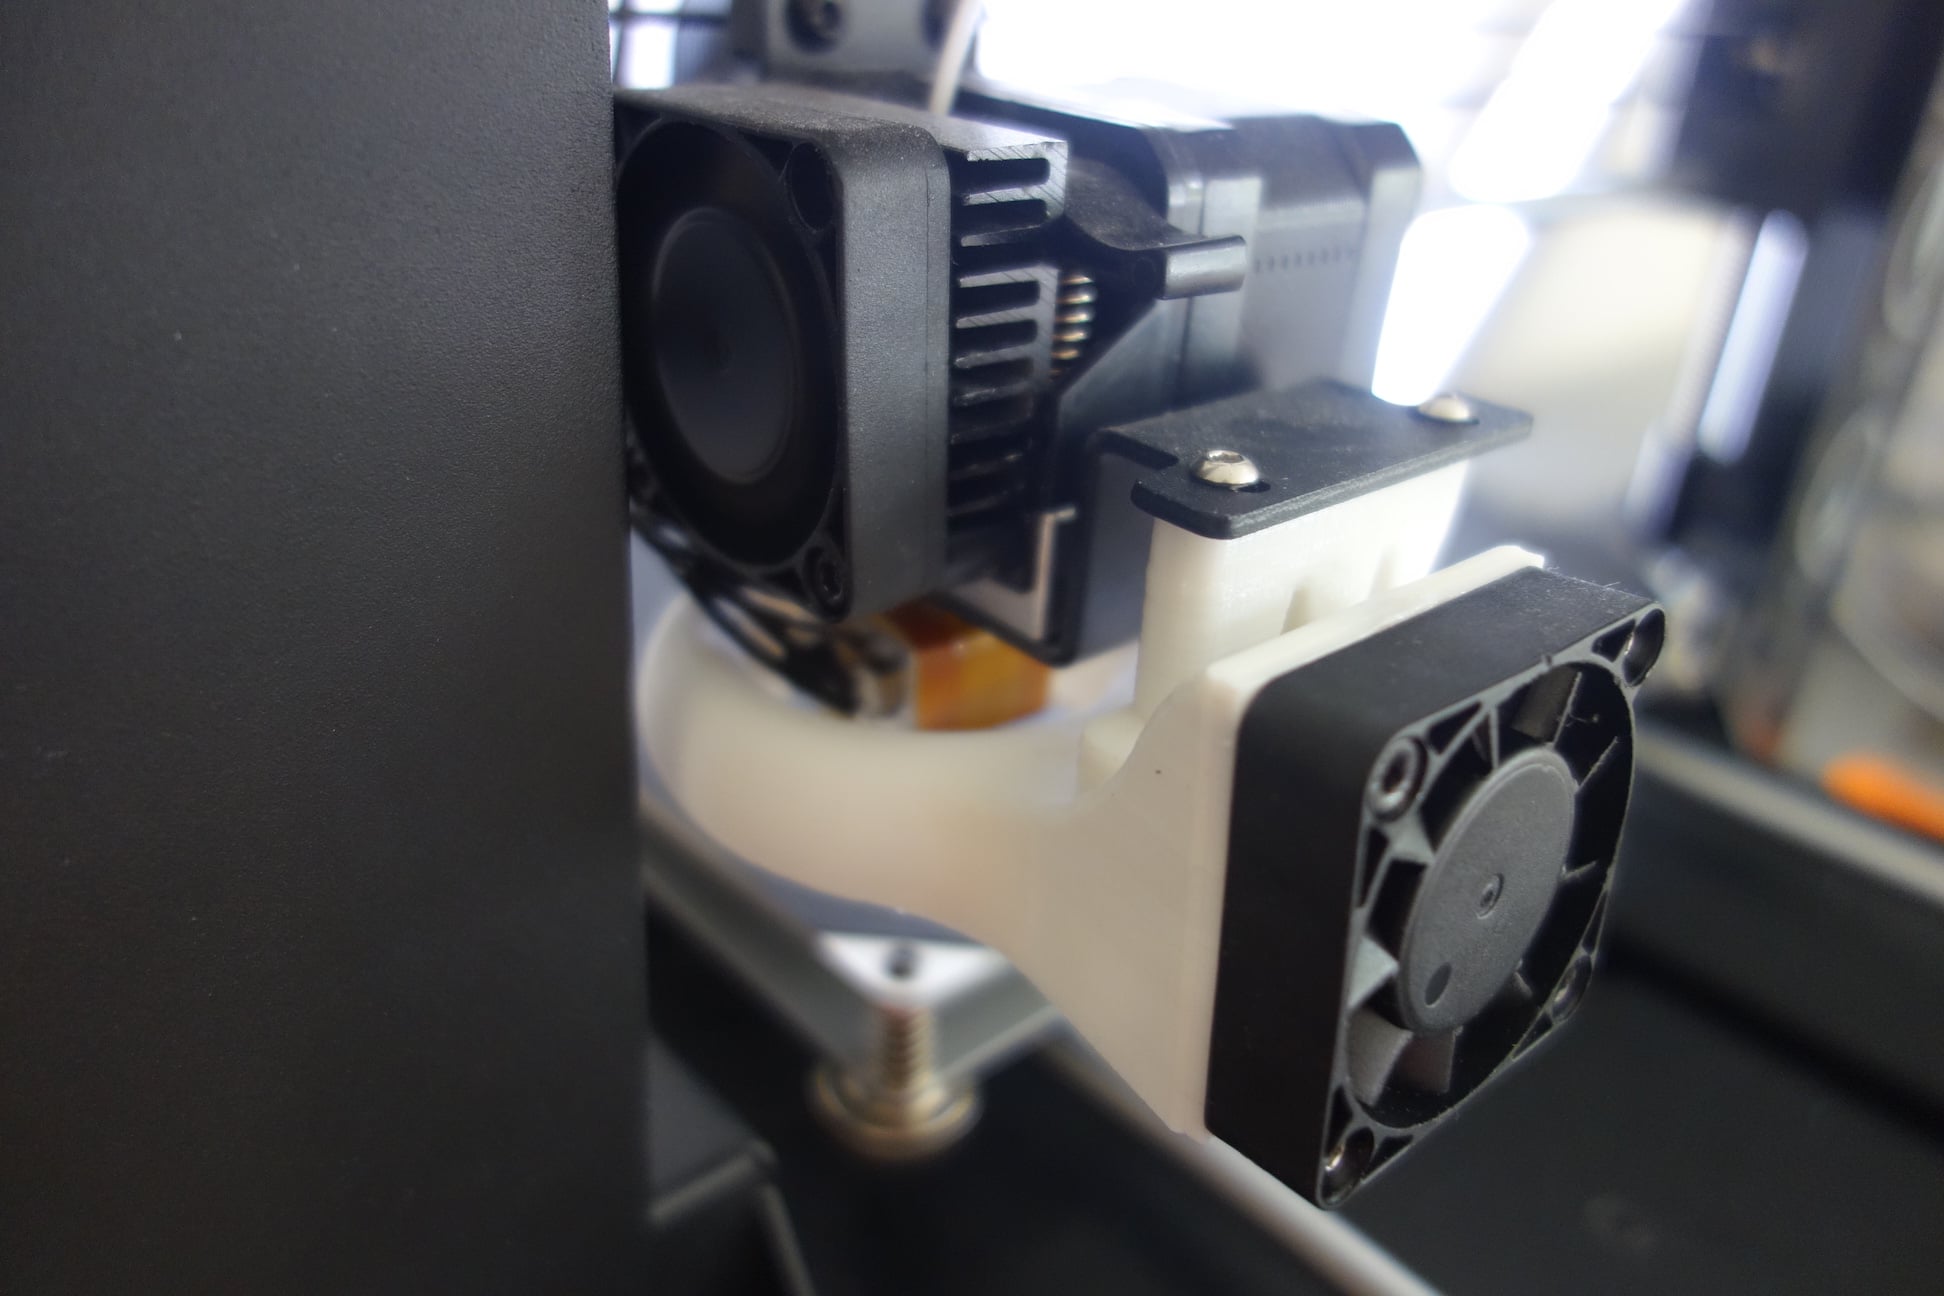
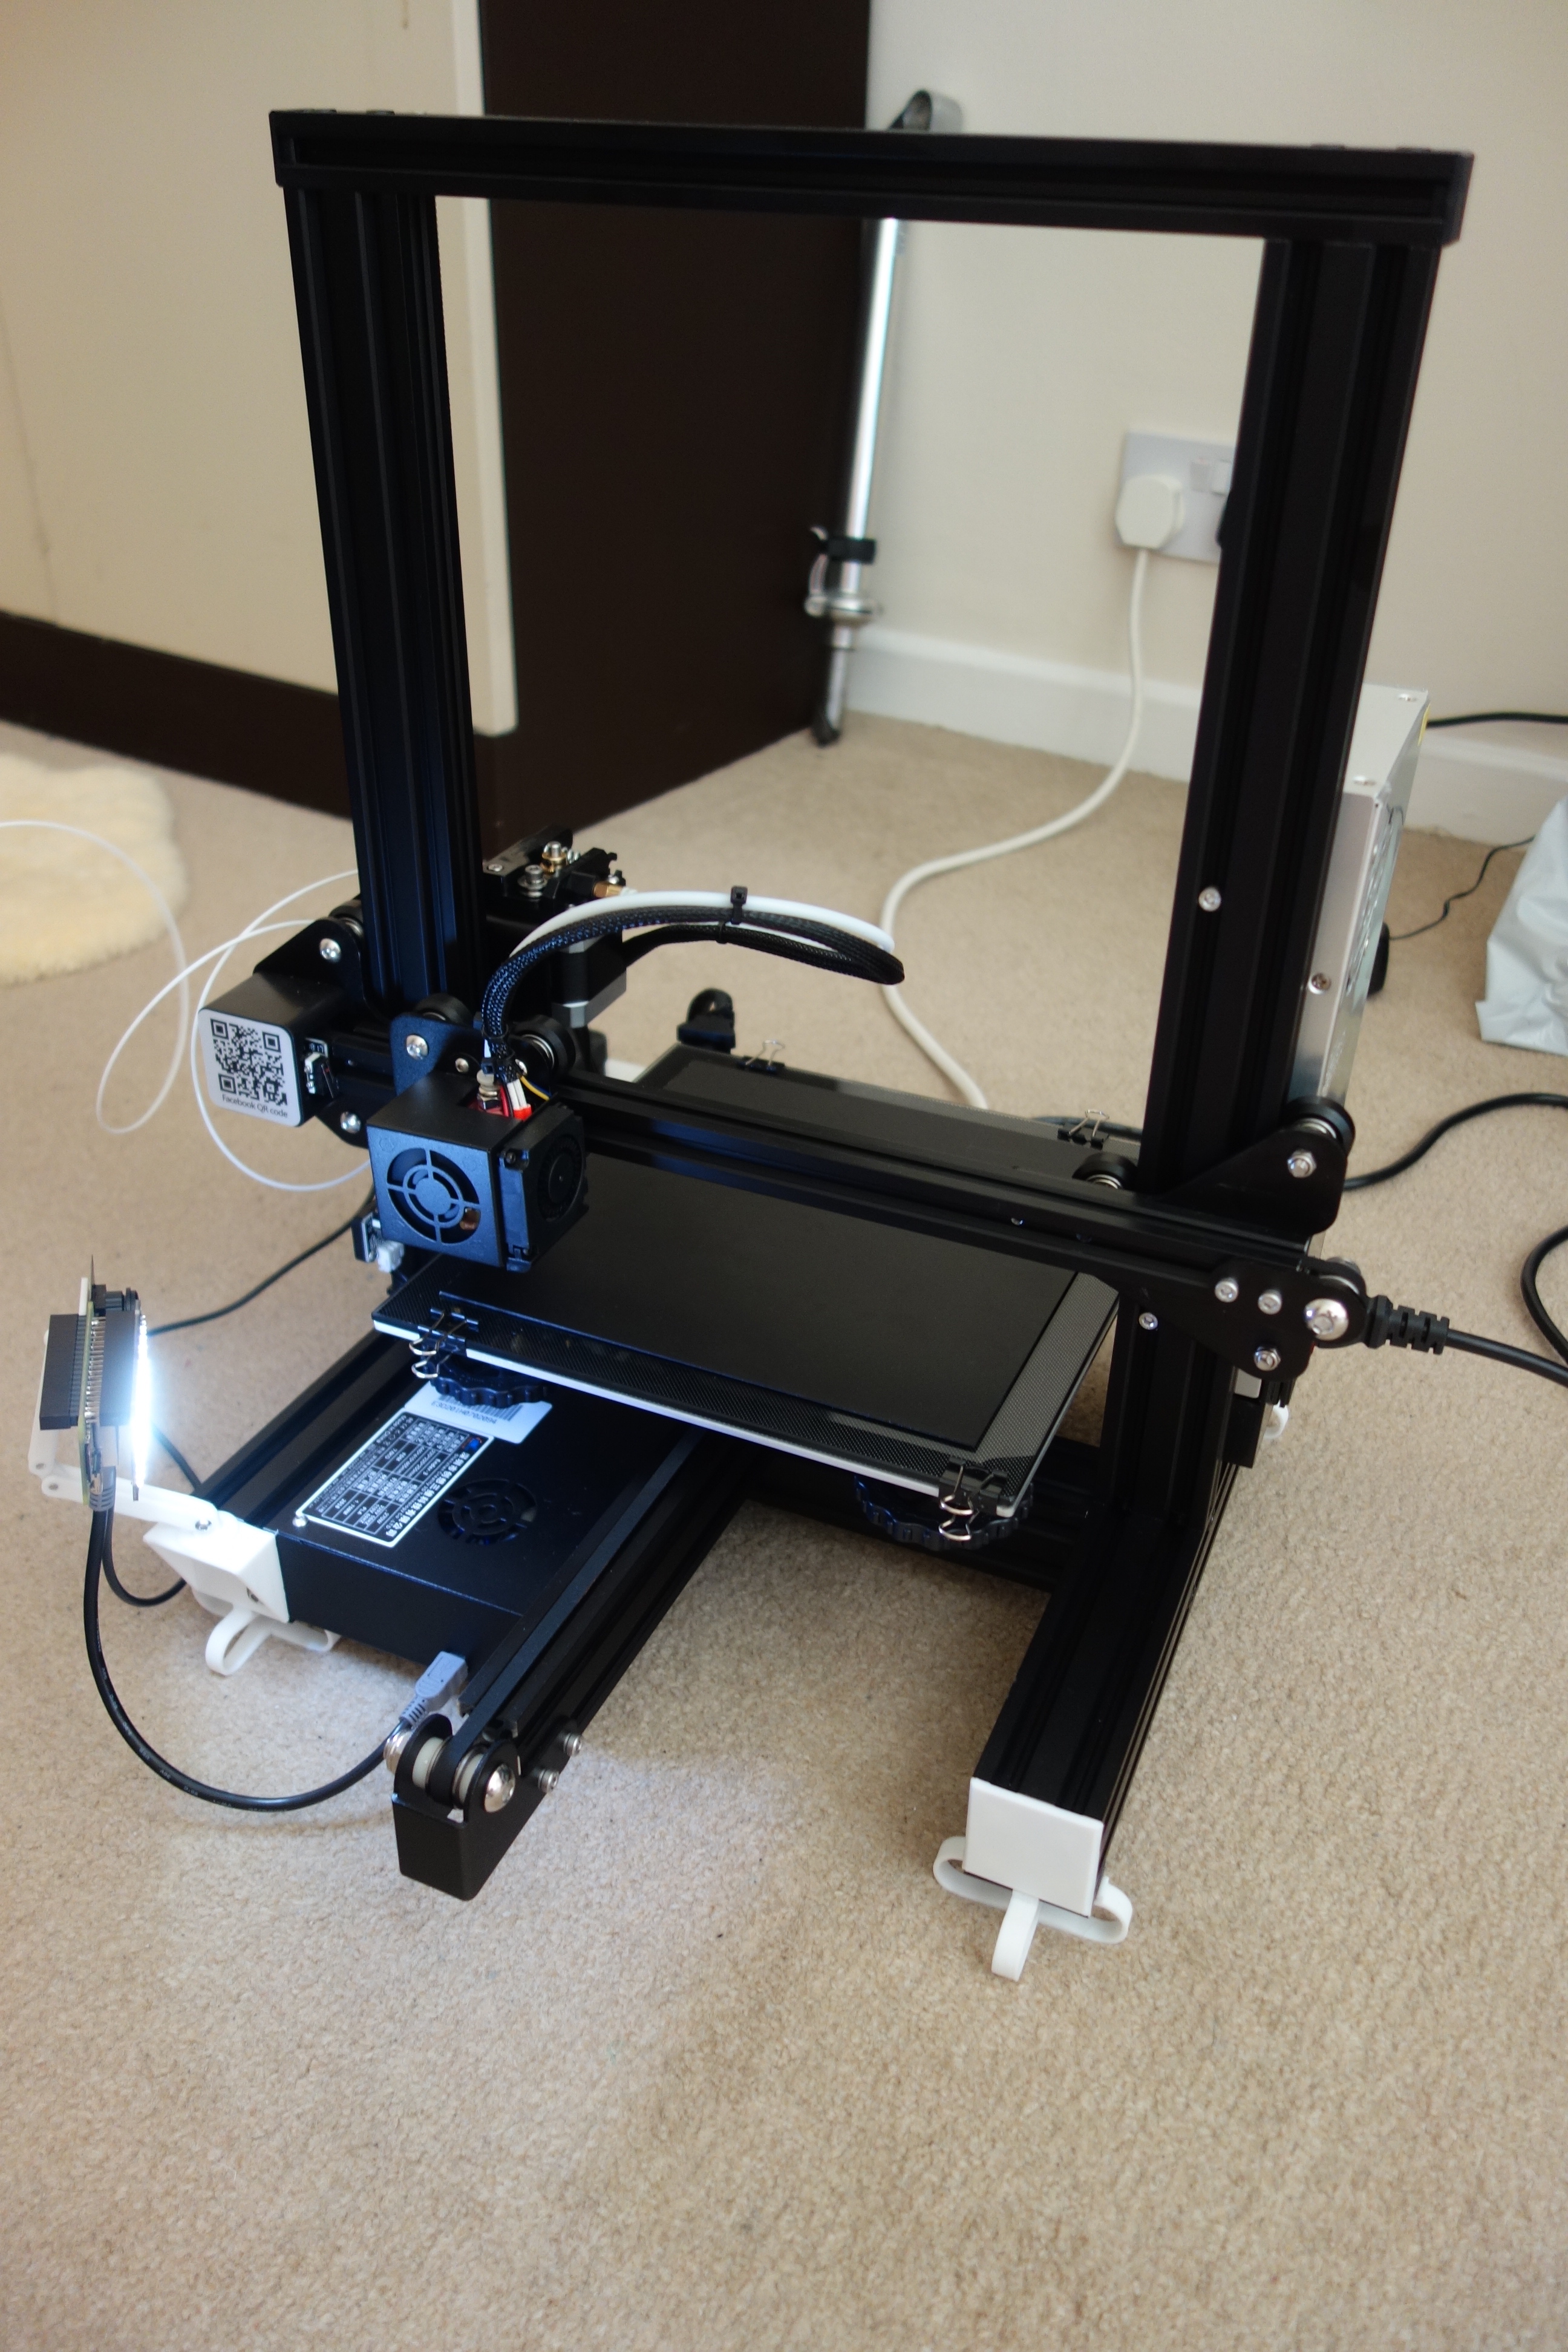
Firstly, I removed the LCD control panel entirely and set up OctoPrint as my only printer control mechanism. This was a good move since it allowed me to send prints to the printer directly over WiFi. I was using SD card file transfers to feed prints to the previous printers. Taking this step opened up more time for doing more things that actual helped the printing process.
-
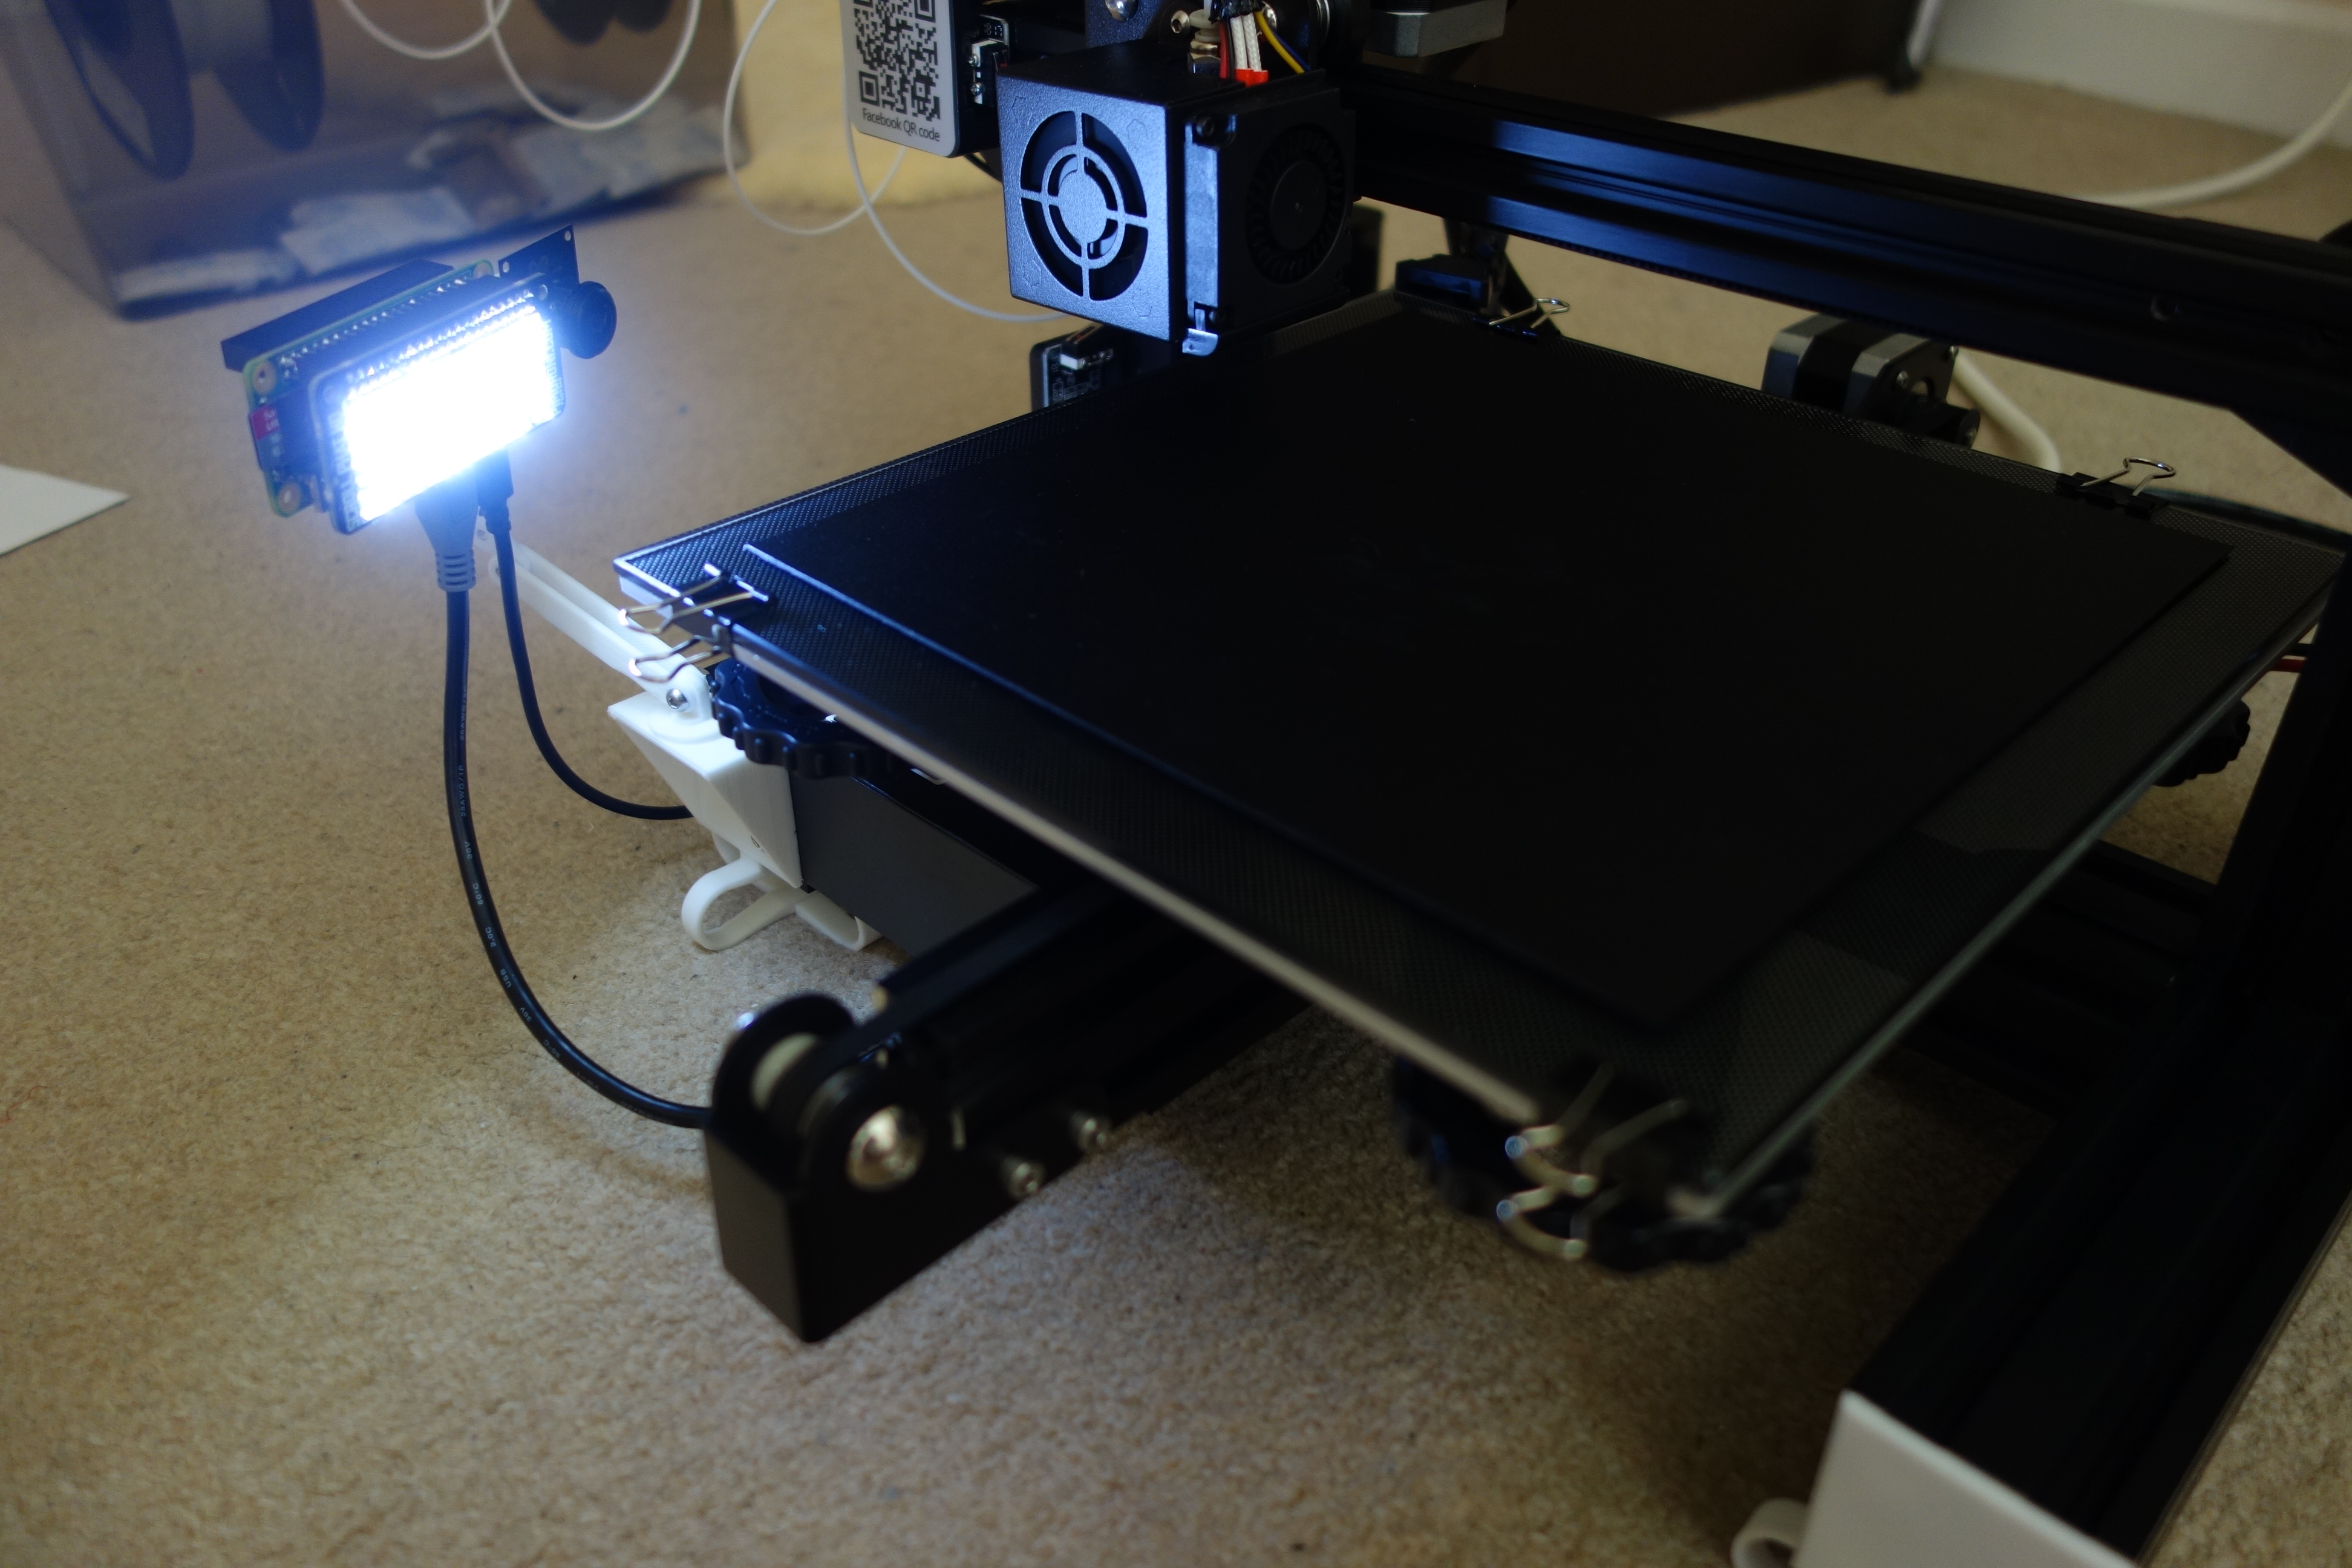
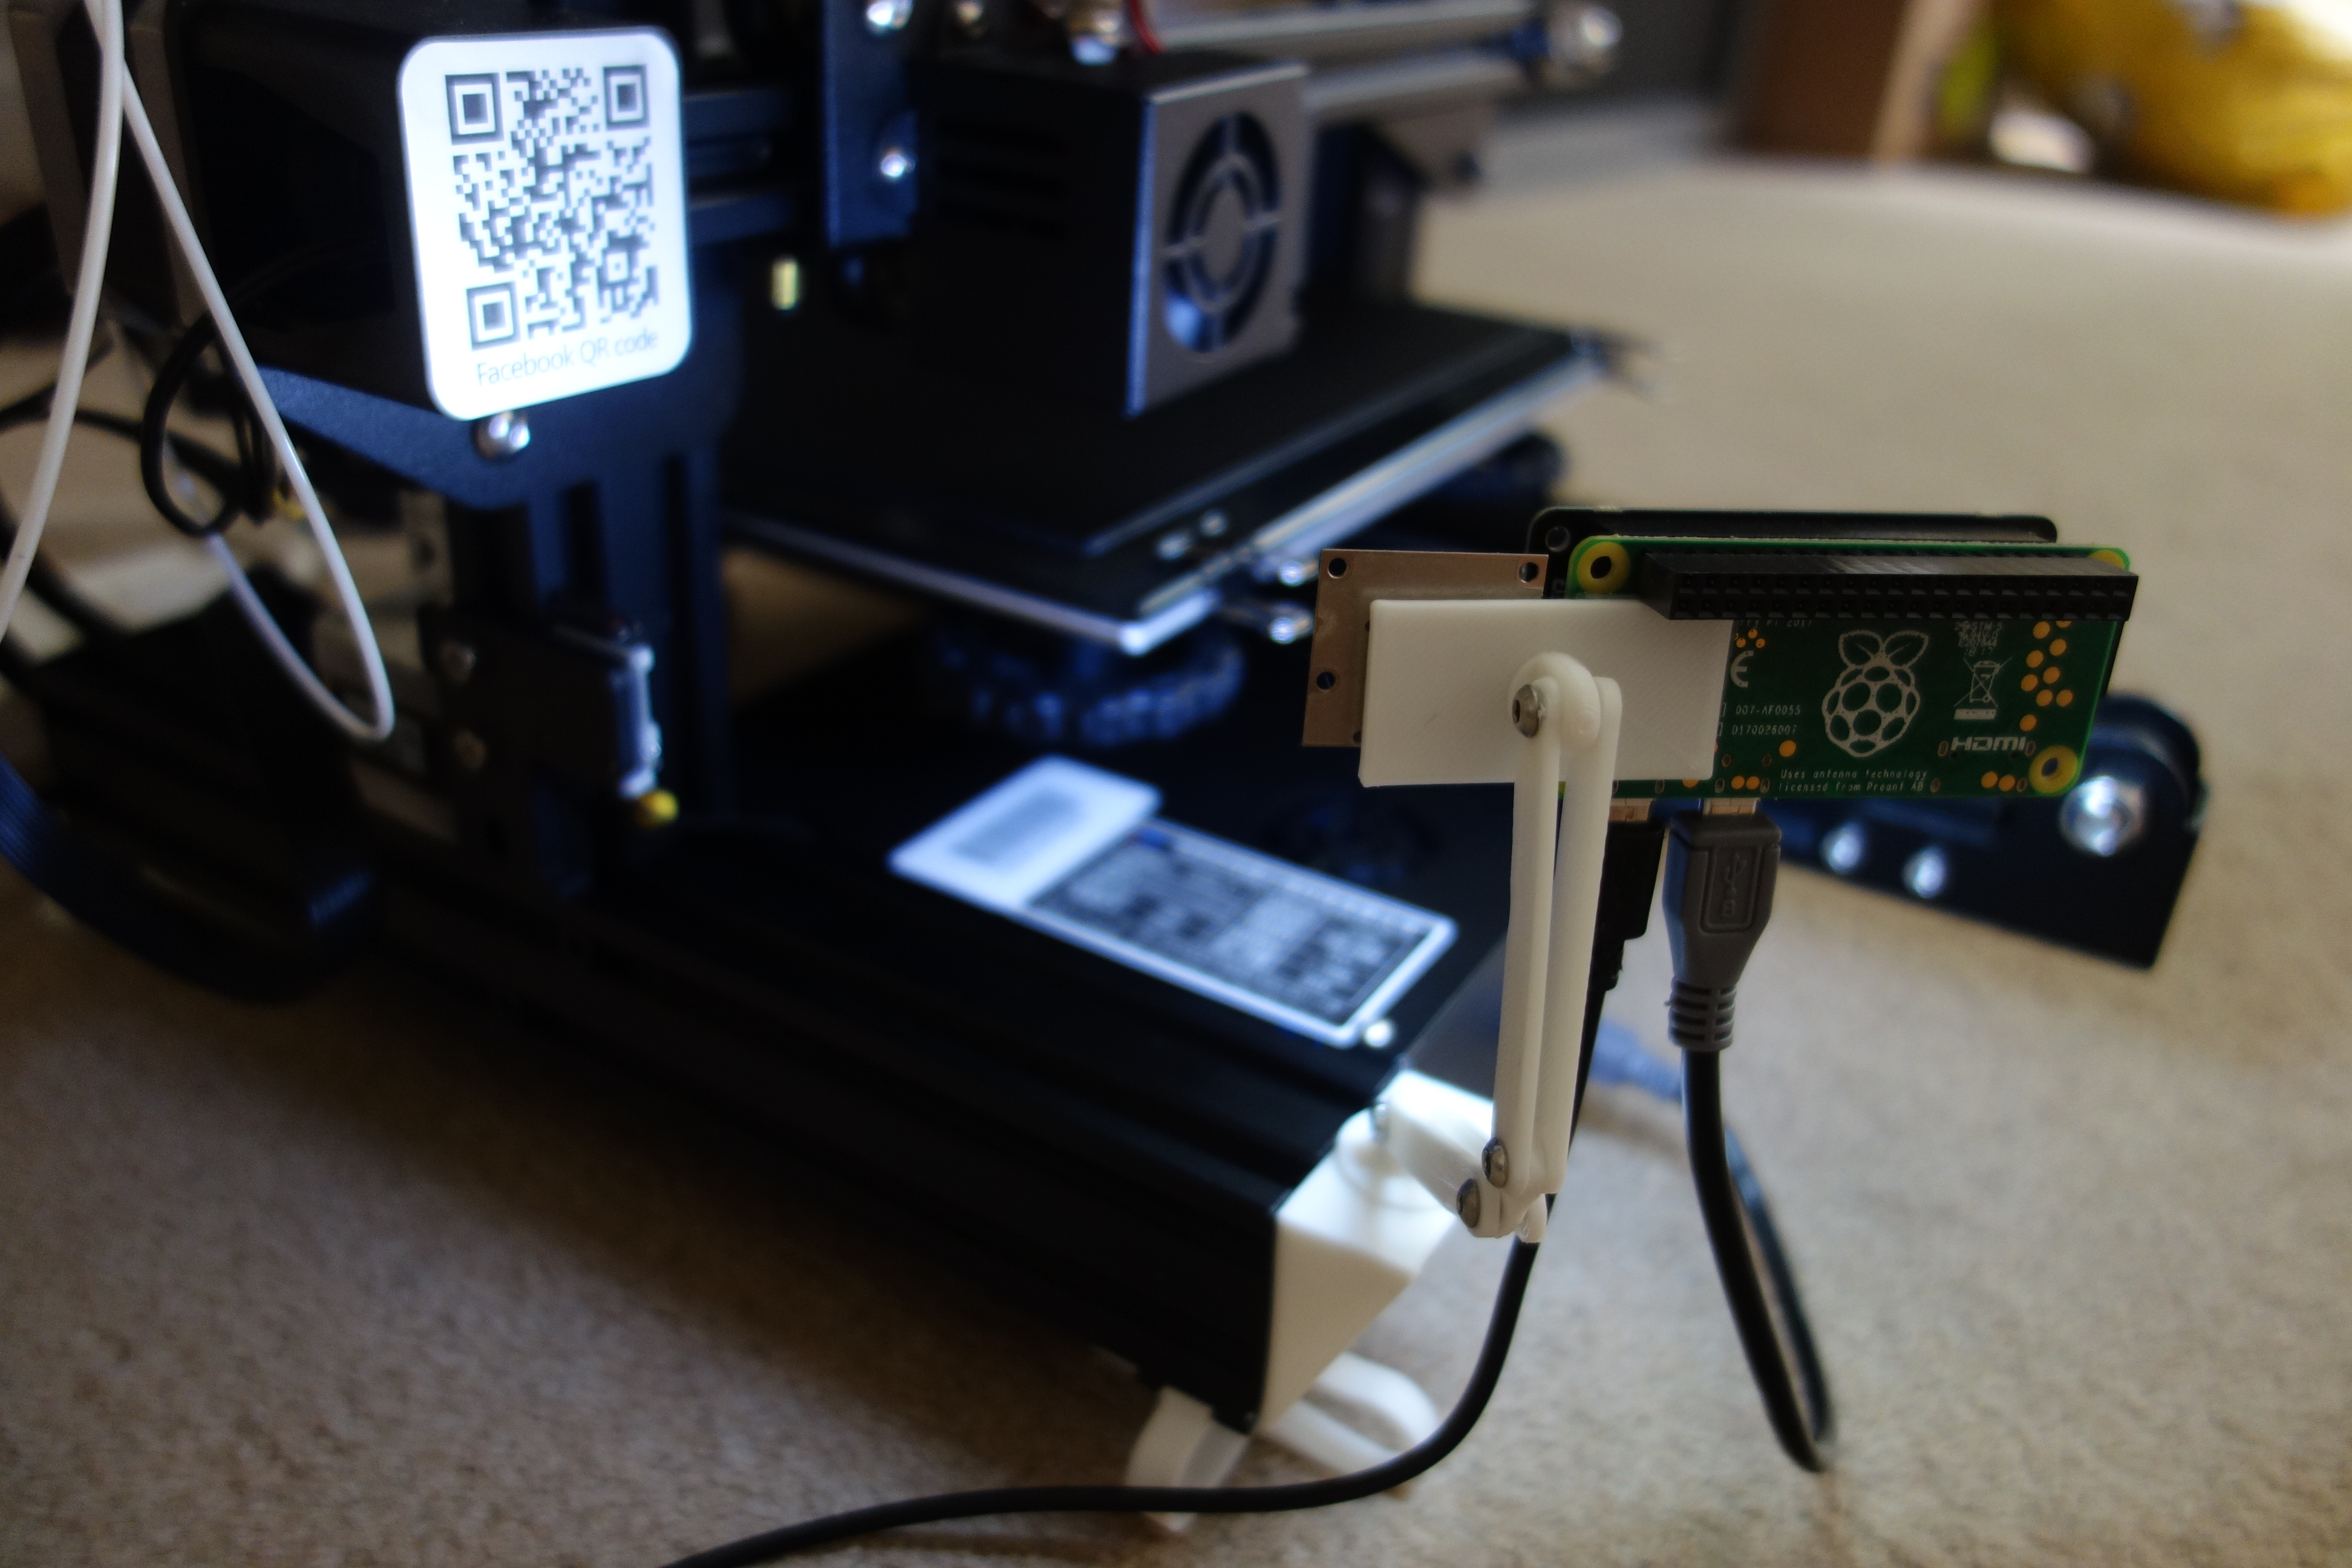
I installed a camera and LED spotlight onto the Raspberry Pi that hosted OctoPrint so I could monitor print progress and control print jobs day or night.
-
The stock fans (print head cooling fan + control board fan + power supply) were replaced with Noctua low-noise fans. The printer now functioned very quietly than before.
-
Installed a magnetic peel-off surface for the print bed. Doing this removes the need to do any kind of scraping to get a printed part off the print bed. You can just take the top layer off (normally held down magnetically) and flex the surface to pop the pieces off.
I am still operating this printer as of March 2019! 👍
Coming soon: a browsable gallery of 3D models I have designed chiefly for 3D printing!