If you’ve ever had trouble printing large images and documents properly on MacOS, read on!
Background
Home learning is an essential part of early primary education and the UK Department for Education has some nicely distilled guidance on what sort of topics should be covered to advance through all the yearly checkpoints. As part of my own effort in promoting numeracy within the family, I wrote a simple web-based number line / number grid generator that can produce a variety of different visual aids for counting practice. The charts these tools generate are usually much larger than a single sheet of A4 paper when printed.

If you try to print the image by the usual means (system print dialog), it will cut off the horizontal overflow and only print the vertically overflowing areas of the figure. This leaves the number grid incomplete and therefore useless if printed in this way!
Finding a solution
First, I tried a few basic Google searches. All of them returned either irrelevant answers on the Apple Support forums (answers here were a complete waste of time) and StackOverflow or a suggestion of running Adobe Reader software (a whooping 400MB install) to print an image. I finally stumbled across the essential keywords “poster printing” that hit on using software specifically created to slice images into printable sheets to be fed as is into the OS’ native printing function. All of the common Google results for “poster printing macos” were paid apps which sold through the App Store, also less than ideal.
An epiphany was born when I realized that this missing functionality was probably also missing in Ubuntu! One ubuntu poster printing search result later and we have arrived at the best solution: open source, zero-cost, and easy to use. This app is called Posterazor and you can even run it entirely in the browser through WebASM, which avoids the need to download and install anything!
Solution workflow
Here are all the steps involved in printing anything large!
- Open web page in your browser: we’ll use Chrome for our example.
- Open the Developer Tools (
Cmd + Option + J).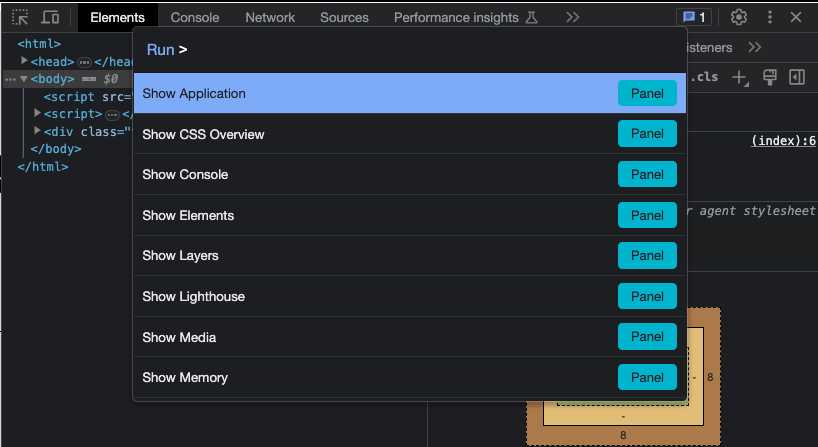
- Open the developer command input (
Cmd + Shift + P), then type in"full screenshot"and hit Enter to run this command.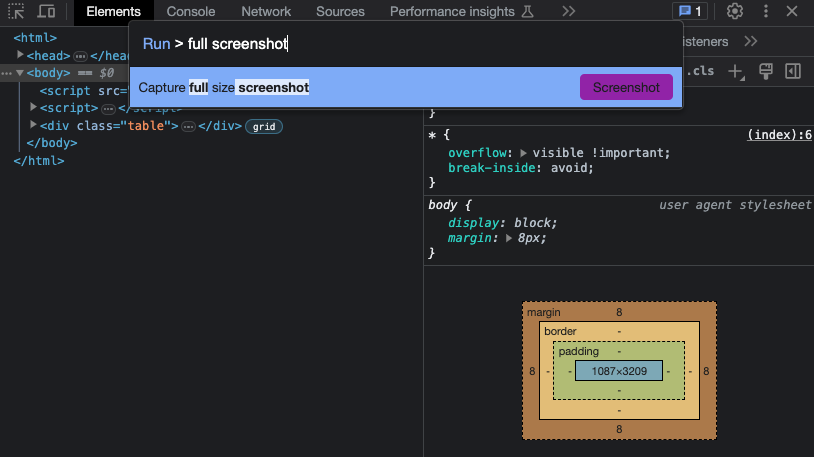
- Screenshot is saved to your Downloads folder.
- Use the online version of Posterazor and load in the screenshot file as the input. Set paper size accordingly (A4 for my printer). Leave all other details as default unless needed.
- After the last step in Posterazor a PDF file of all the image tiles is downloaded.
- Print out the PDF and physically crop and stitch the tiles together to form your poster.